Mollie Bakes: Sunday Funday

Here’s a way to spruce up an otherwise-uneventful Sunday: bake! Bake in the morning, bake in the afternoon, bake to make a couple delicious treats to turn your Sunday into fun-day. Sound good? Or rather, sound delicious? It should.
Two of my favorite baked goods, bagels and brownies, don’t really go together, but as part of a Sunday Funday feature, they are quite the pair!
Make your bagels in the morning for brunch. Bake your brownies in the afternoon for a divine sweet treat. Together, you’ve baked two, excellent goodies that you can enjoy shortly after baking (hooray) and for days to come (double hooray). Well, the bagels I baked barely lasted an hour, but you get the picture. Double that recipe. ;)
Today I’m recommending an awesome recipe for bagels that couldn’t be faster and a recipe for brownies that’s a surefire success for every extreme chocolate fan out there. And that’s a lot of you.
Let’s get baking!
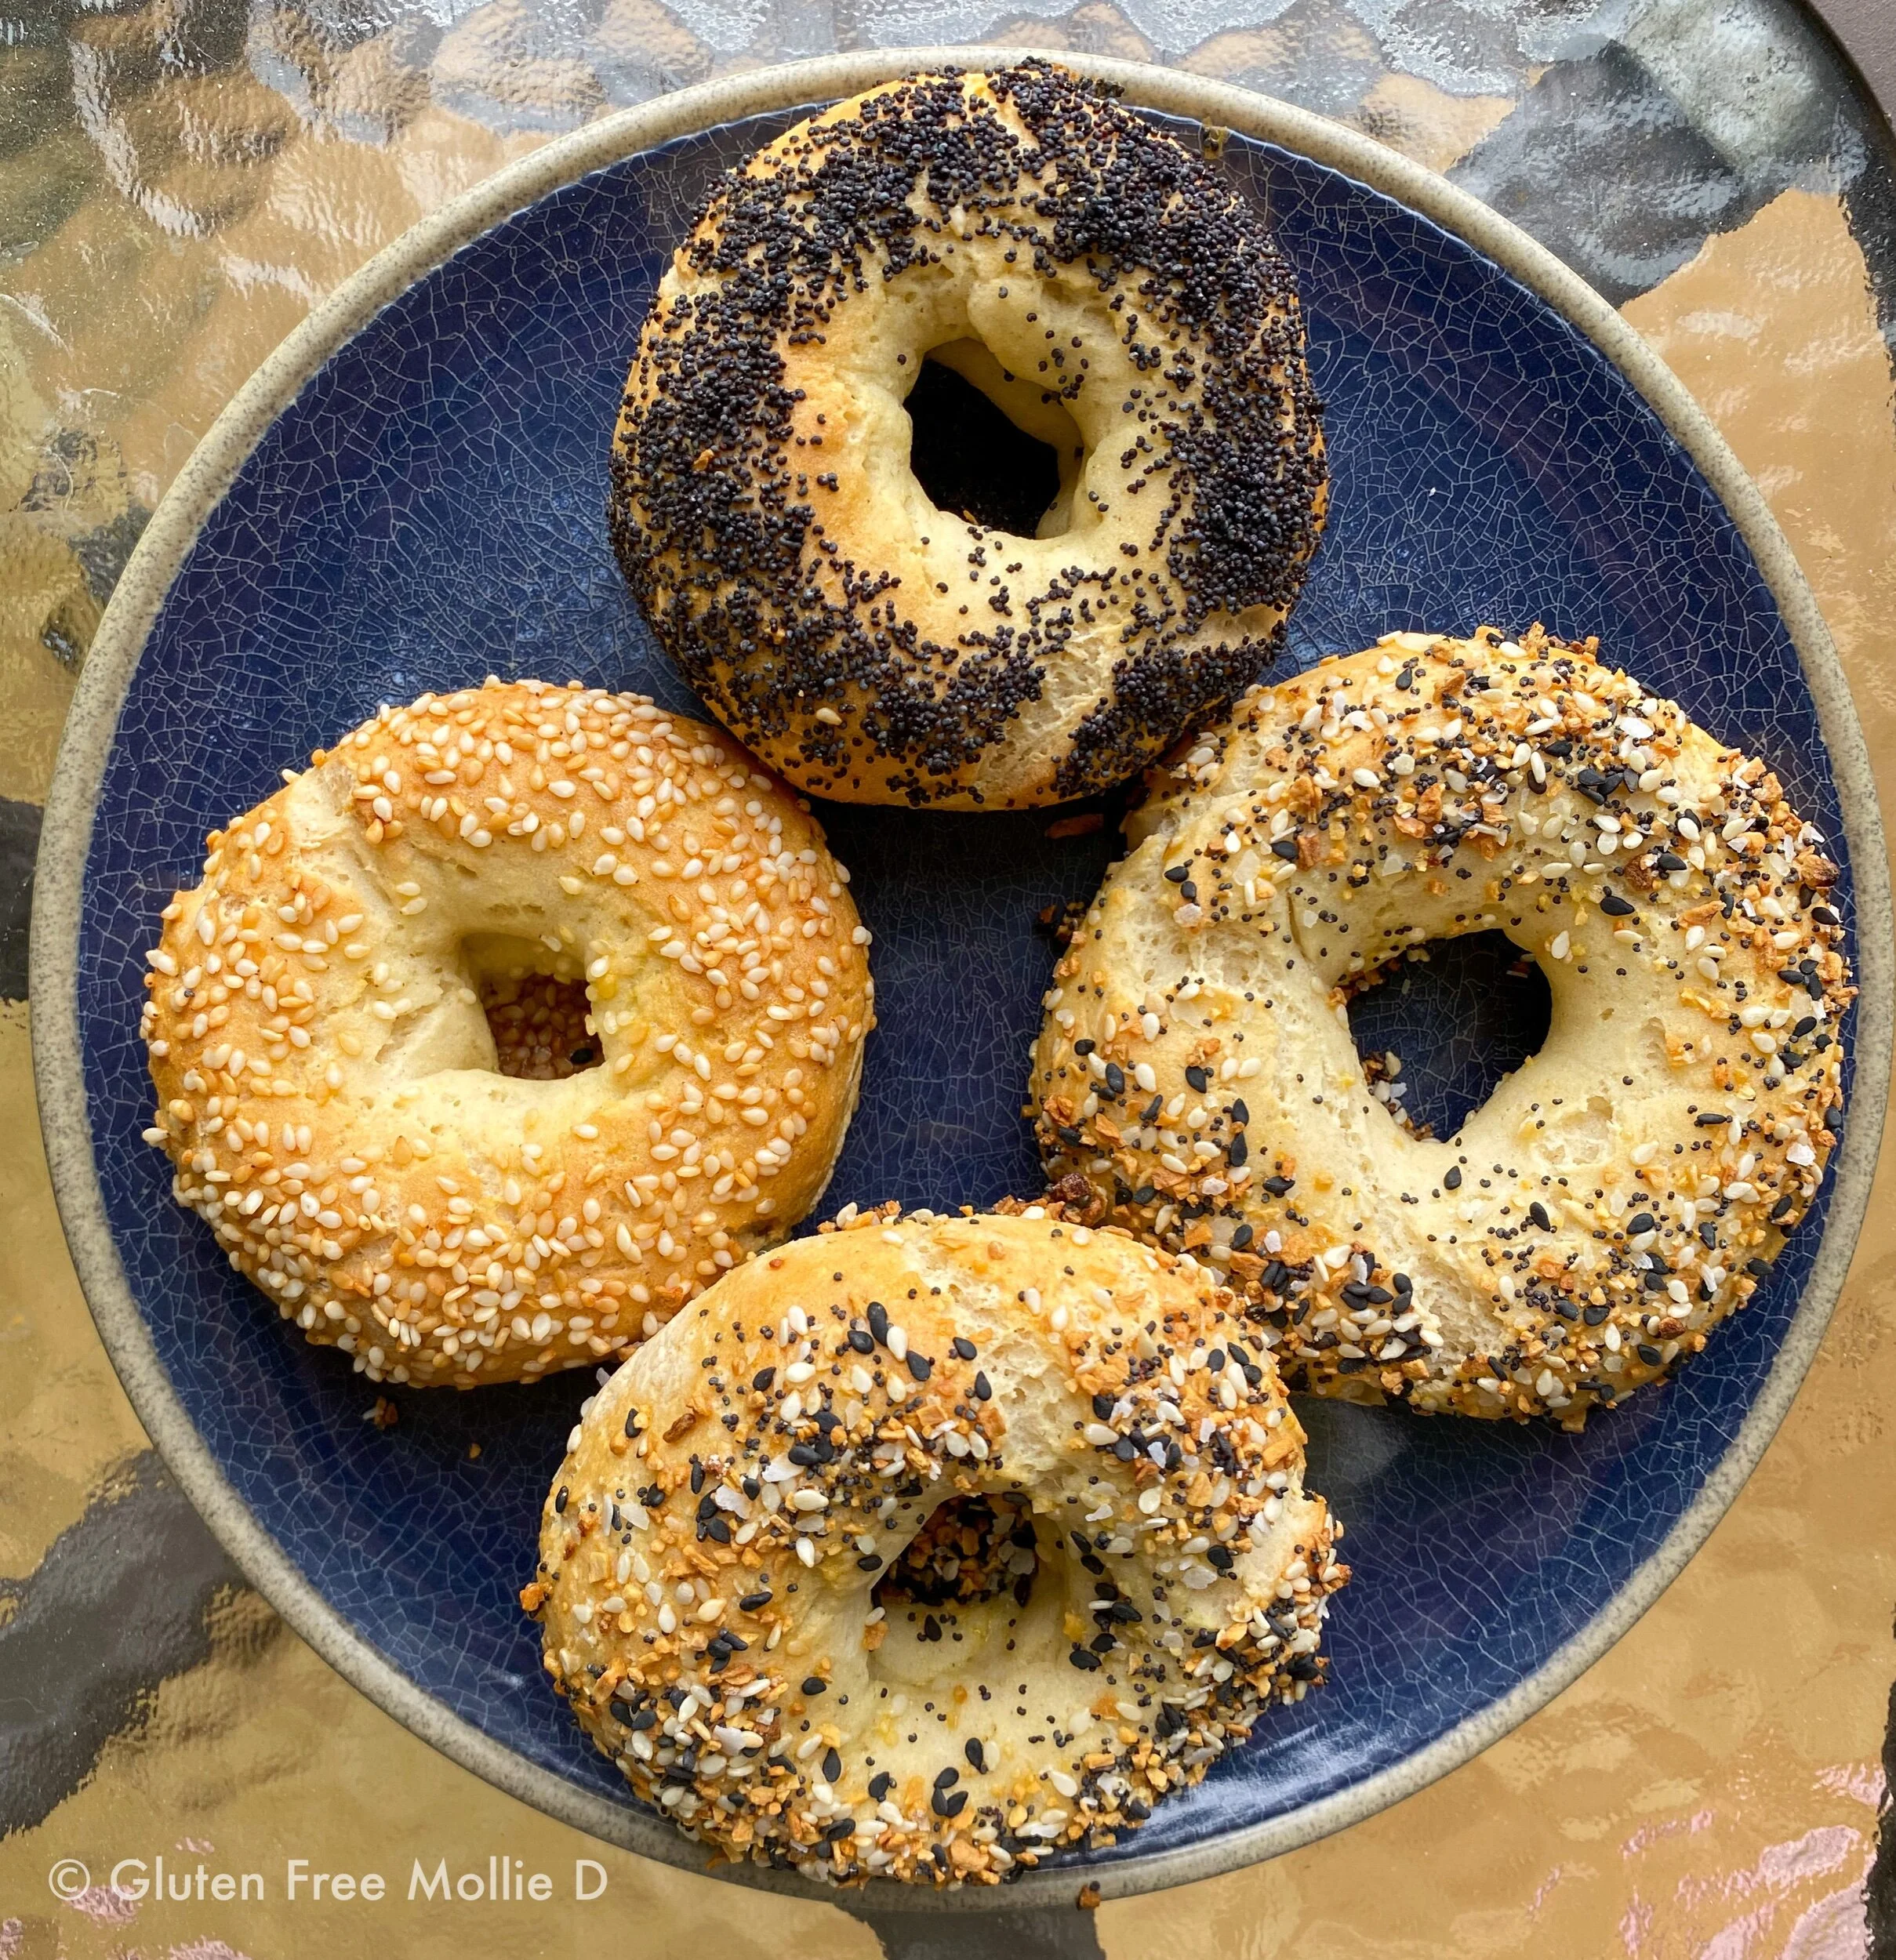
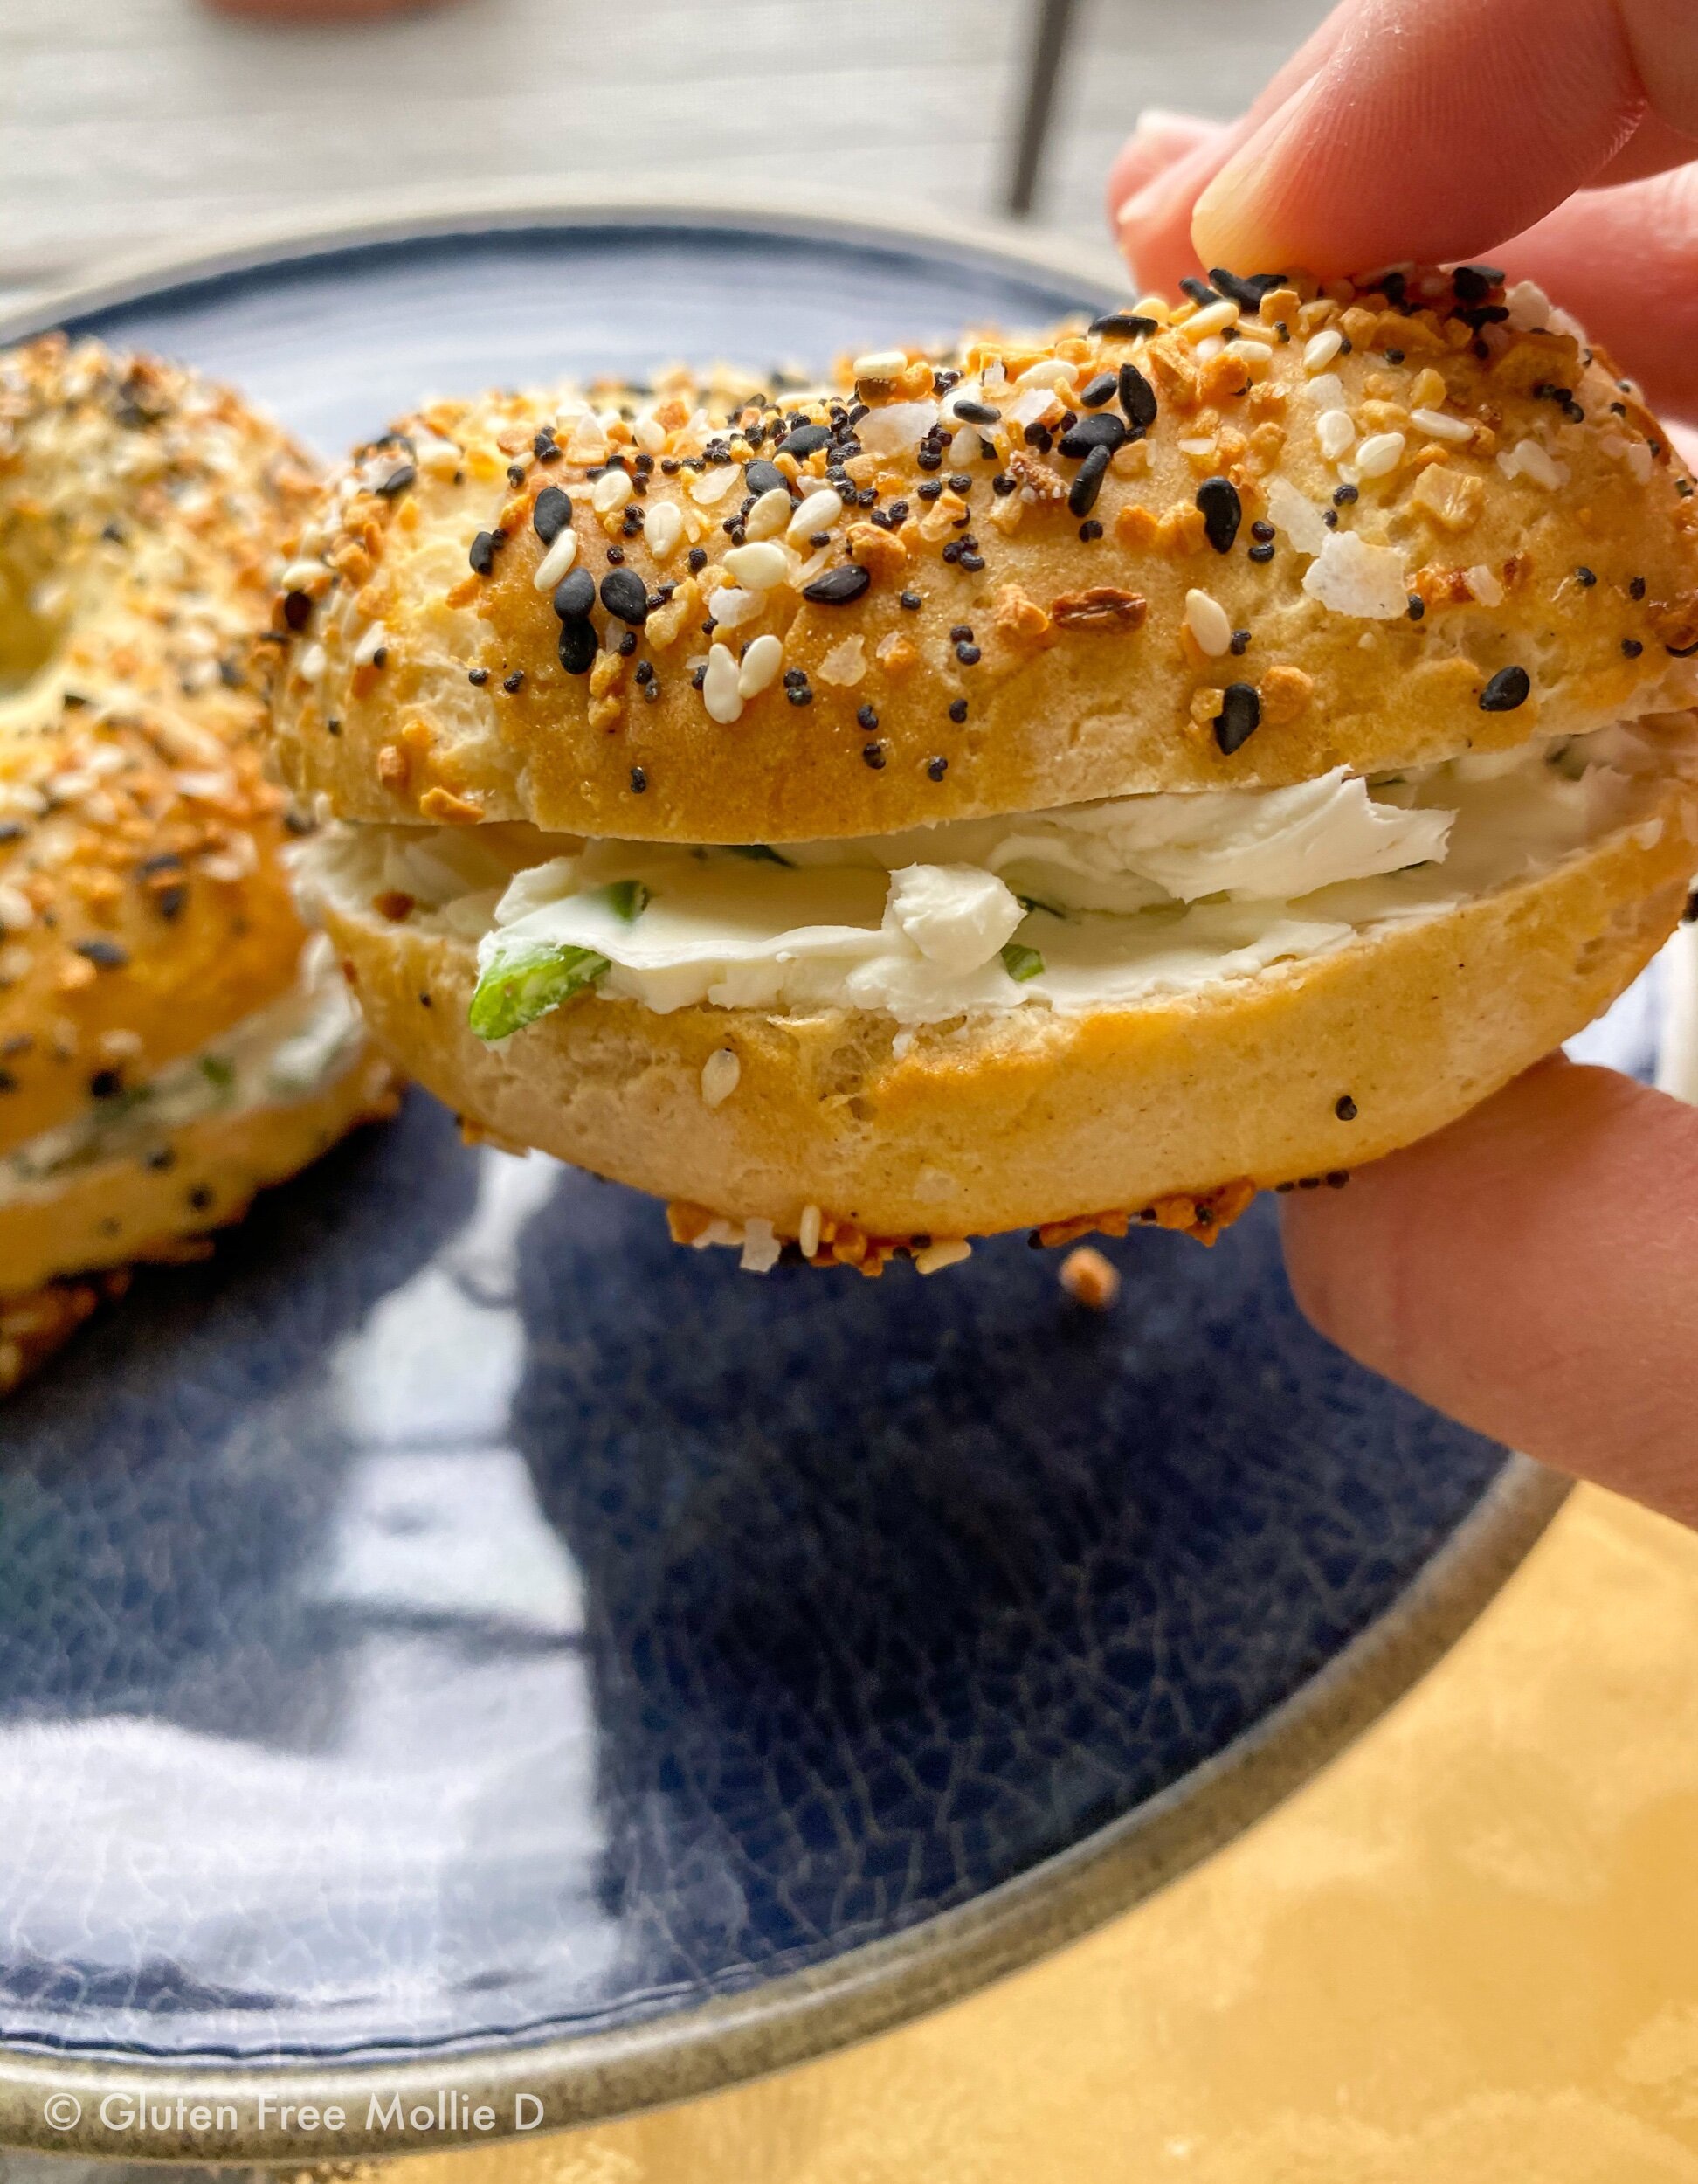
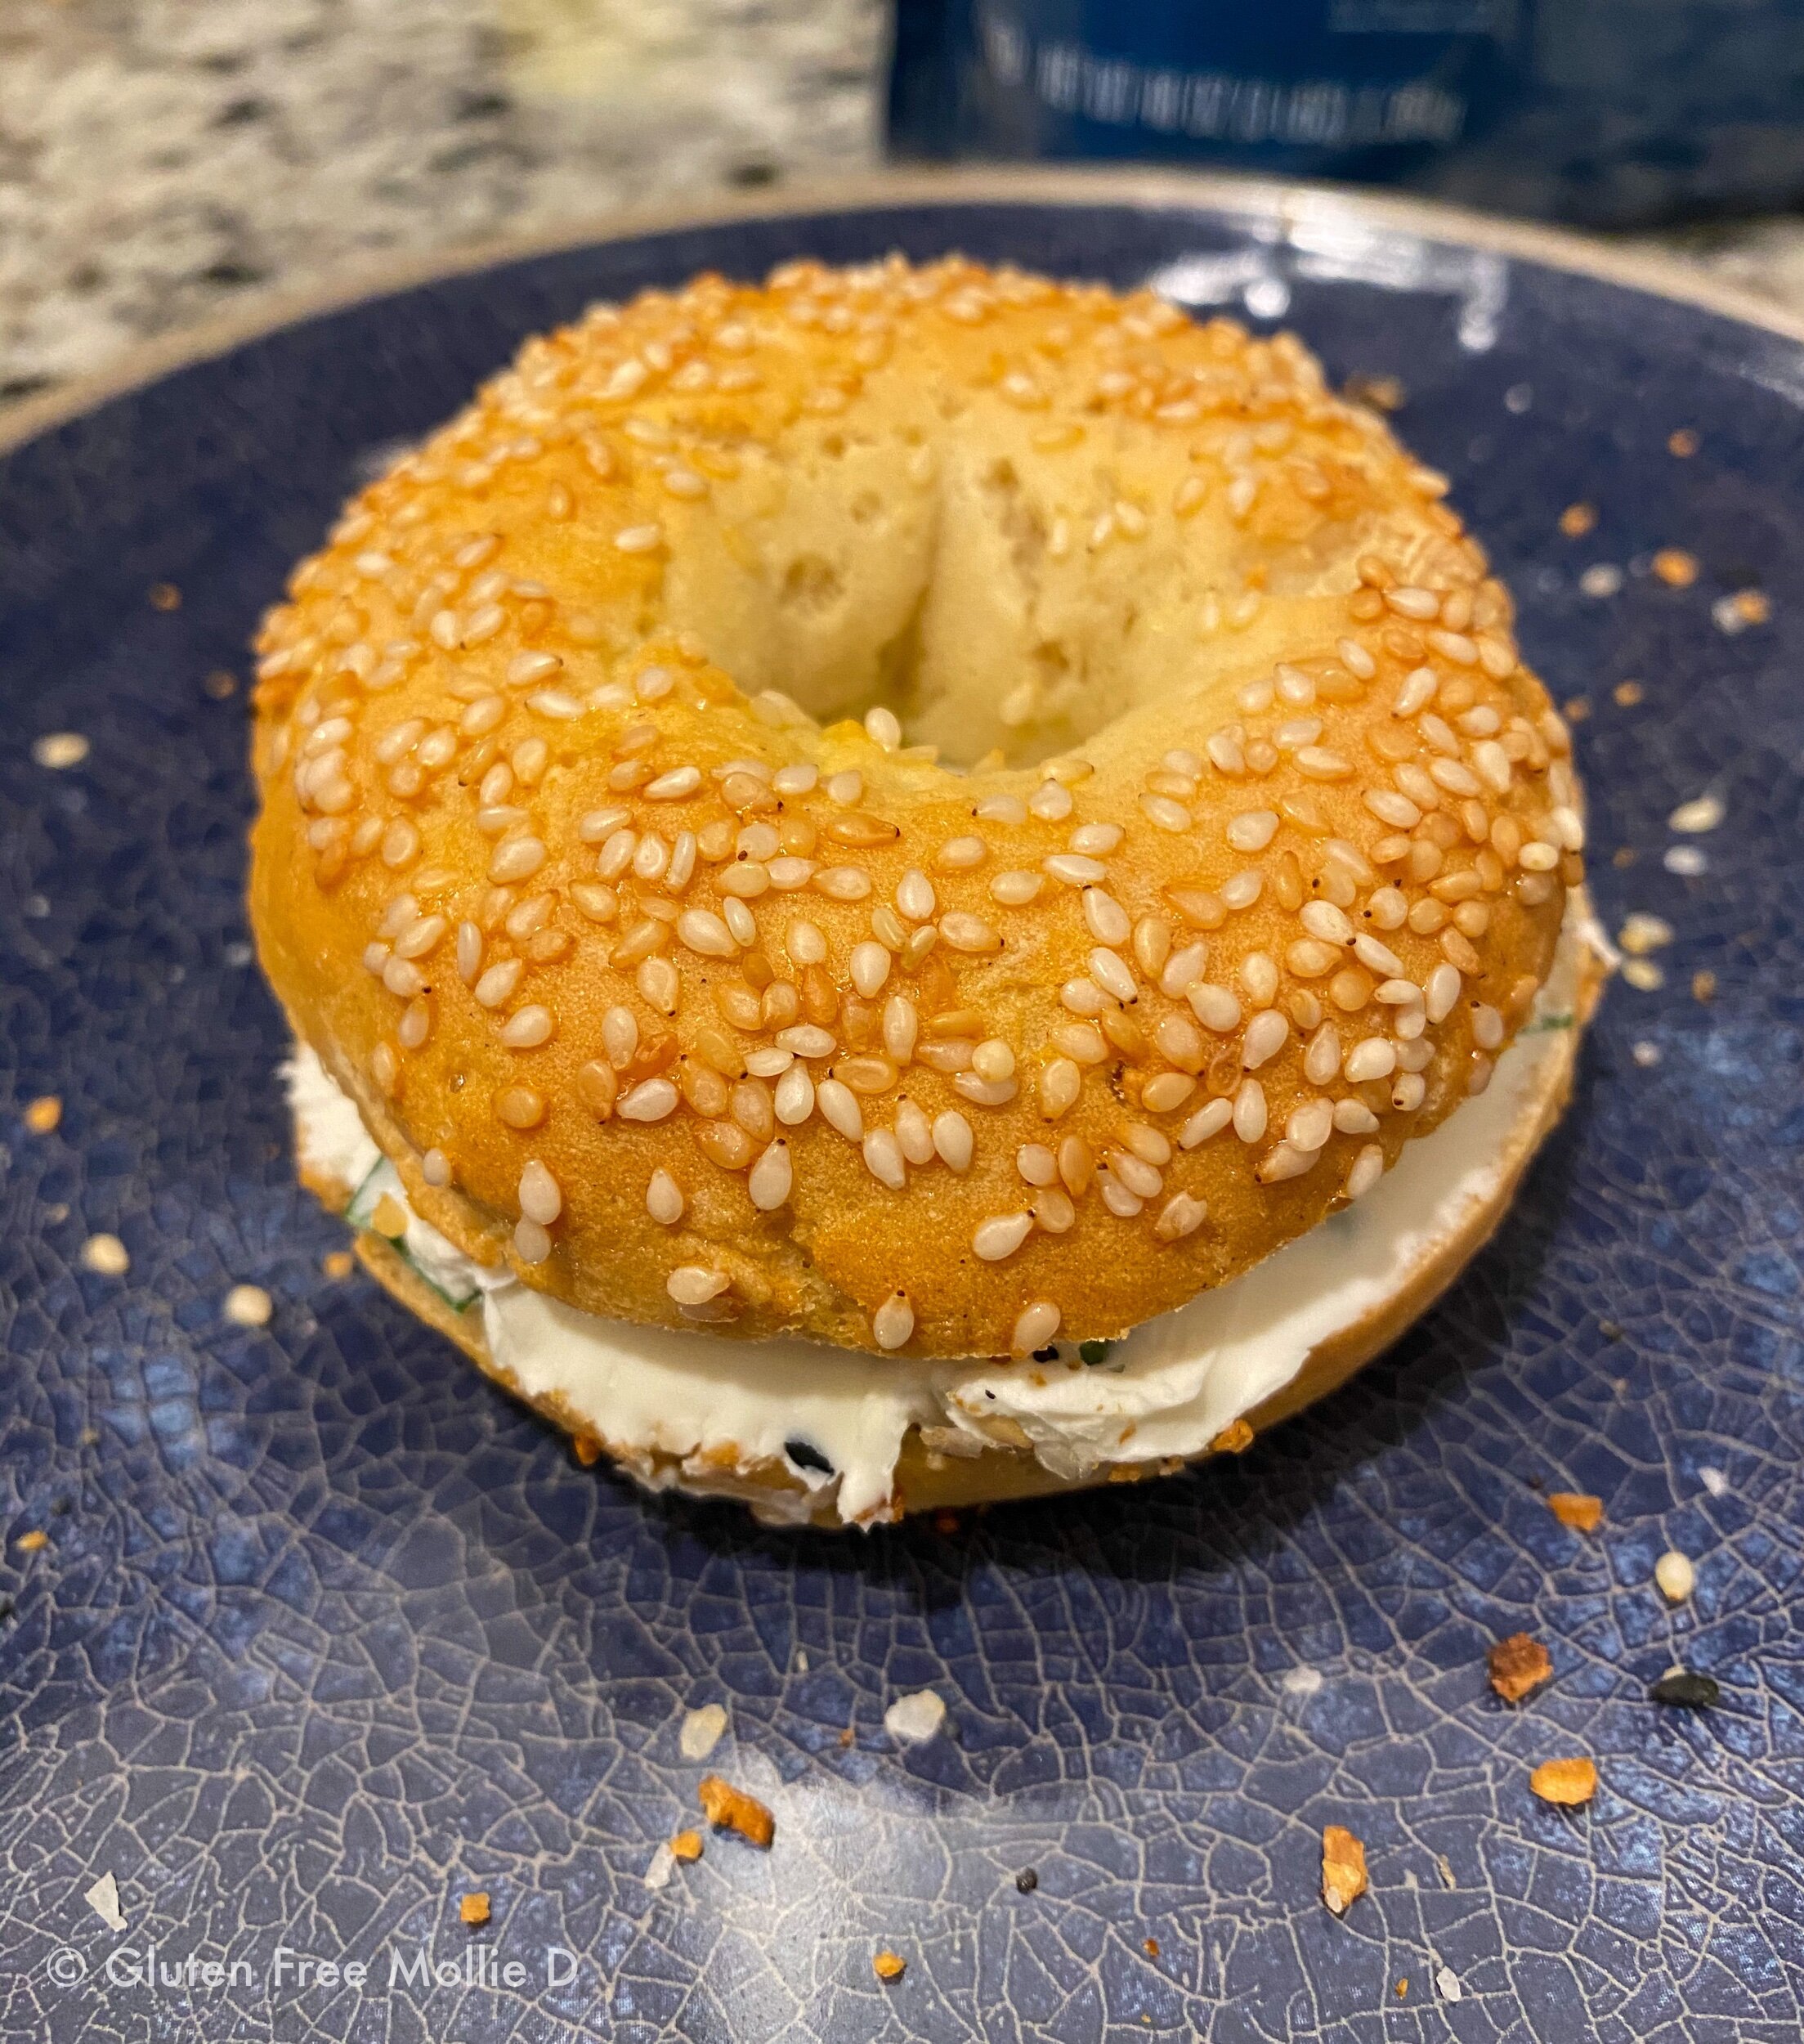
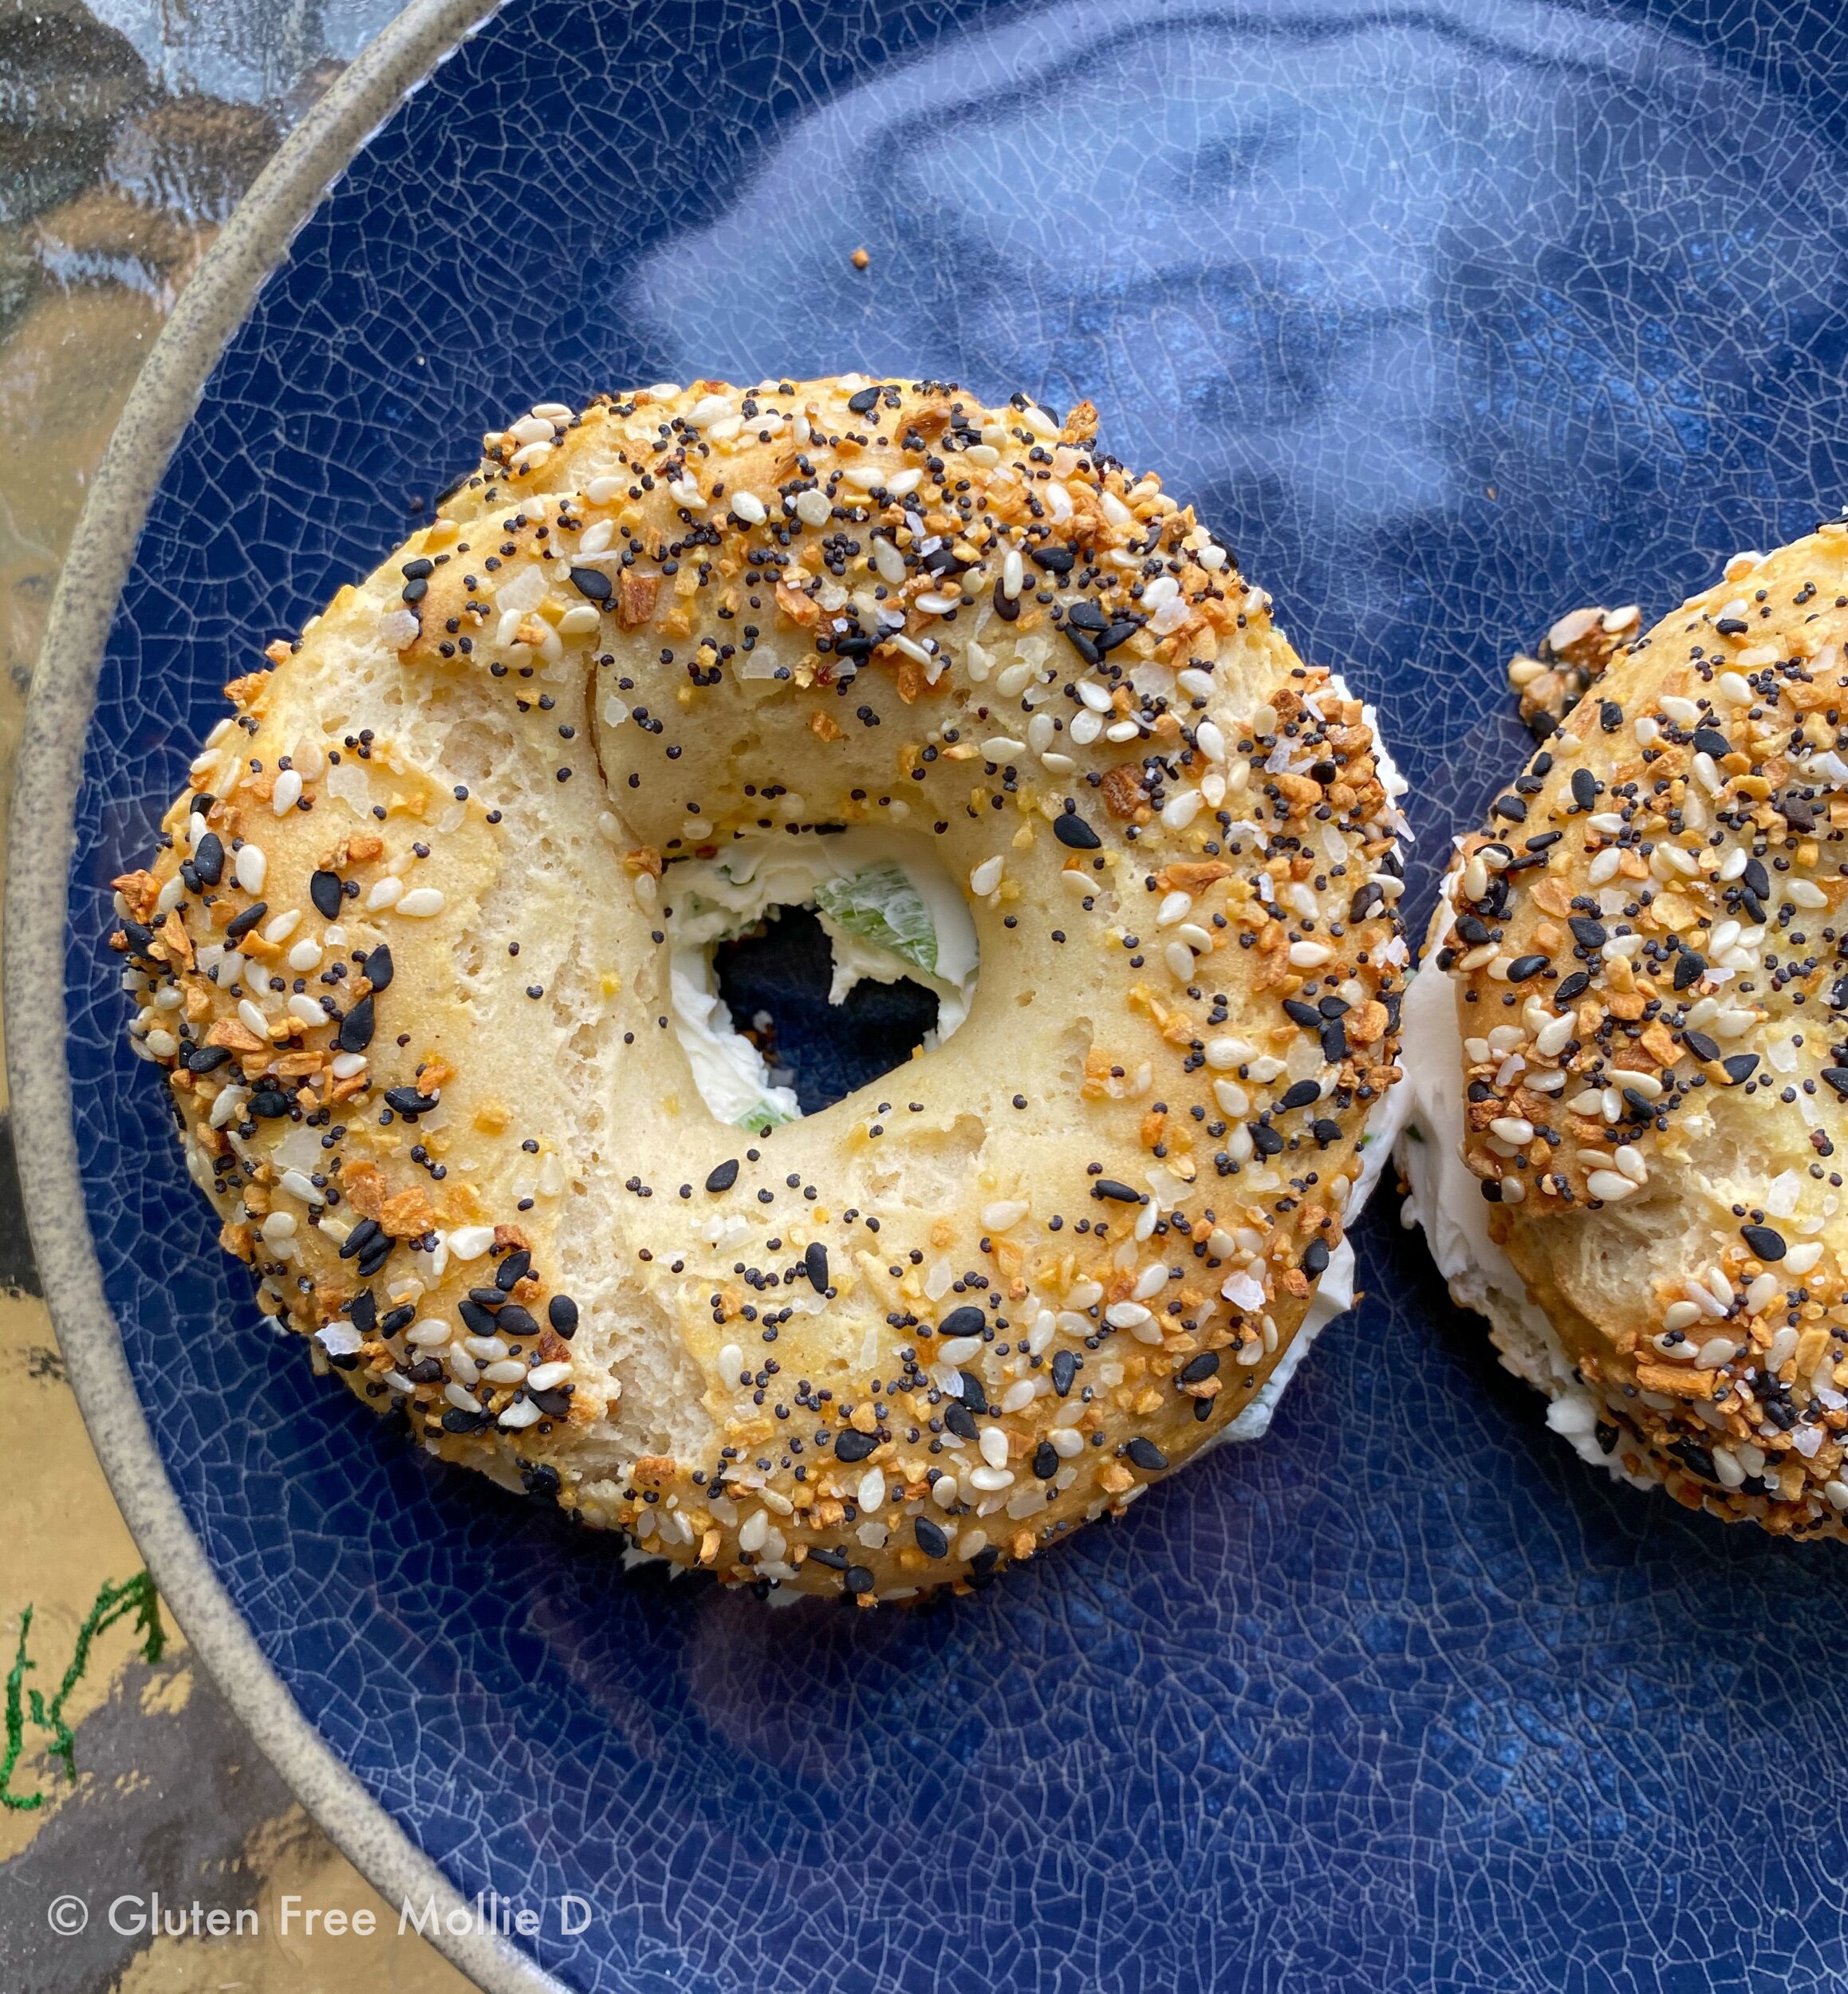
(Fast) Gluten Free Bagels

Bake This: Bagel recipe from Skinny Taste
Gluten Free: I used King Arthur Flour’s Measure-for-Measure Gluten Free Flour. No other changes are necessary to make the bagels gluten free.
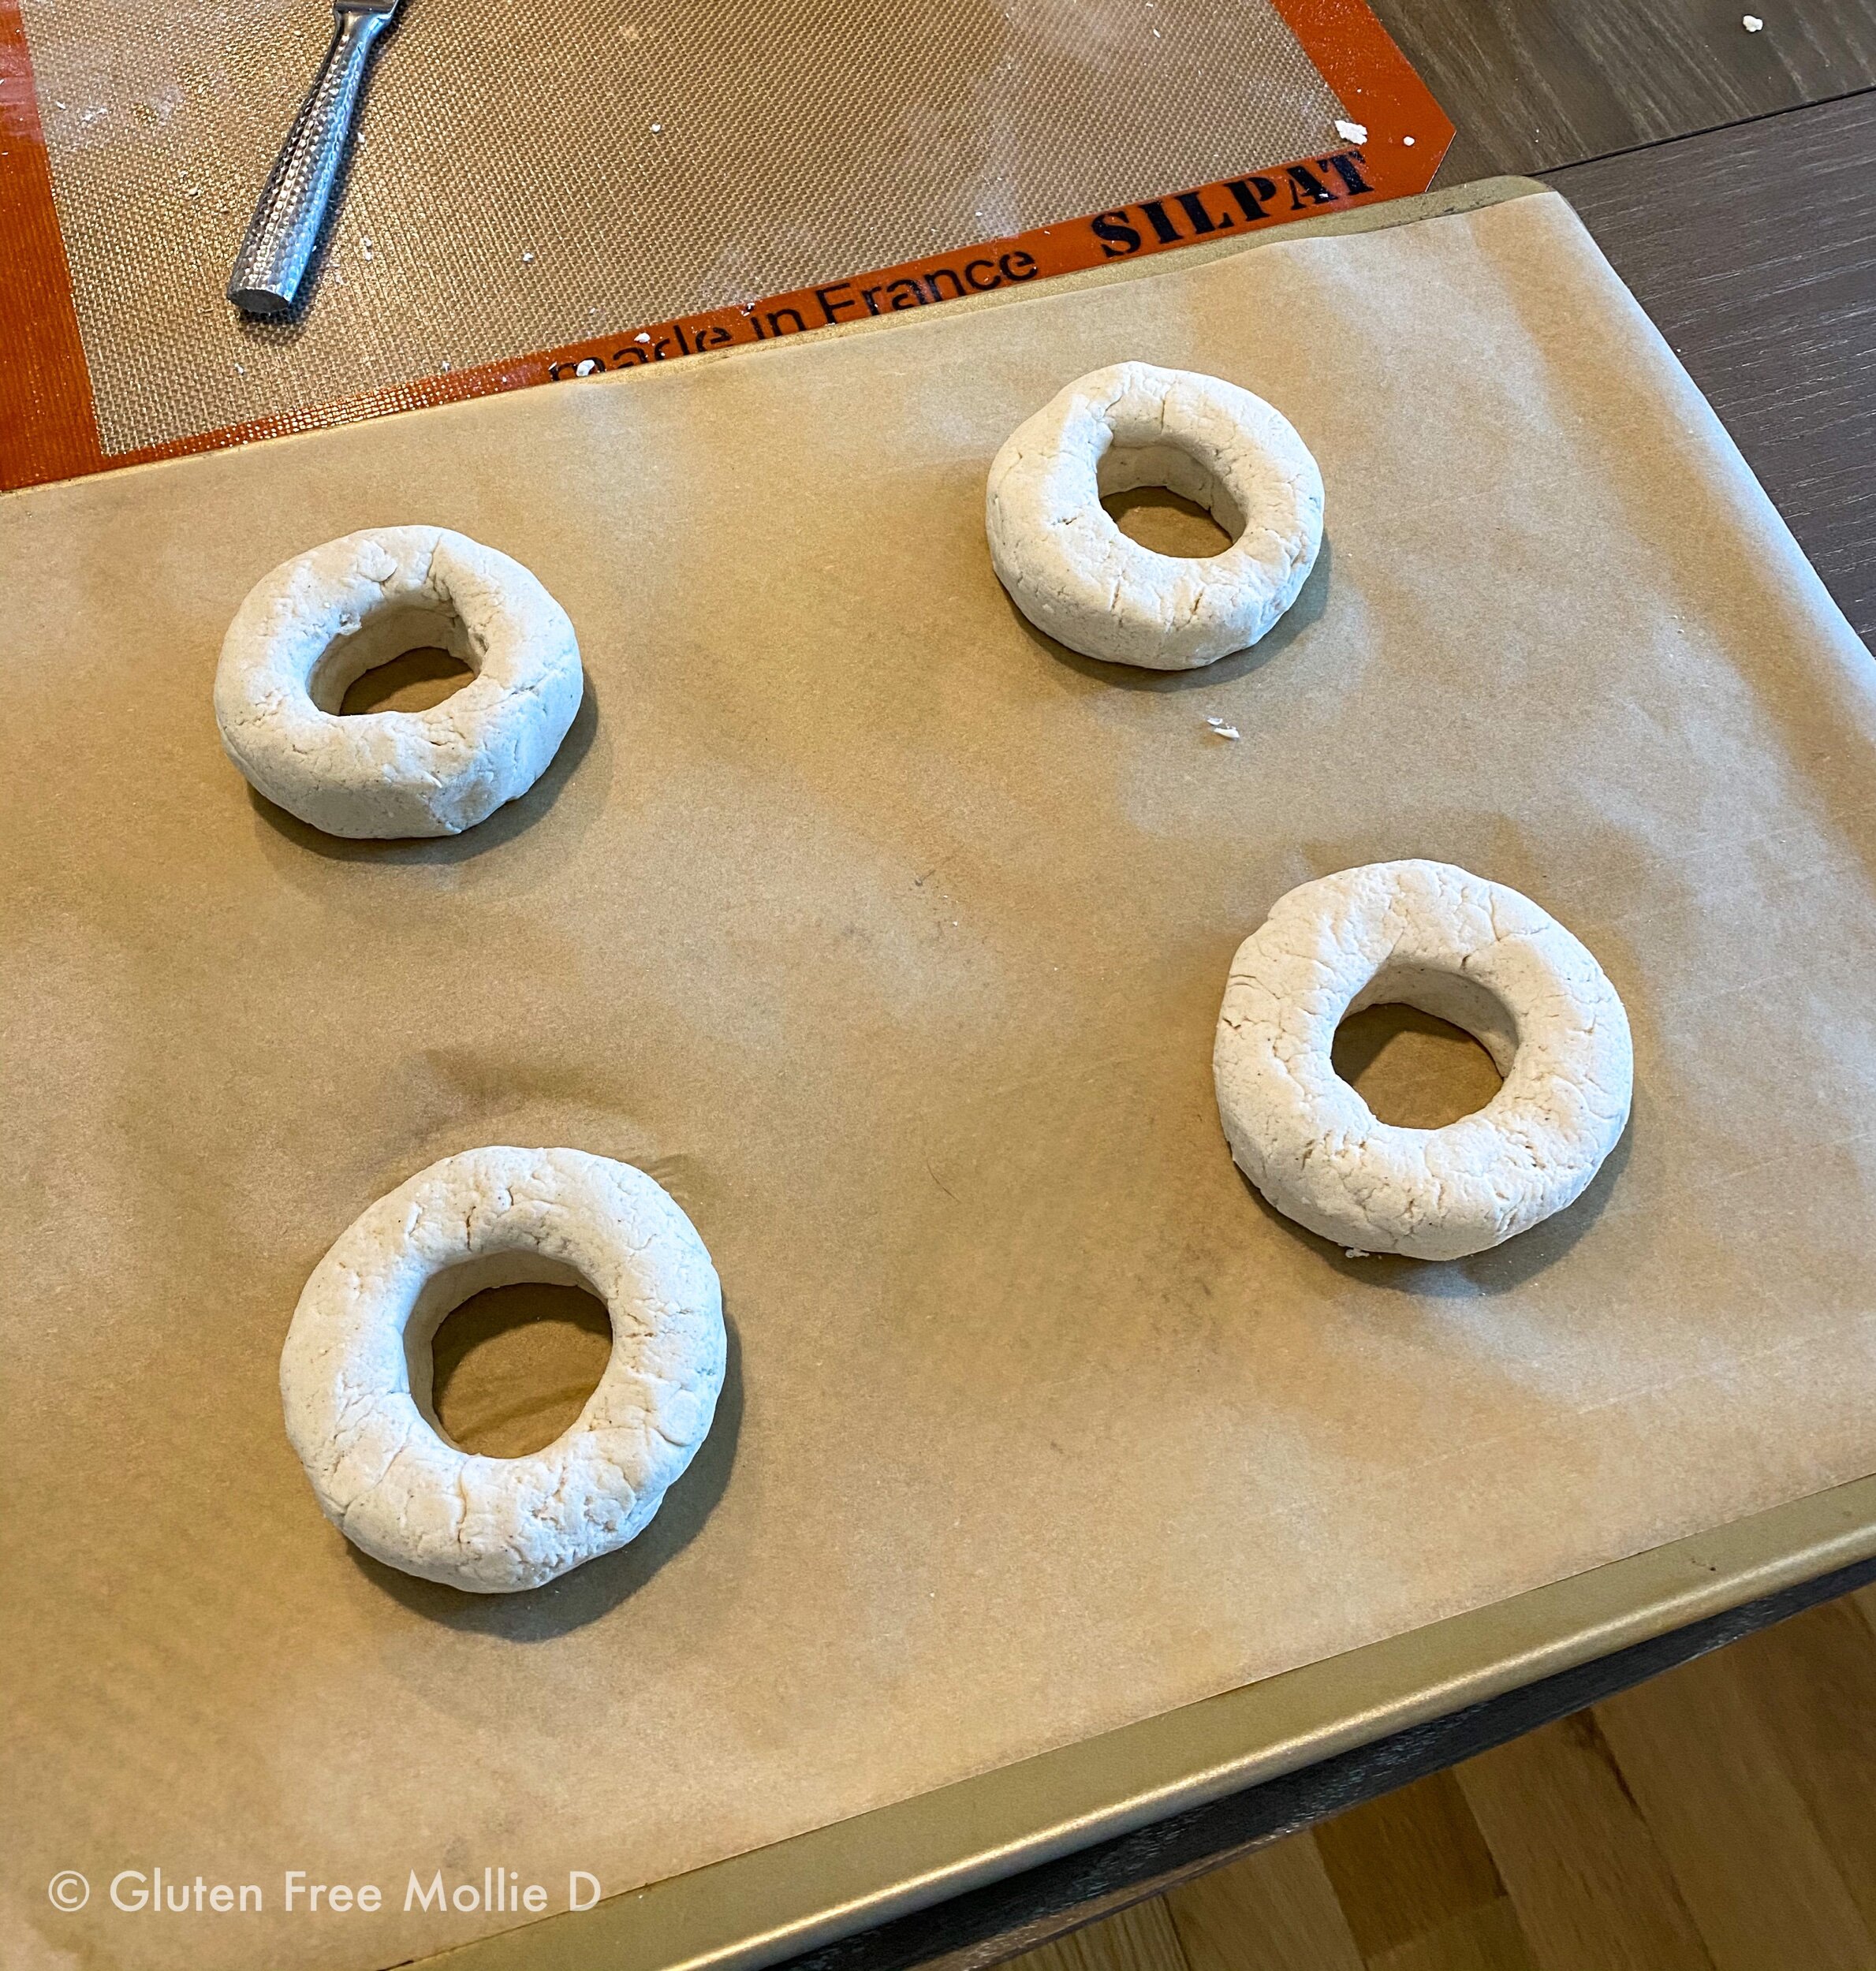
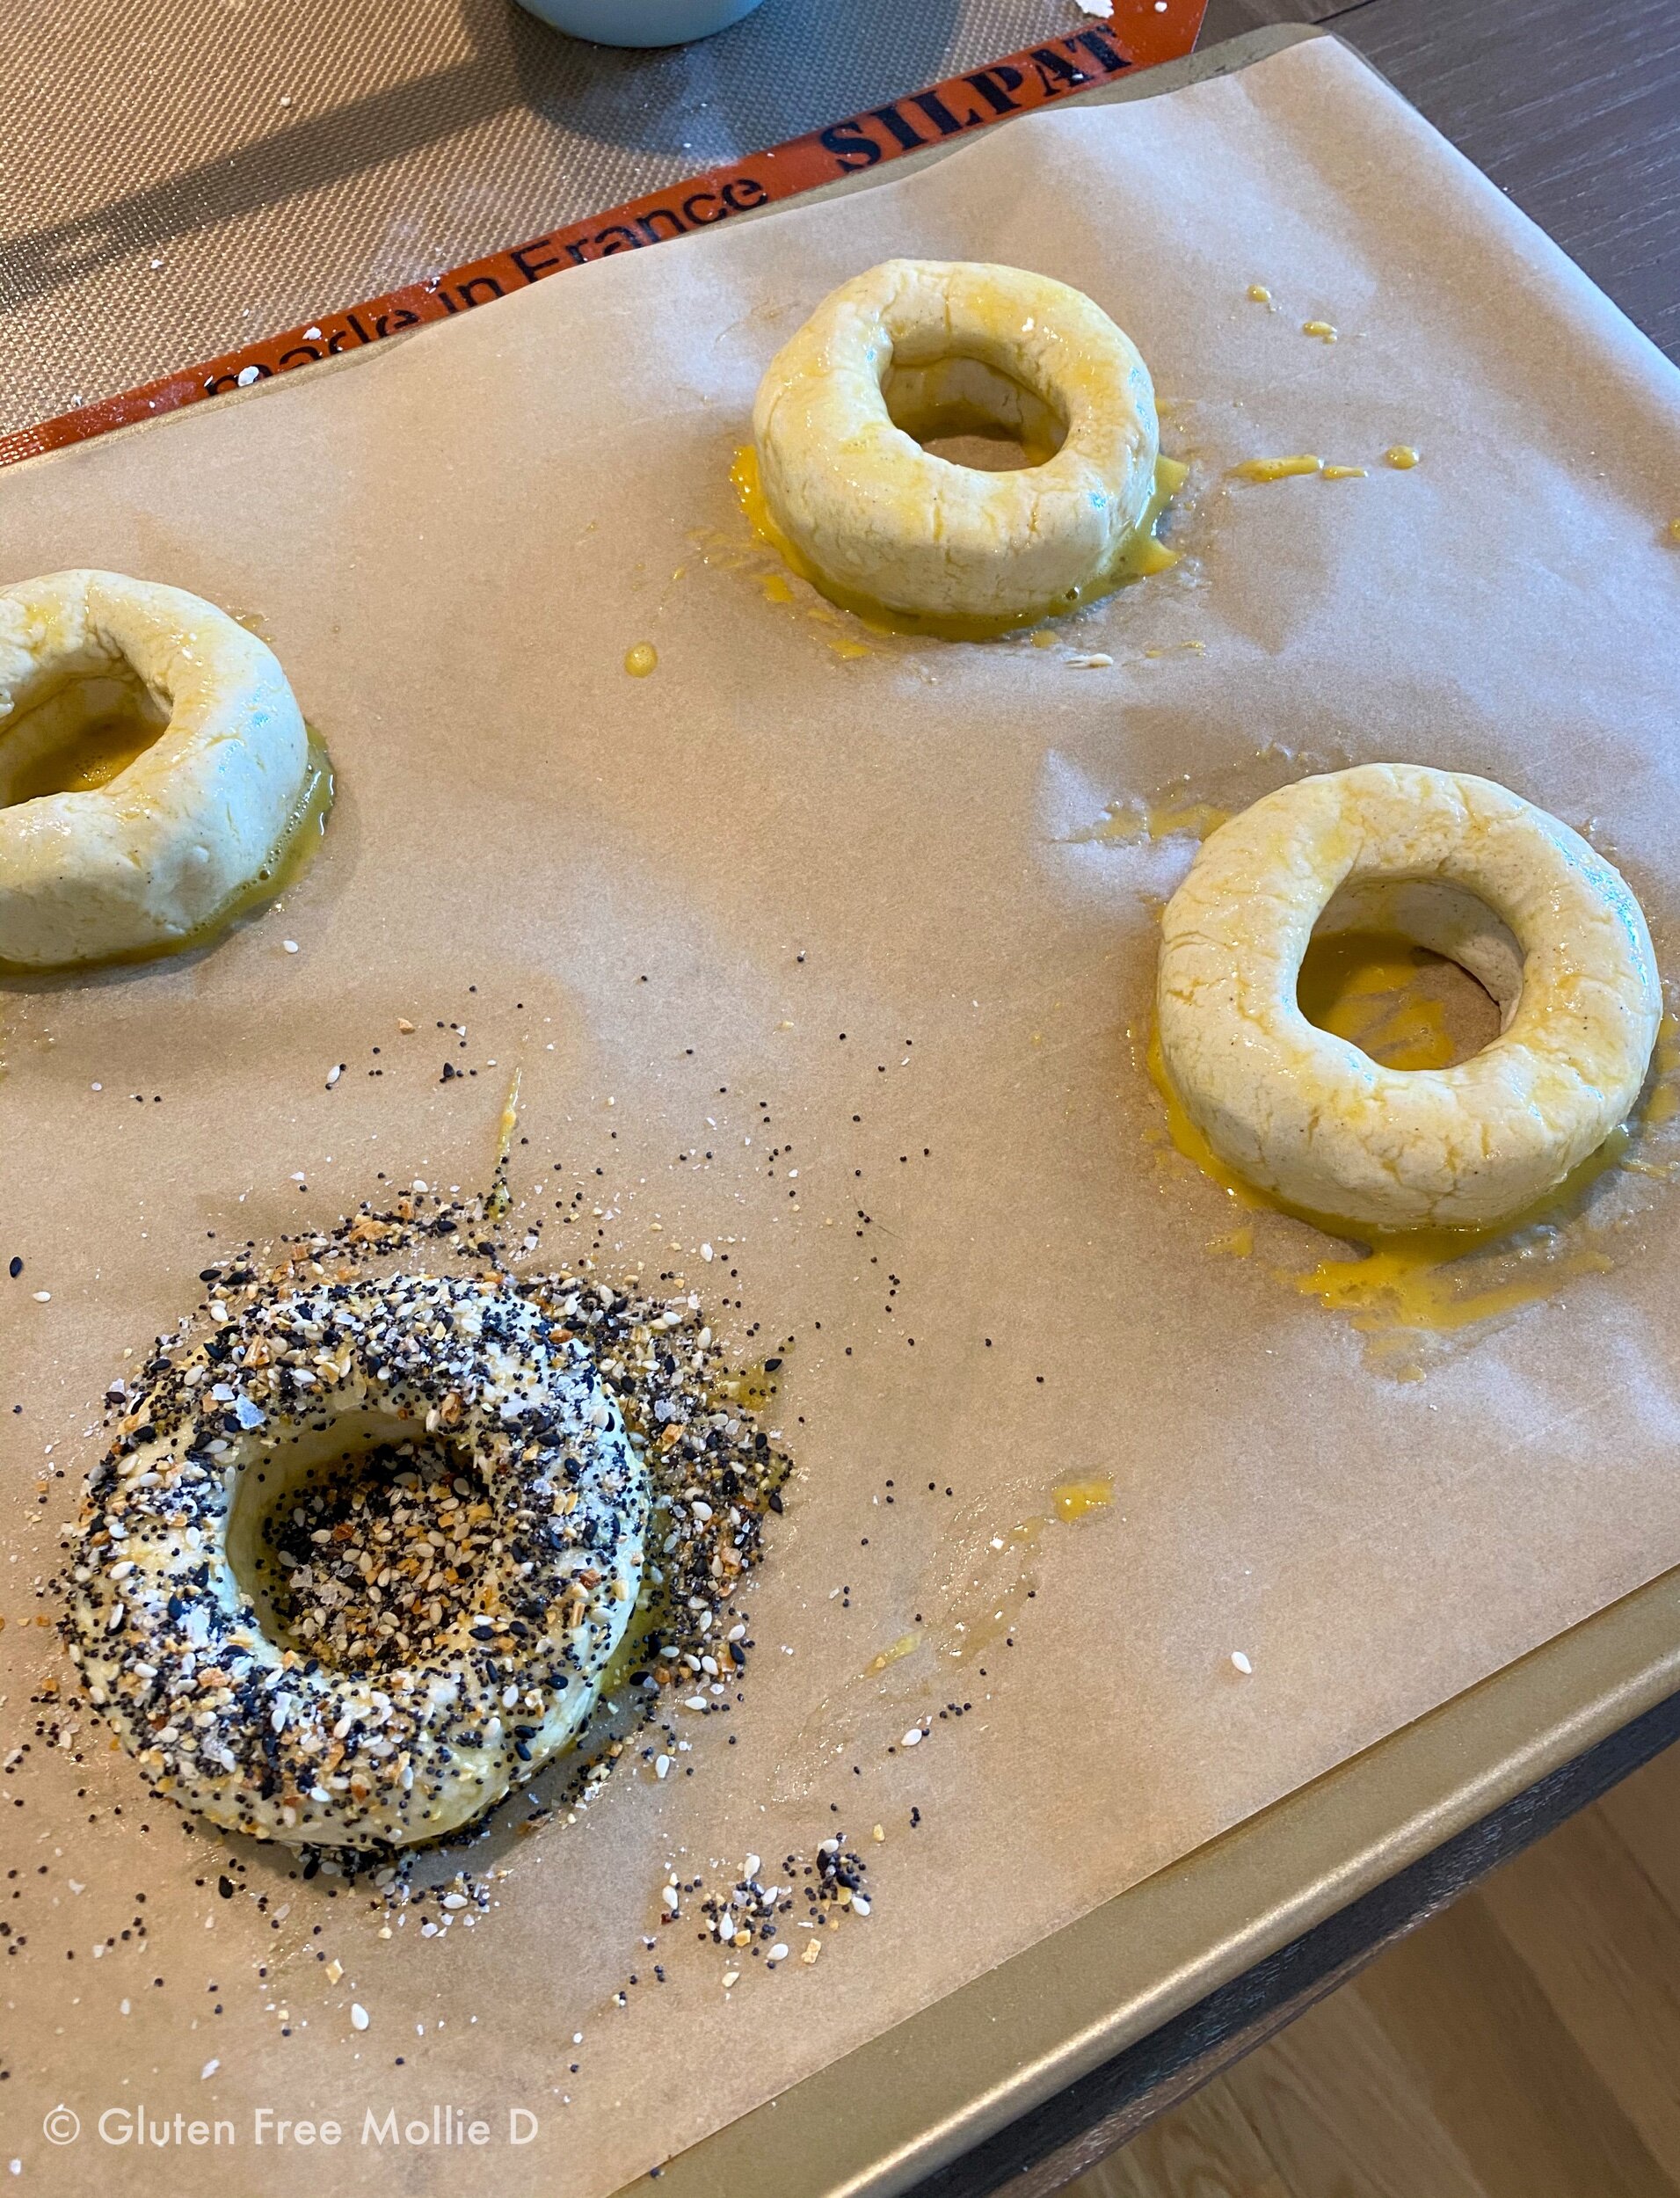
Tips: These bagels come together so quickly you’ll be memorizing the recipe in no time. The dough is simply flour, baking powder, salt, Greek yogurt, and an egg wash on top. I would recommend using a whole egg for the wash over the bagels instead of just egg white (as recipe instructs) because it’s just easier!
For seasonings, I used the wonderful “Everything but the Bagel” seasoning from Trader Joe’s as well as sesame seeds and poppy seeds since those are my favorite kinds of bagels. If you’re in a sweet mood, I’d suggest preparing a cinnamon sugar topping as well. A cinnamon sugar bagel with plain cream cheese brings back fond memories for me!

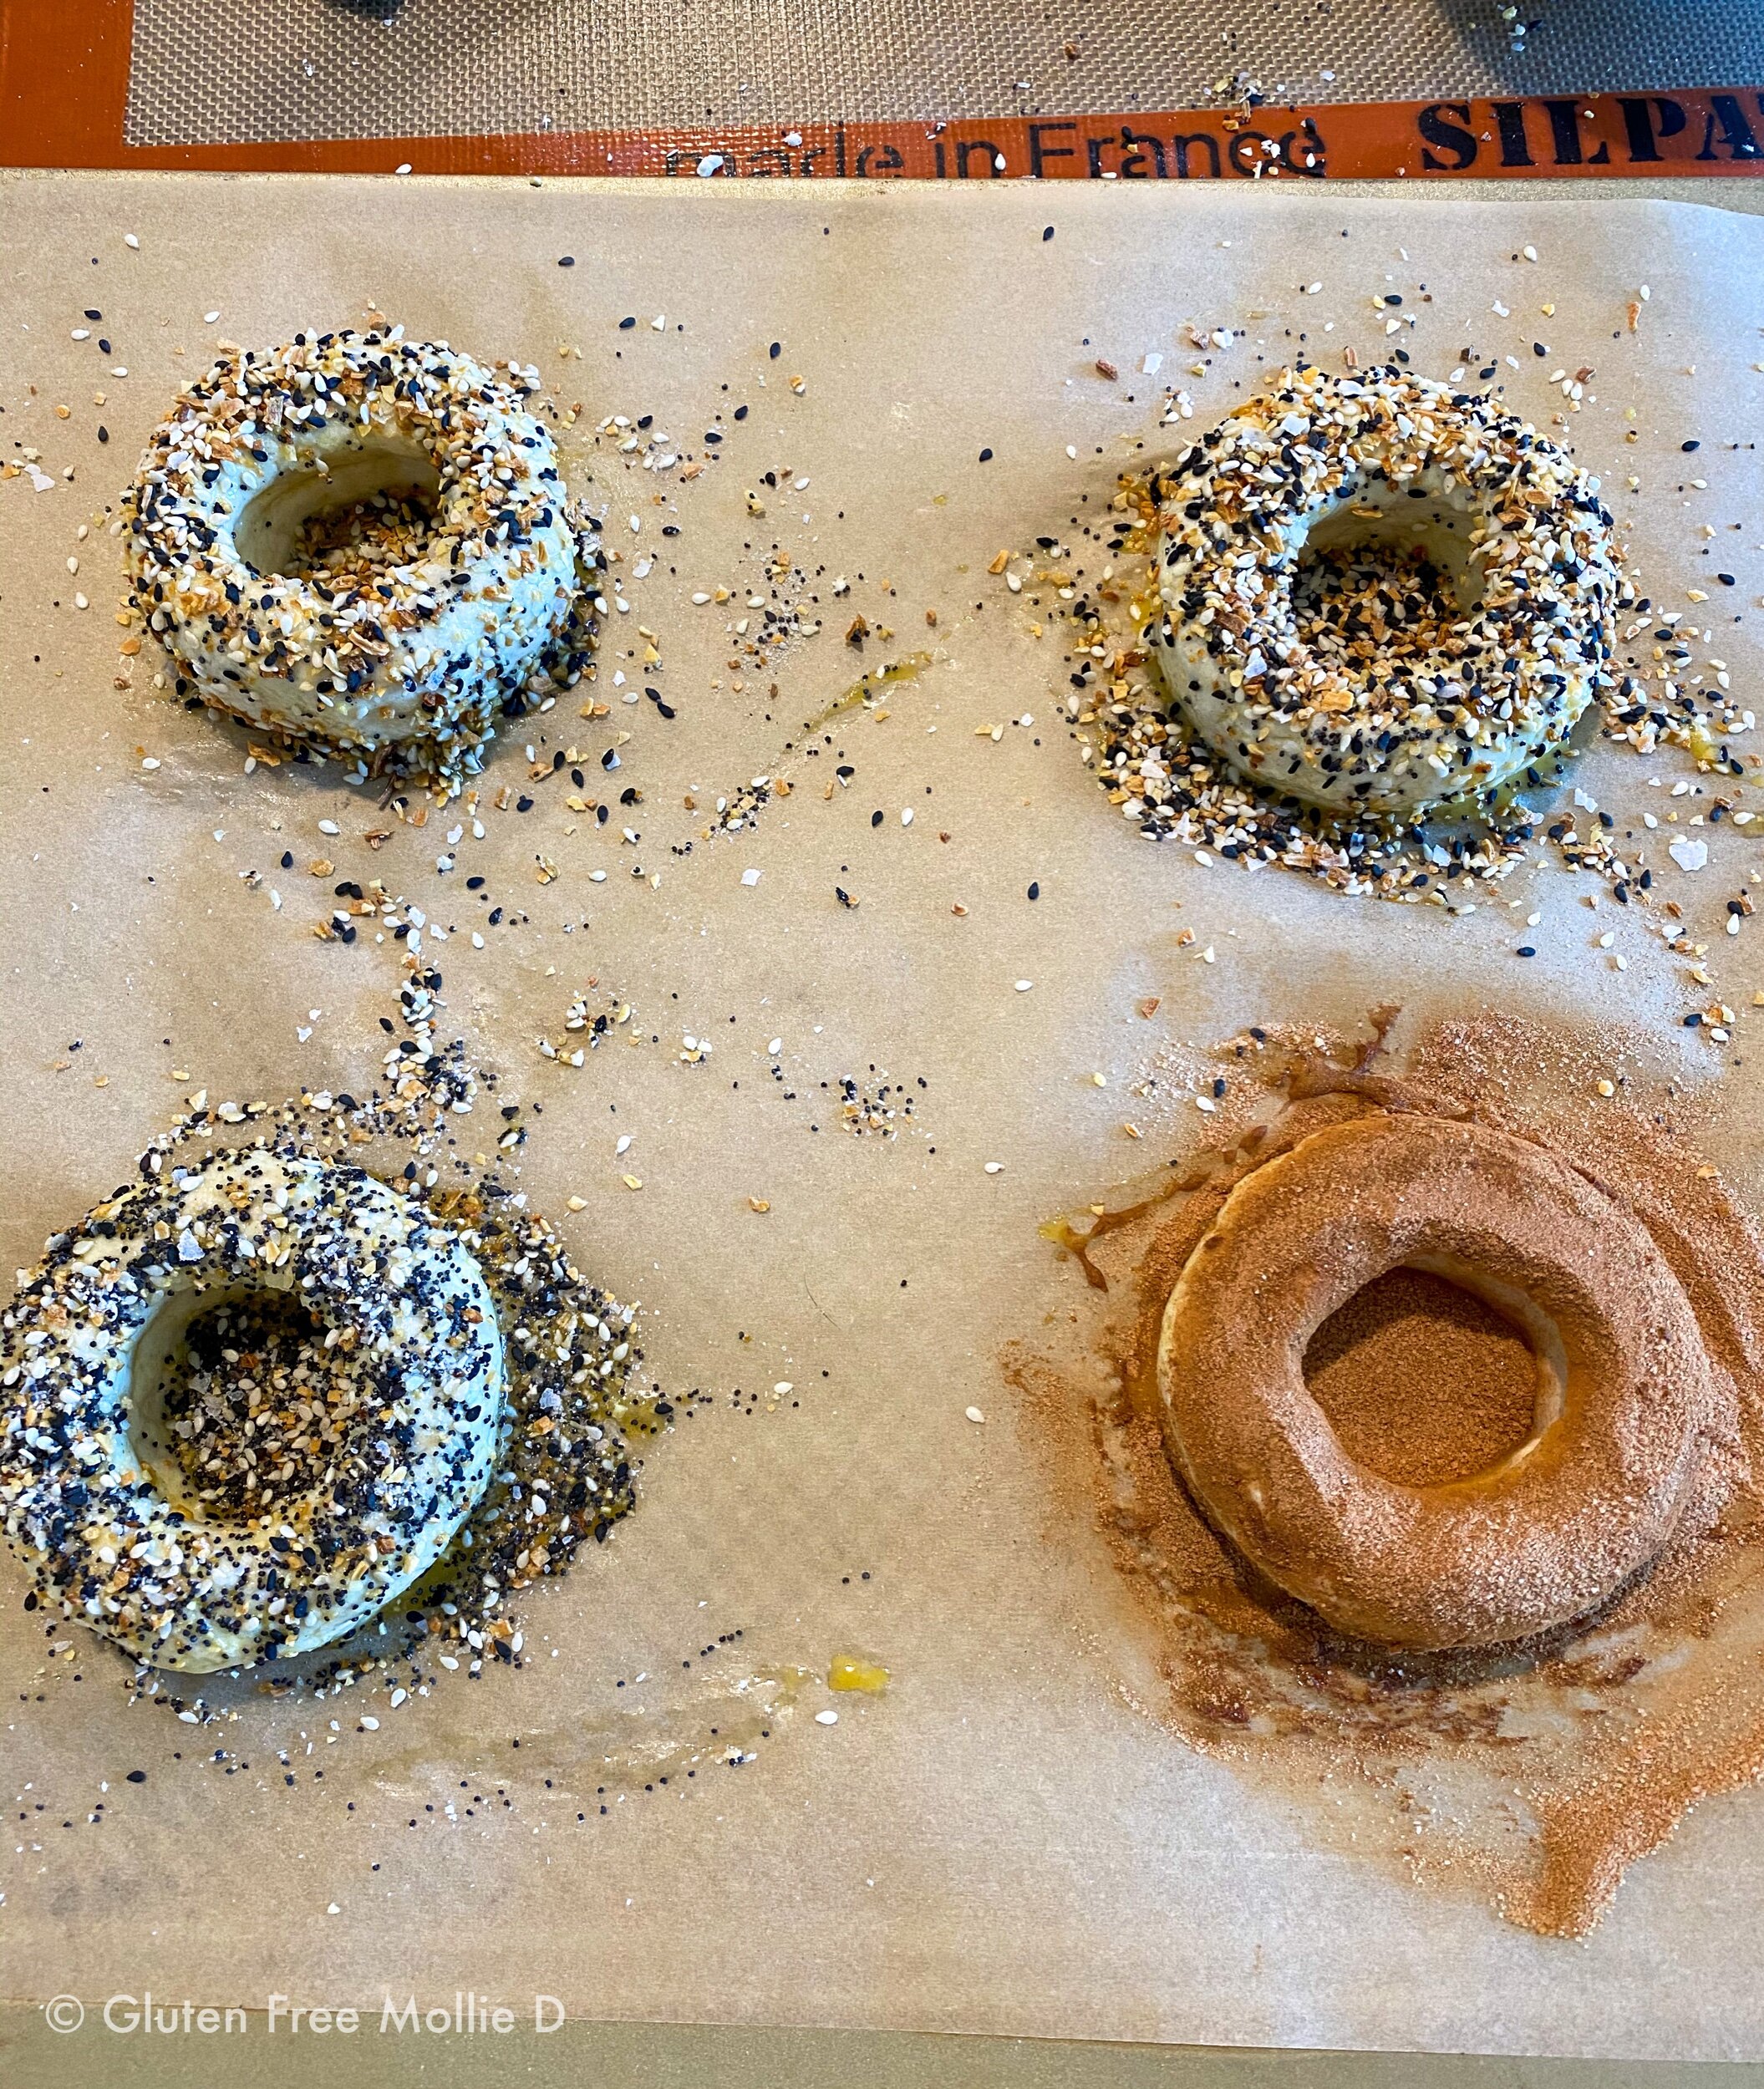
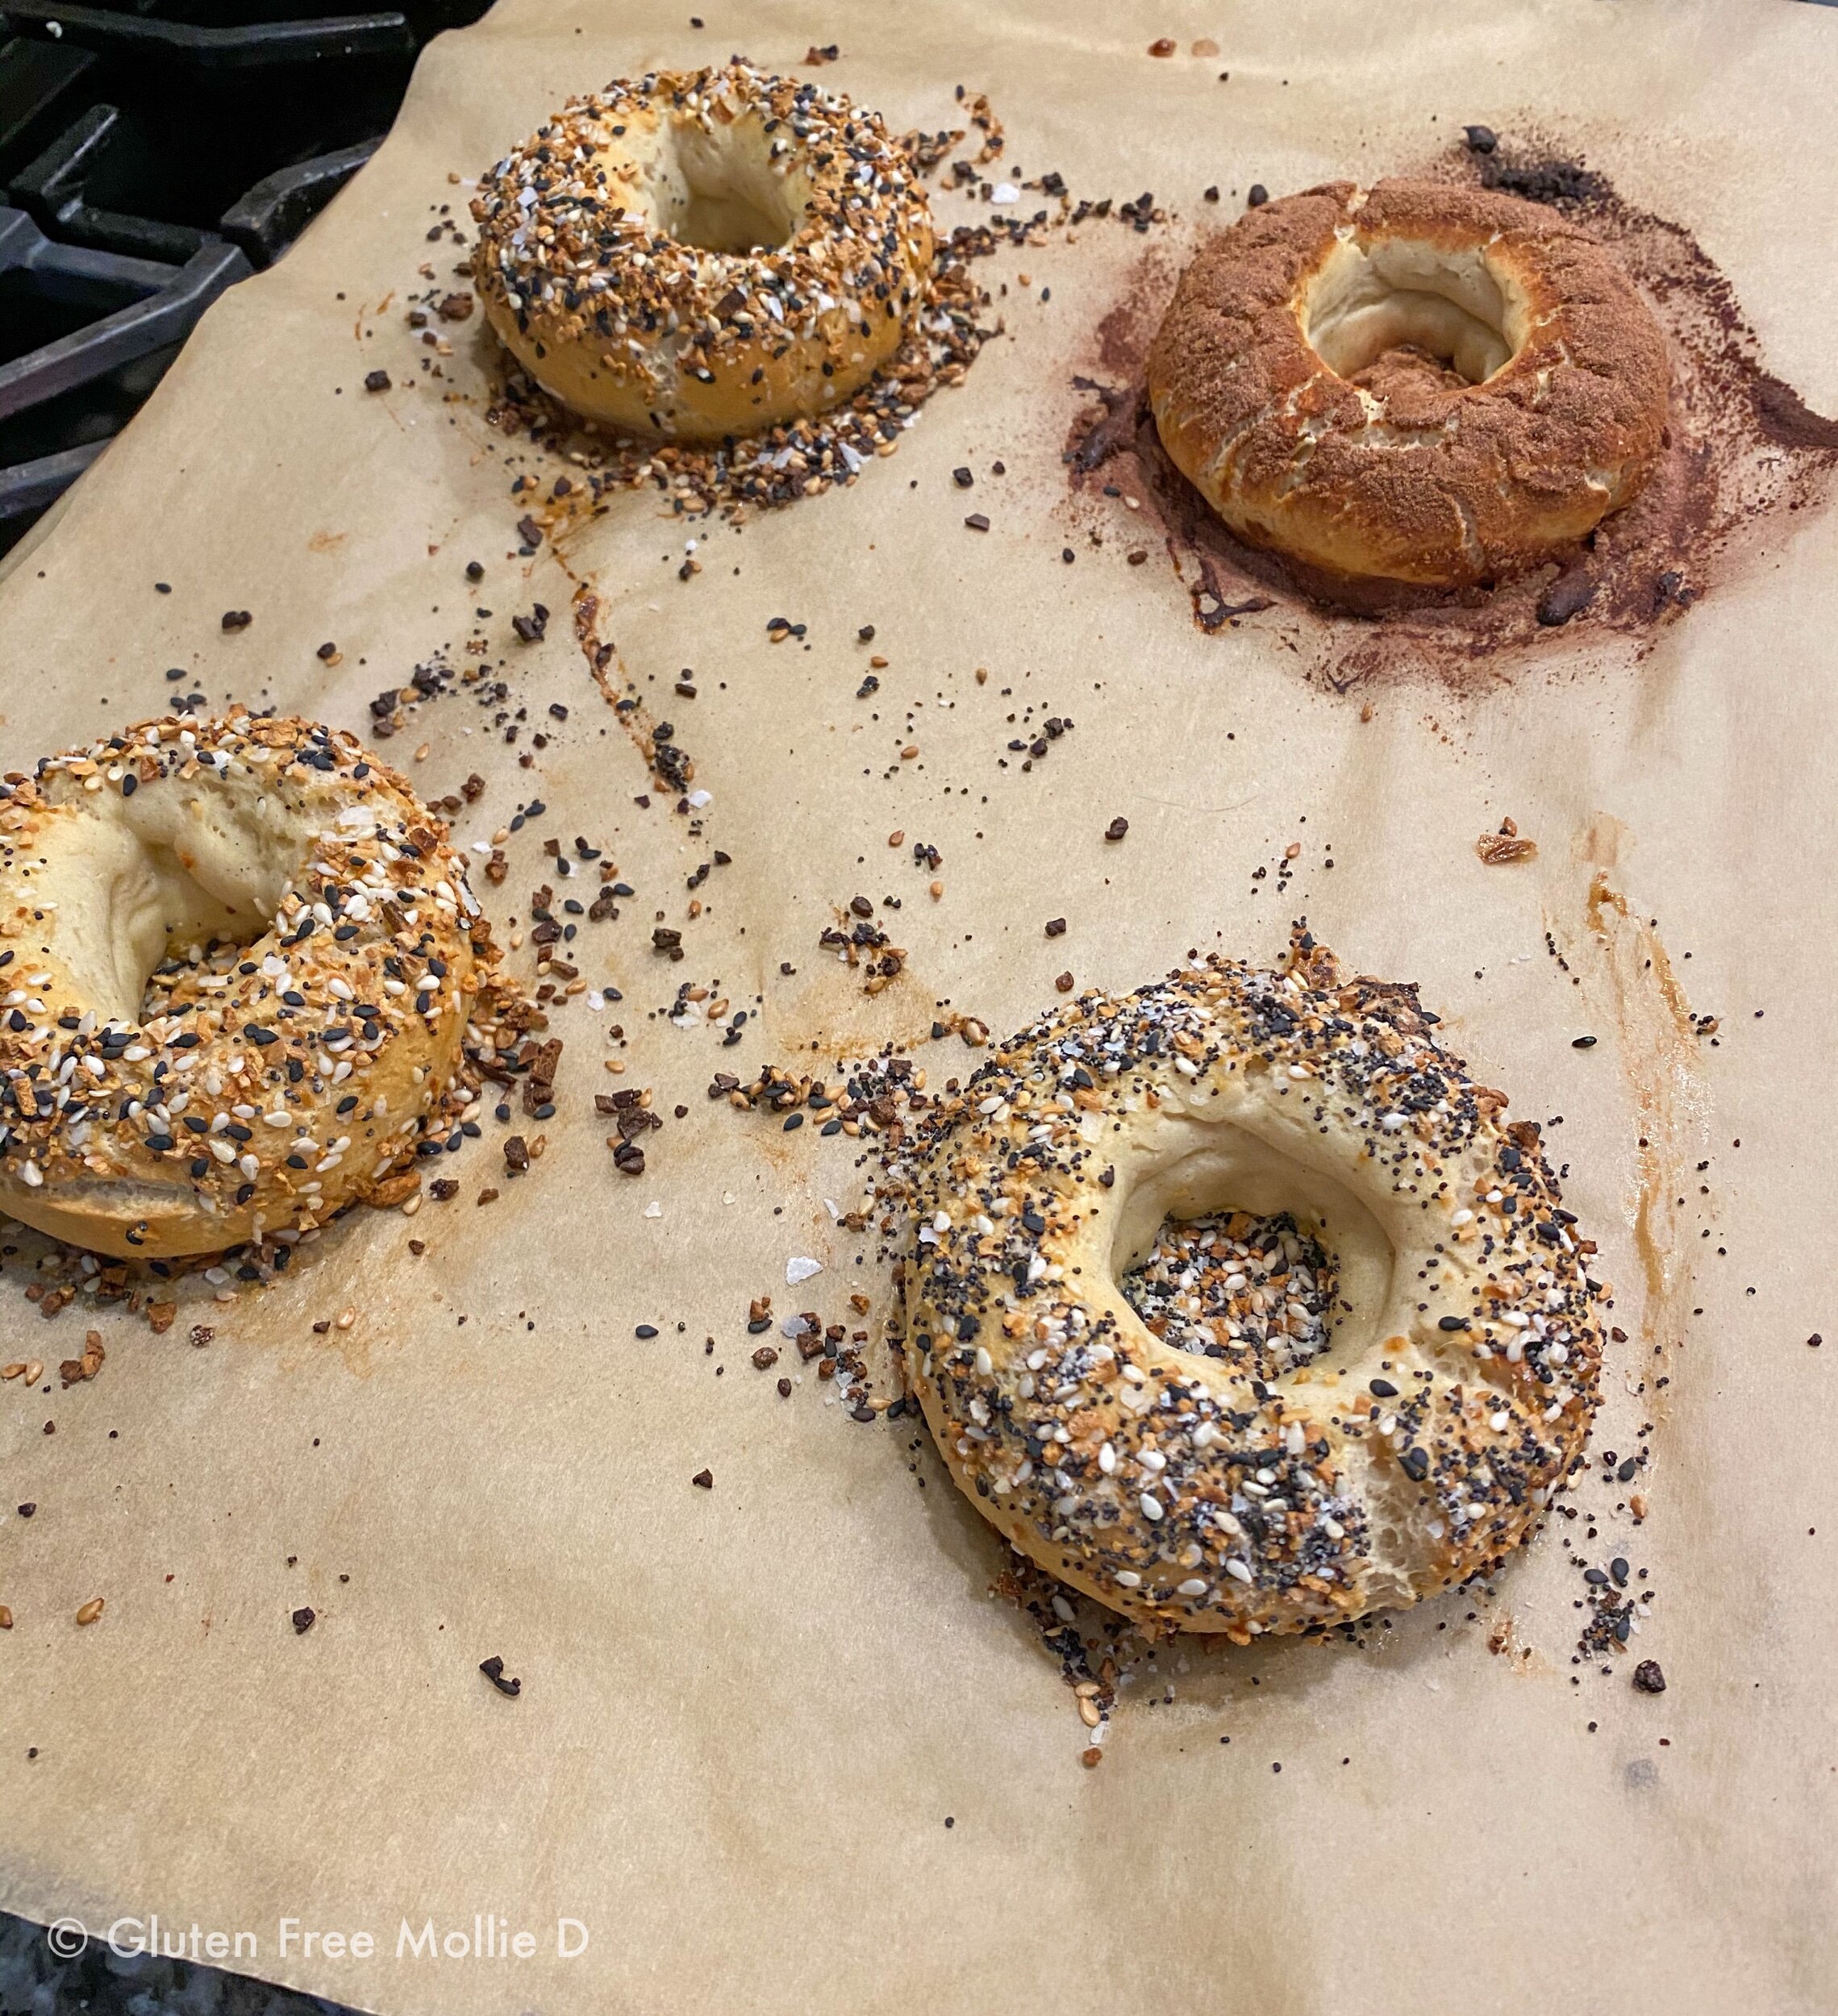
In regard to baking, the first batch I baked at 375 degrees for about 22 1/2 minutes which worked perfectly. For the second batch, I baked them at 400 degrees for about 20 minutes per the recipe’s recommendation for GF bagels. Honestly? I think I liked the results from the lower heat, longer time batch better. The texture was great on both, but I personally preferred the first batch (375 for about 22 minutes).
Once they’re out of the oven, let them rest for up to 10 minutes before slicing and inhaling. It would be such a shame to burn your fingers on a hot bagel; let the bagels rest! I like to slice them when warm, but not too hot.

Shelf Life: 5 minutes? I’m kidding! Fresh, gluten free bagels are best the same day (same hour) that they’re baked. I admit I cannot inform you of their shelf-life past an hour because we ate both batches (on separate days) within the hour they came out of the oven. So fresh, so delicious! I’d imagine they would be OK on day two, but may need to be “freshened up” in the toaster.

Last word: Great gluten free bagels are hard to come by (although they do exist). My trouble is that the moments I crave them most is when they’re the hardest to acquire. Joyfully, this recipe came to the rescue at just the right moment.
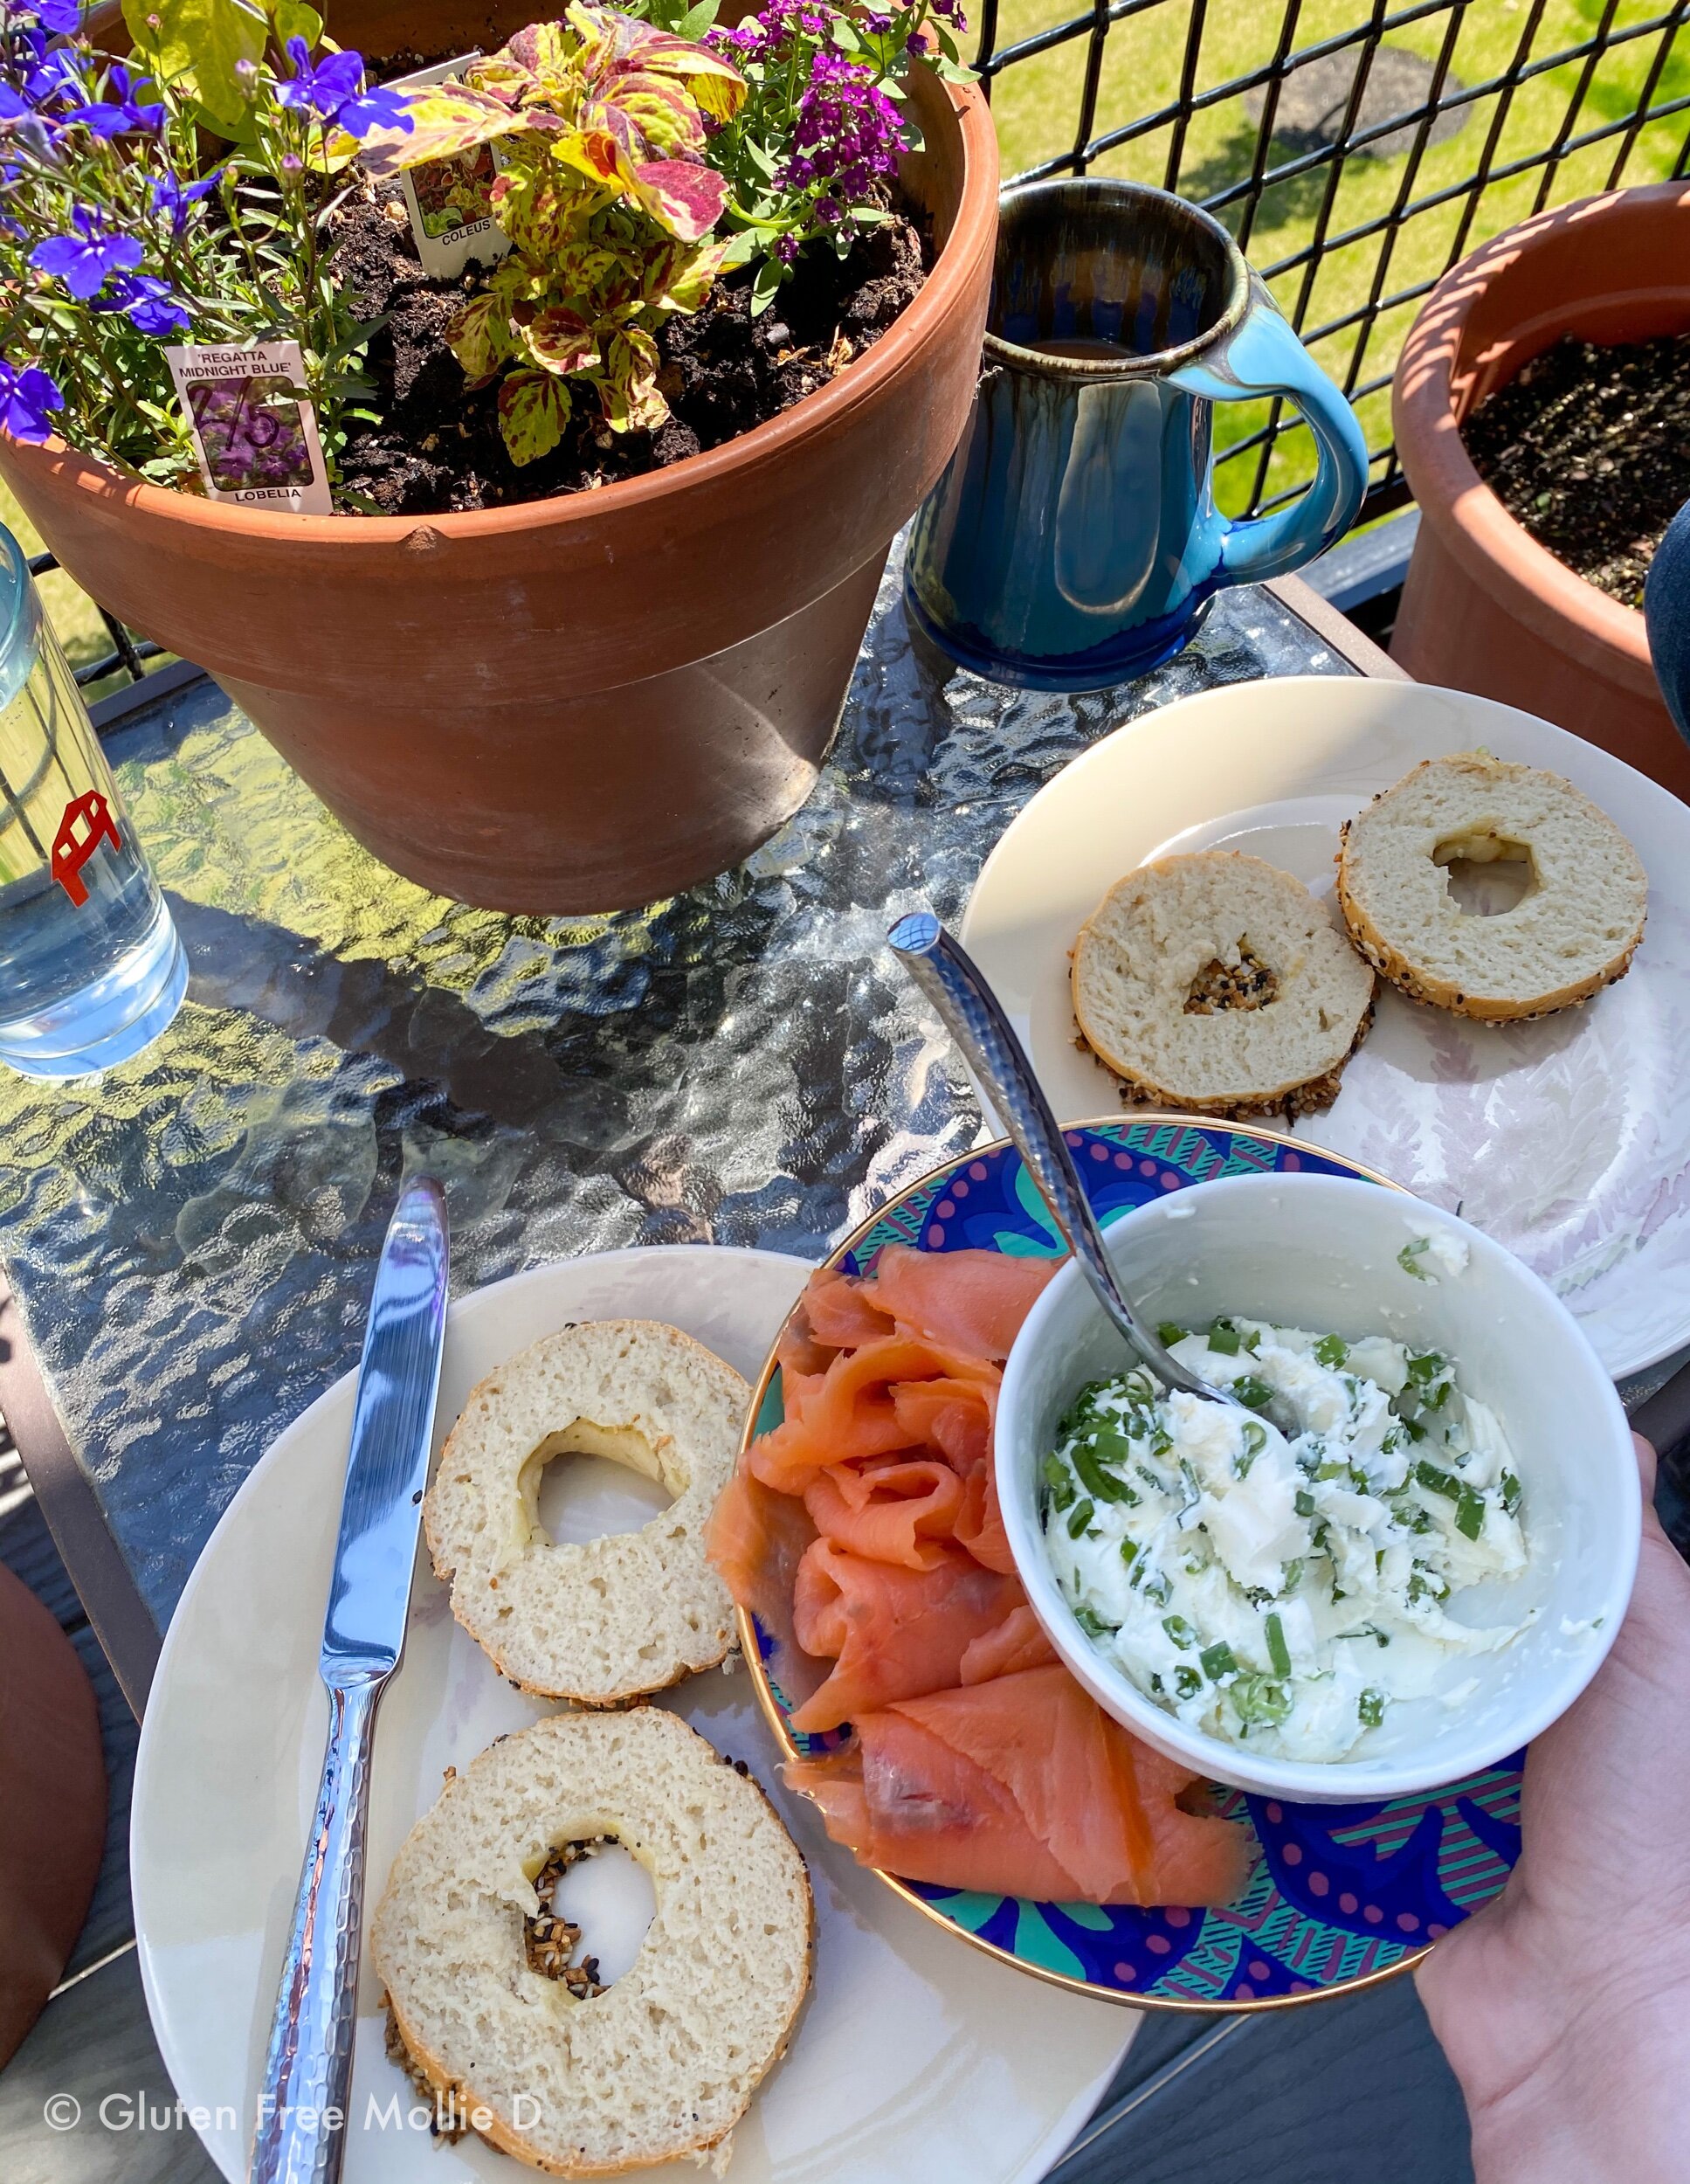
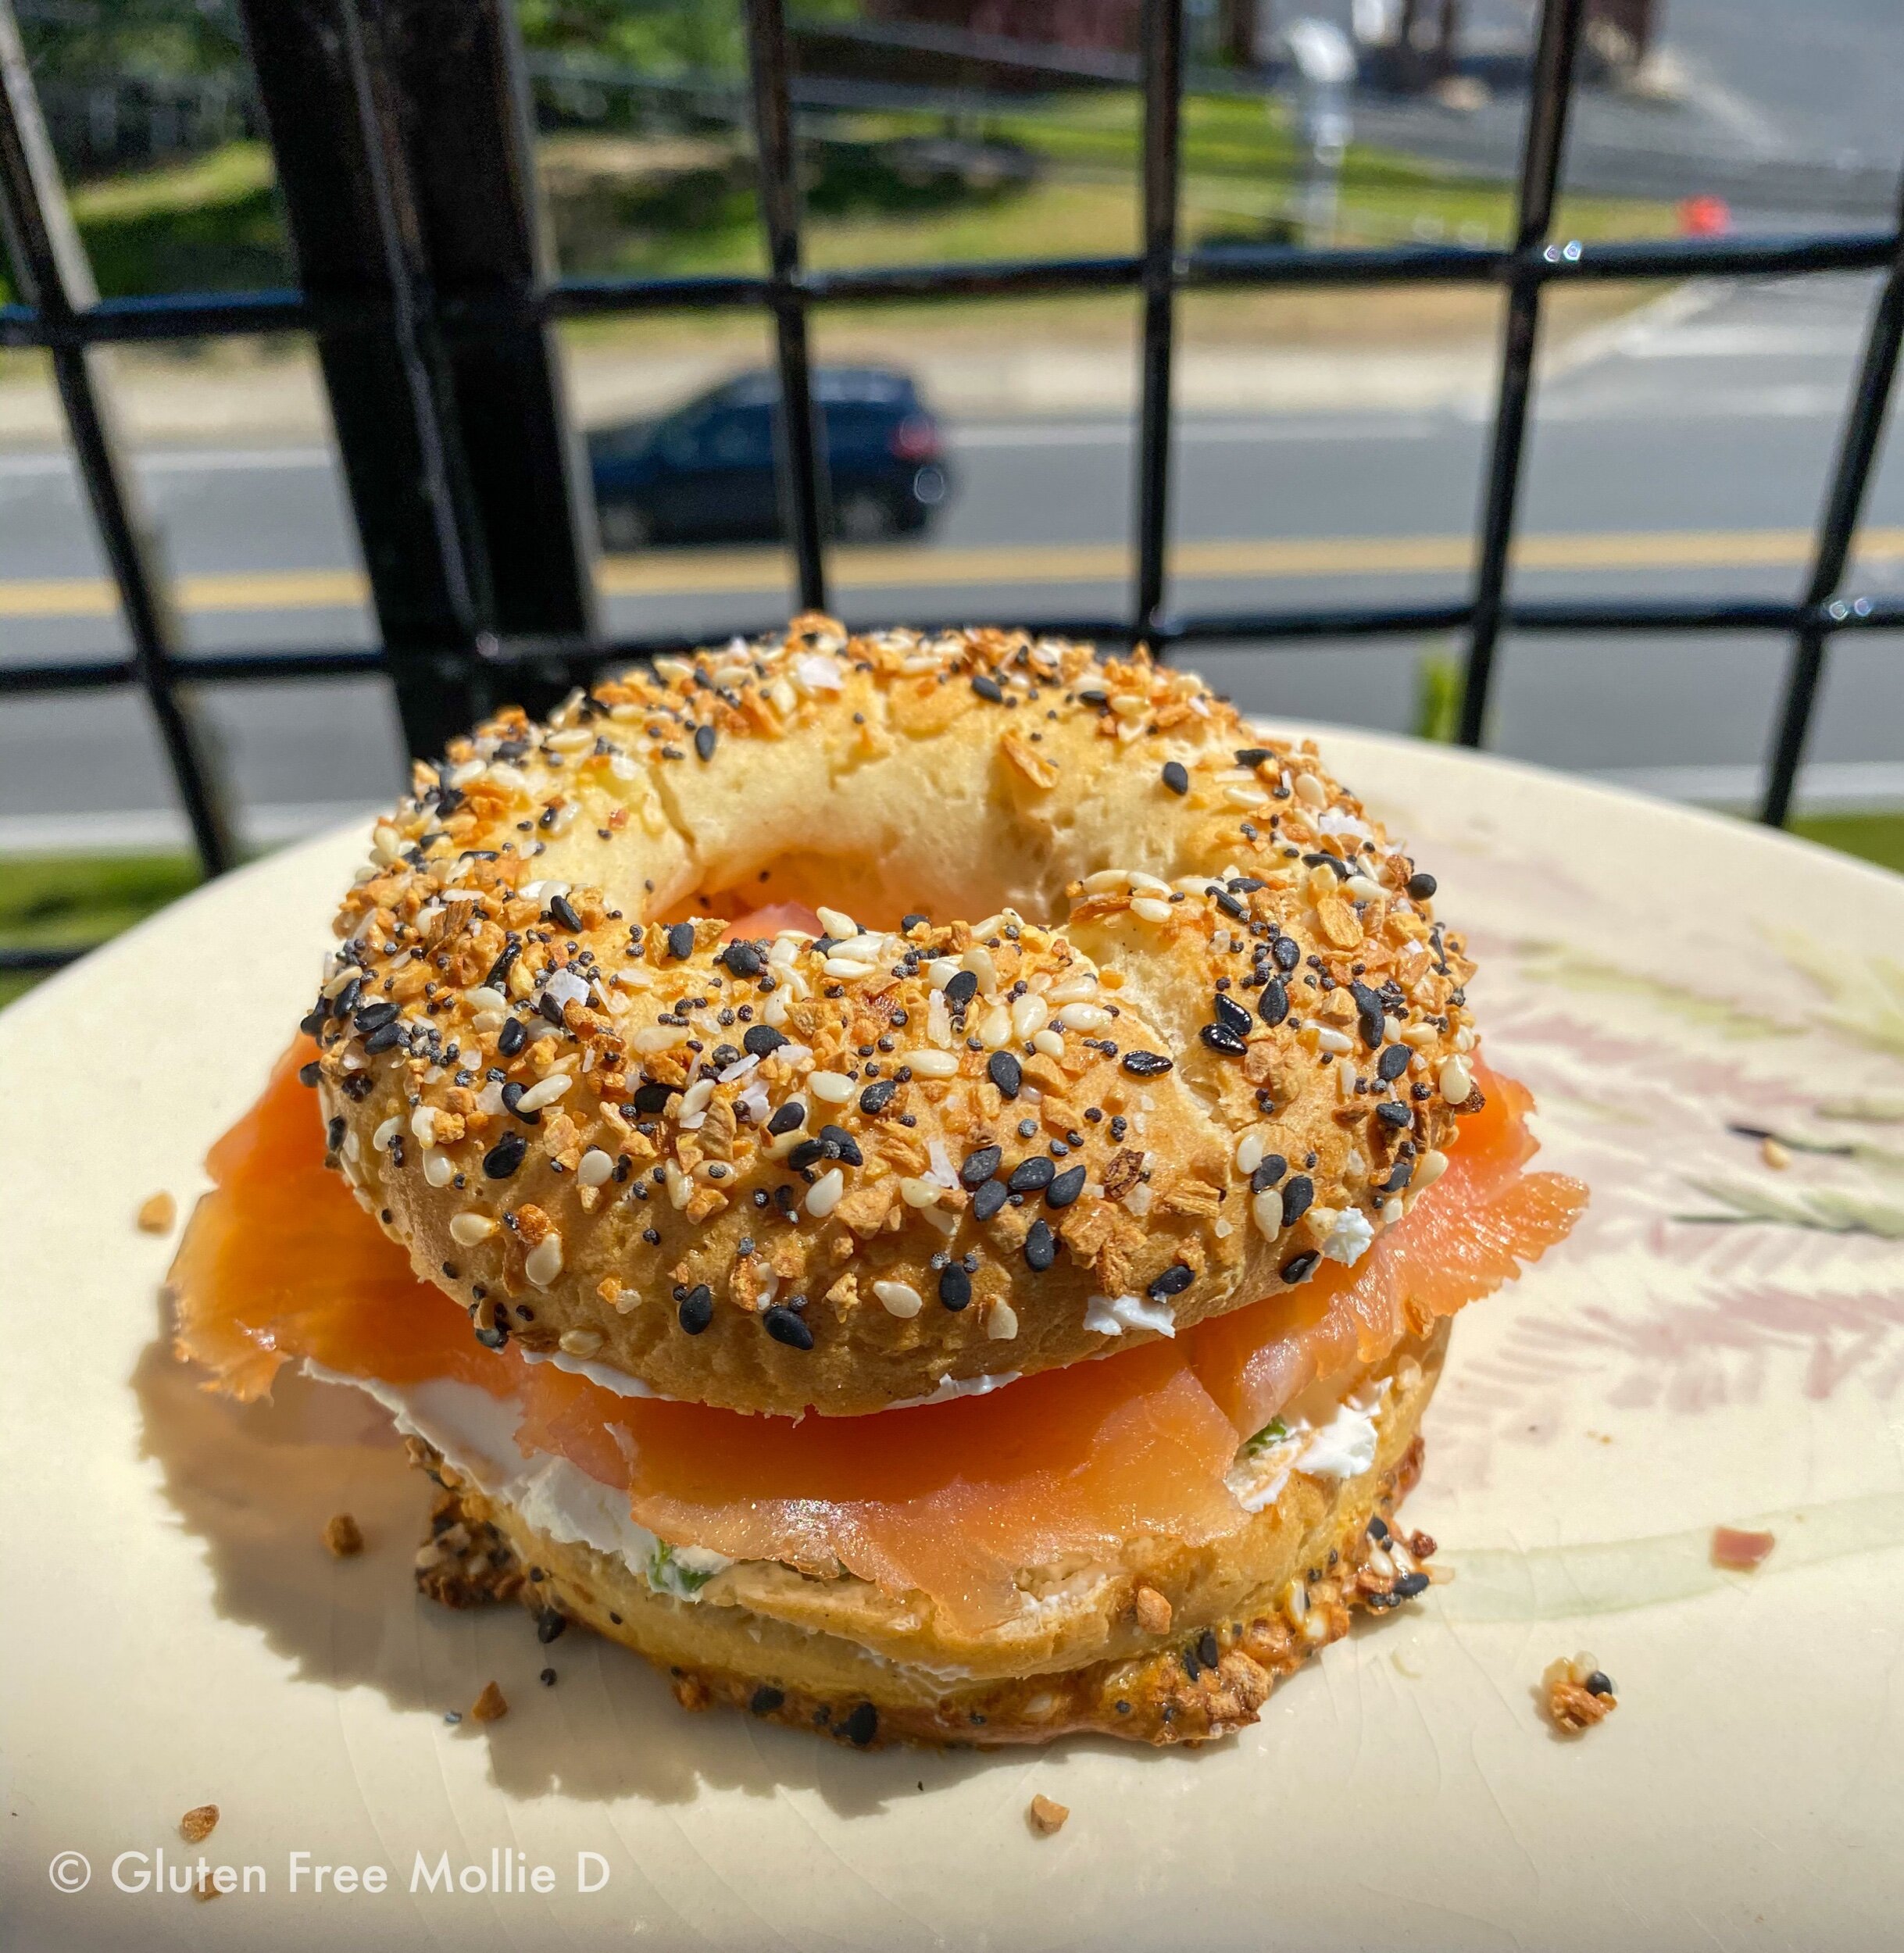
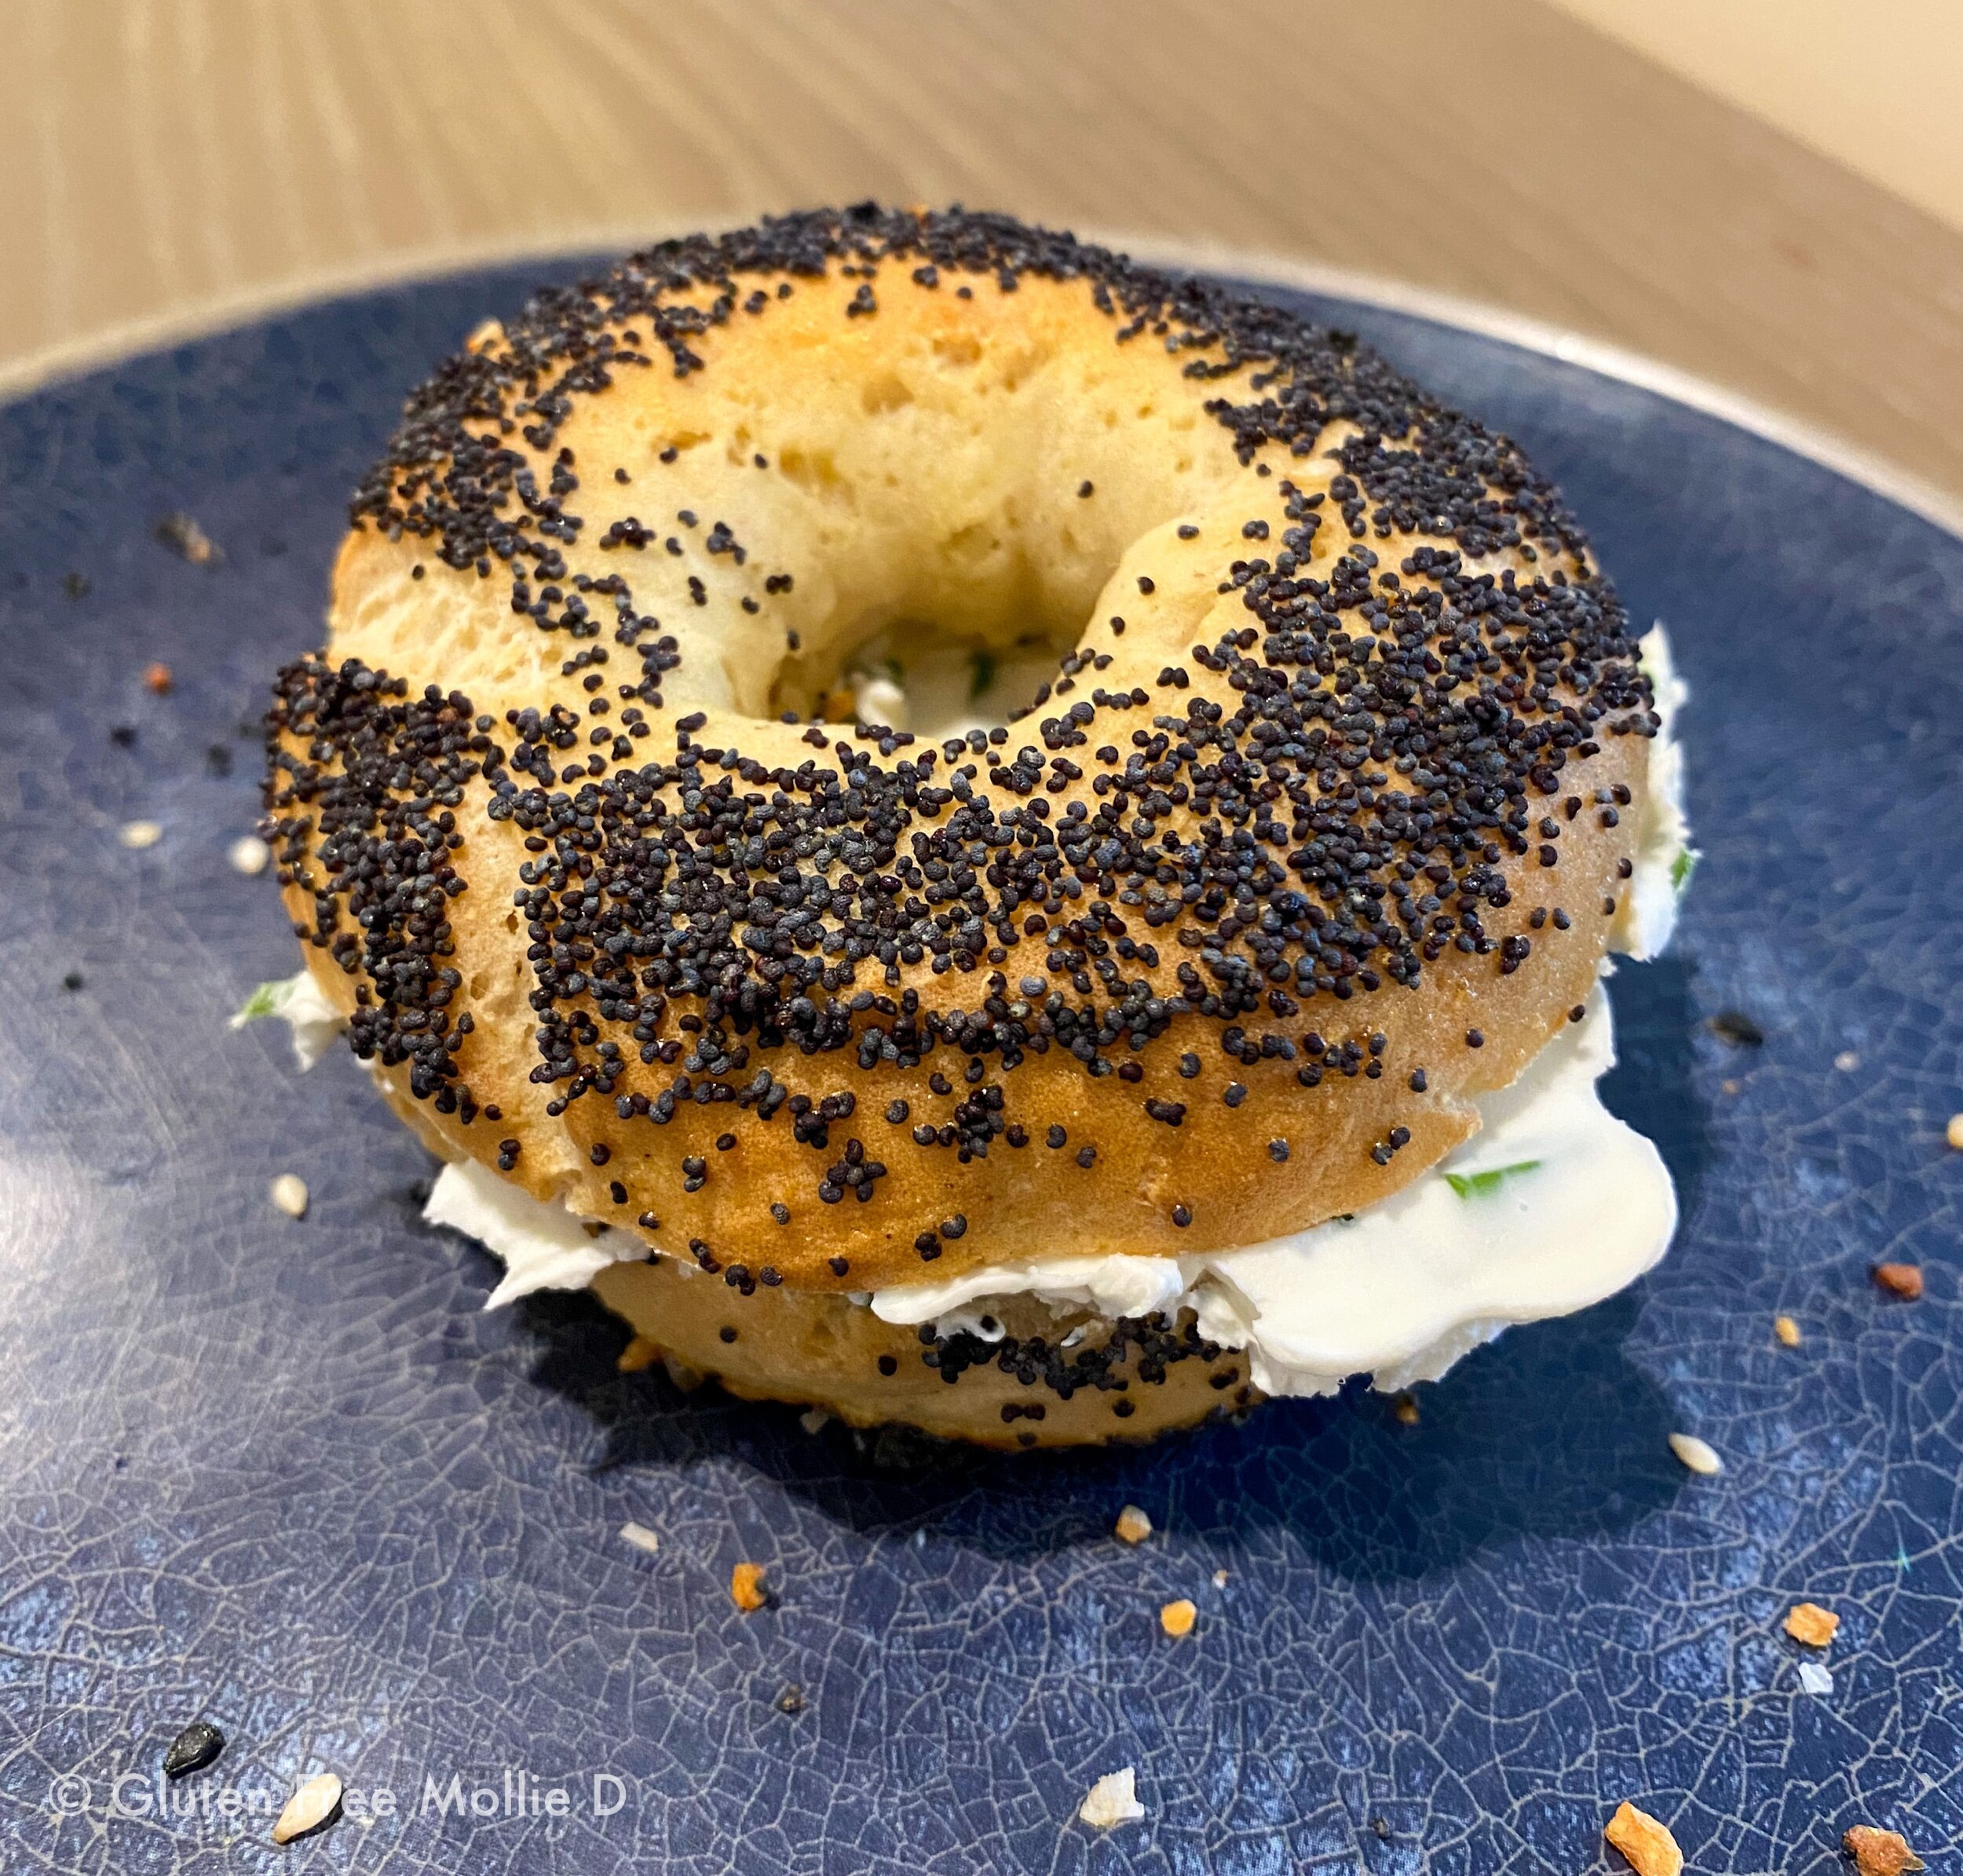
Sunday bagel brunch picnic on our balcony.
You can have delicious, fresh made-from-scratch gluten free bagels on your plate in under an hour, which is pretty much a dream. I call them divine, on-demand bagels. ;)
Triple Chocolate Gluten Free Brownies

Bake This: Triple-Chocolate Brownie Cups from Martha Stewart’s Cookie Perfection.
Gluten Free: I used Cup4Cup Gluten Free Flour and Guittard chocolate chips and cocoa powder. I use Guittard chocolate for all of my chocolate-required baking because it’s gluten free (as it should be) and the quality is incredible. Their baking bars, wafers, chocolate chips, and cocoa powder are excellent.

Tips: The original recipe is actually to create giant brownie cups, but since I didn’t want to order very large paper baking cups (you know the ones), I opted for more traditional brownies by baking them in a 8x8 square baking dish.
The recipe notes that this is an option and offers a recommended baking time for both the brownie cups and a more standard pan version. Maybe one day I will go the giant brownie cup route, but not today. I like a regular, square-ish brownie. Call me boring. I won’t mind!
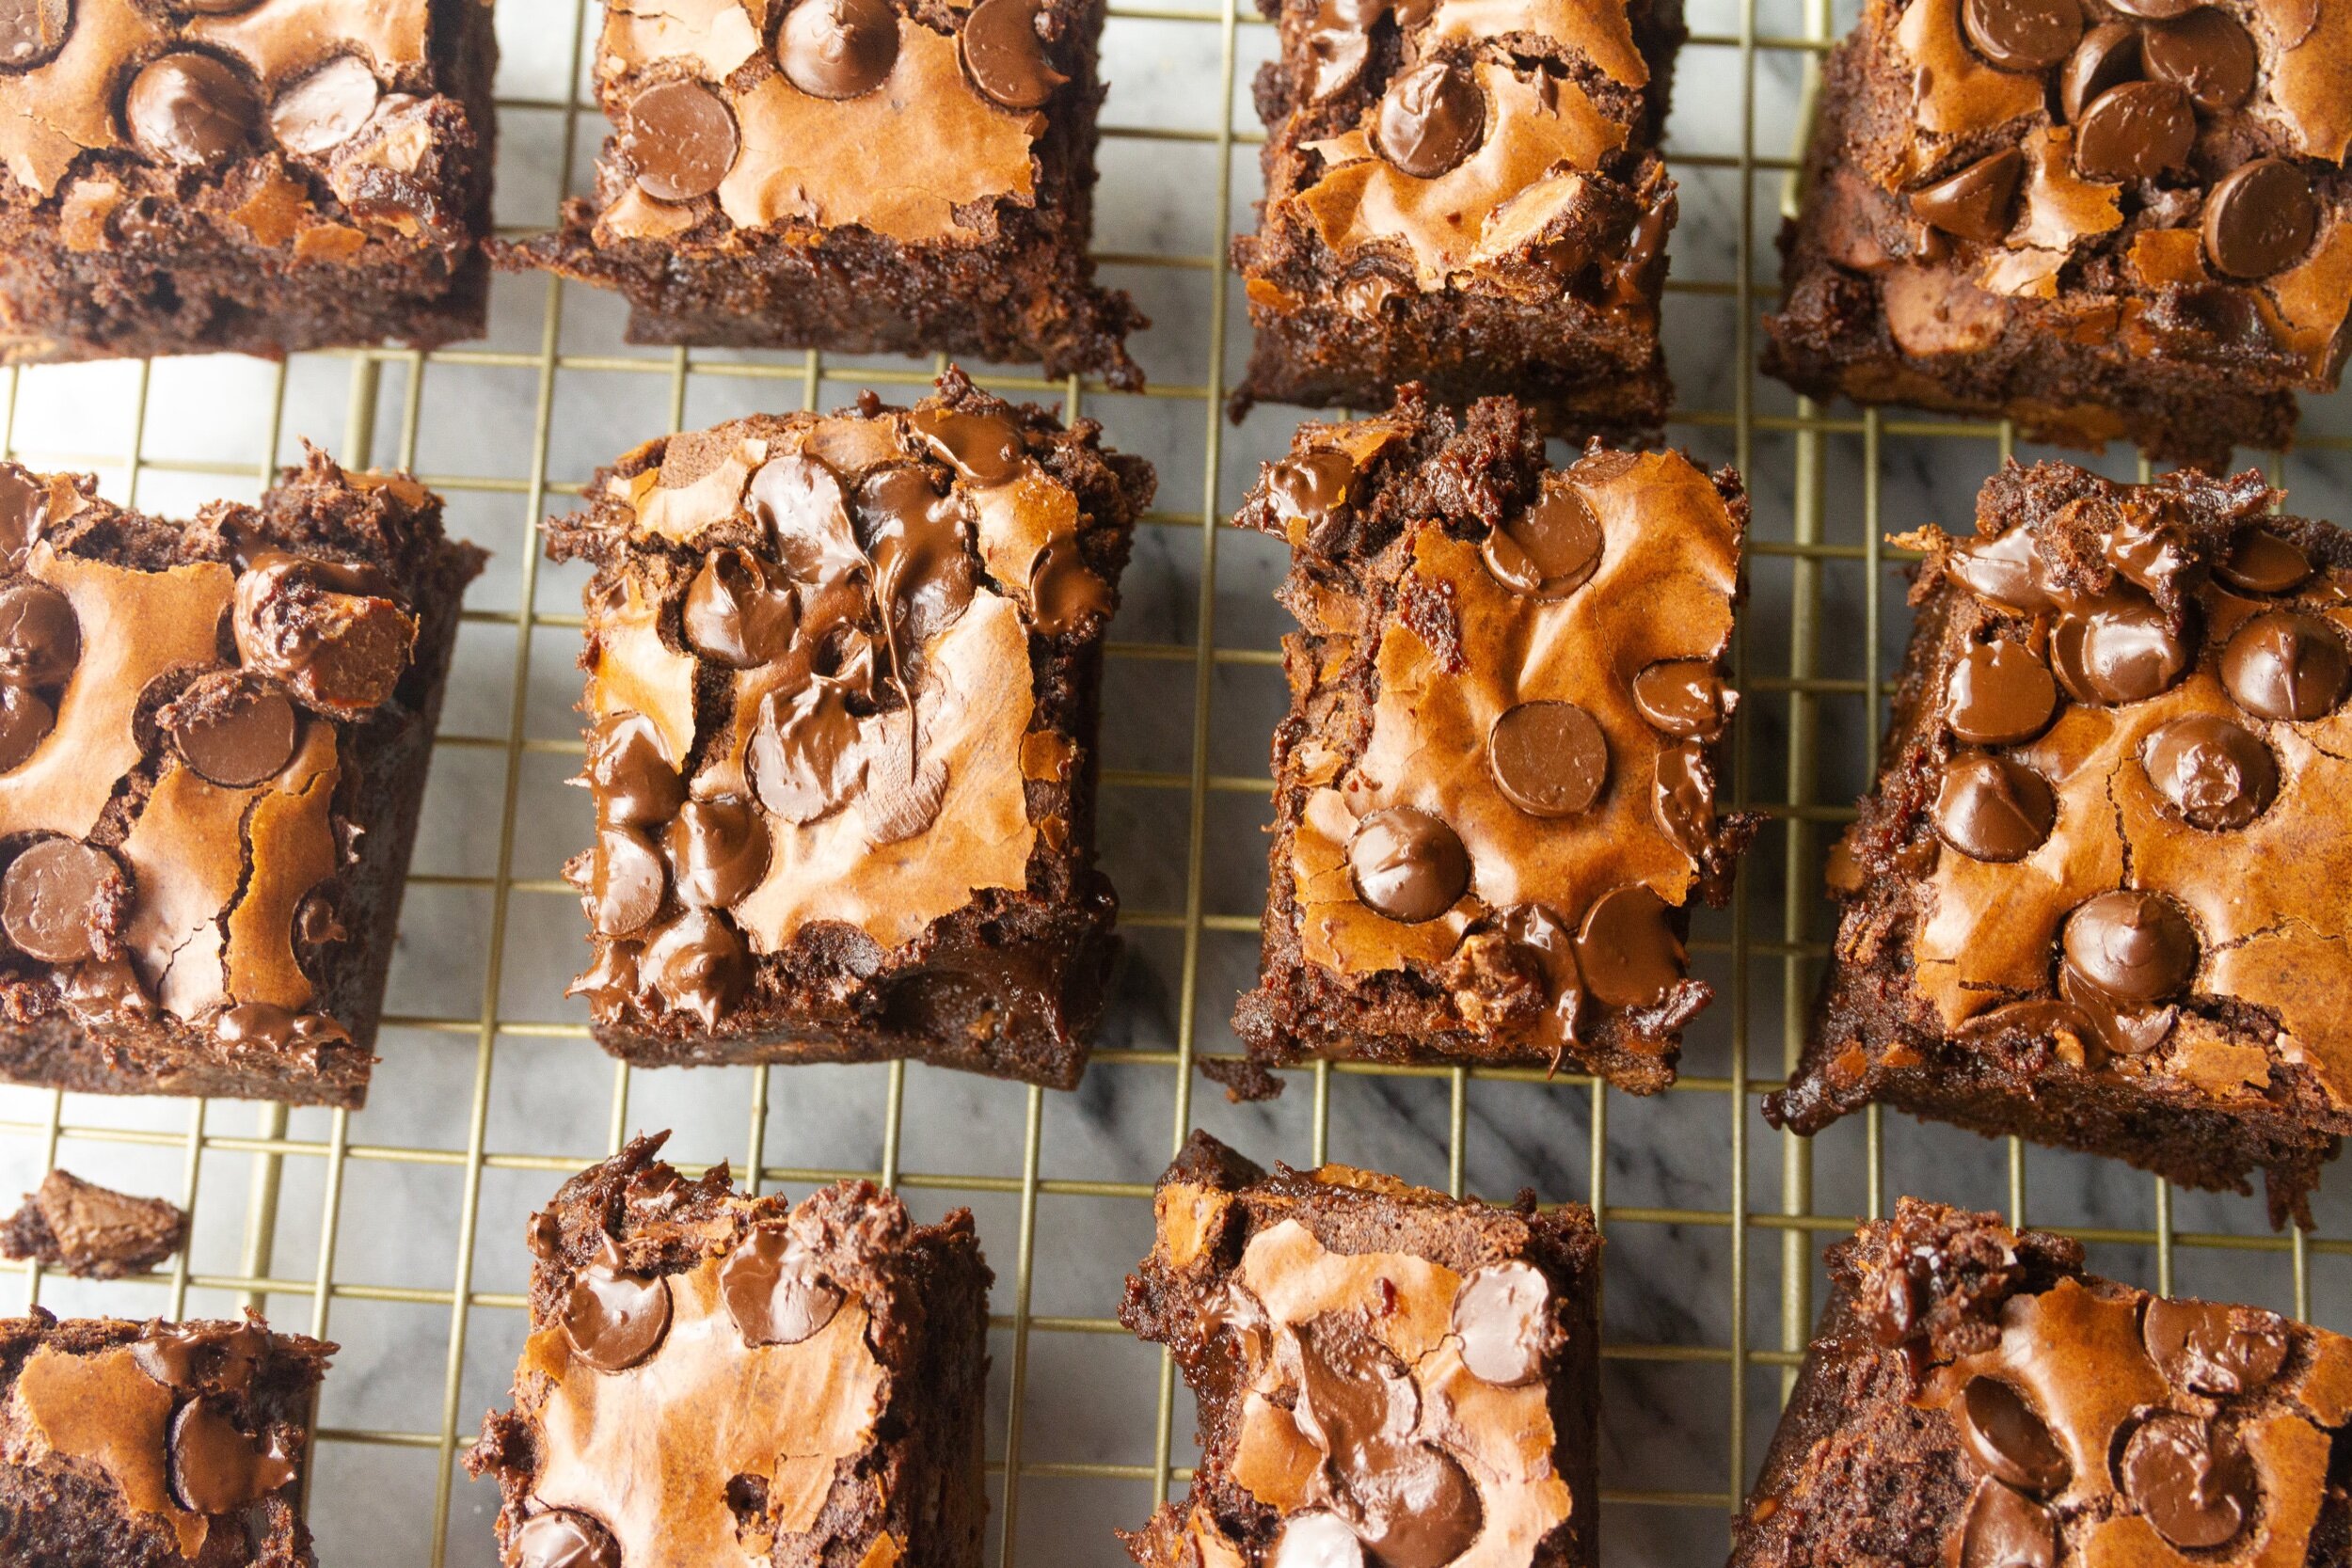
In terms of preparation, I followed the instructions exactly except for one part: I changed up the chips! Instead of using milk chocolate and white chocolate chips in the batter, I only added milk chocolate chips and then sprinkled extra-dark chocolate chips on top of the pan of brownies before baking. This is living, my friends.

To be honest, we don’t stock white chocolate chips in my baking drawer and I don’t bake much that calls for them that often. Alas, my chip-edit came to be. And honestly, I think they turned out very well despite the lack of white chocolate.
For baking, I followed the instructions to bake the brownies at 350 degrees for around 35-40 minutes. These were very thick brownies so extra time was necessary. When I finally pulled them from the oven, it was at about 47 minutes. I probably could have left them in another minute, but I prefer to live on the edge; a gooey center piece of brownie is like winning the dessert lottery. ;)

Be sure to let them rest for a while before trying to slice out a piece (be patient!). We waited a few hours (you know, to eat dinner first) and then sliced them up right before watching the ever-exciting TV of Sunday night.

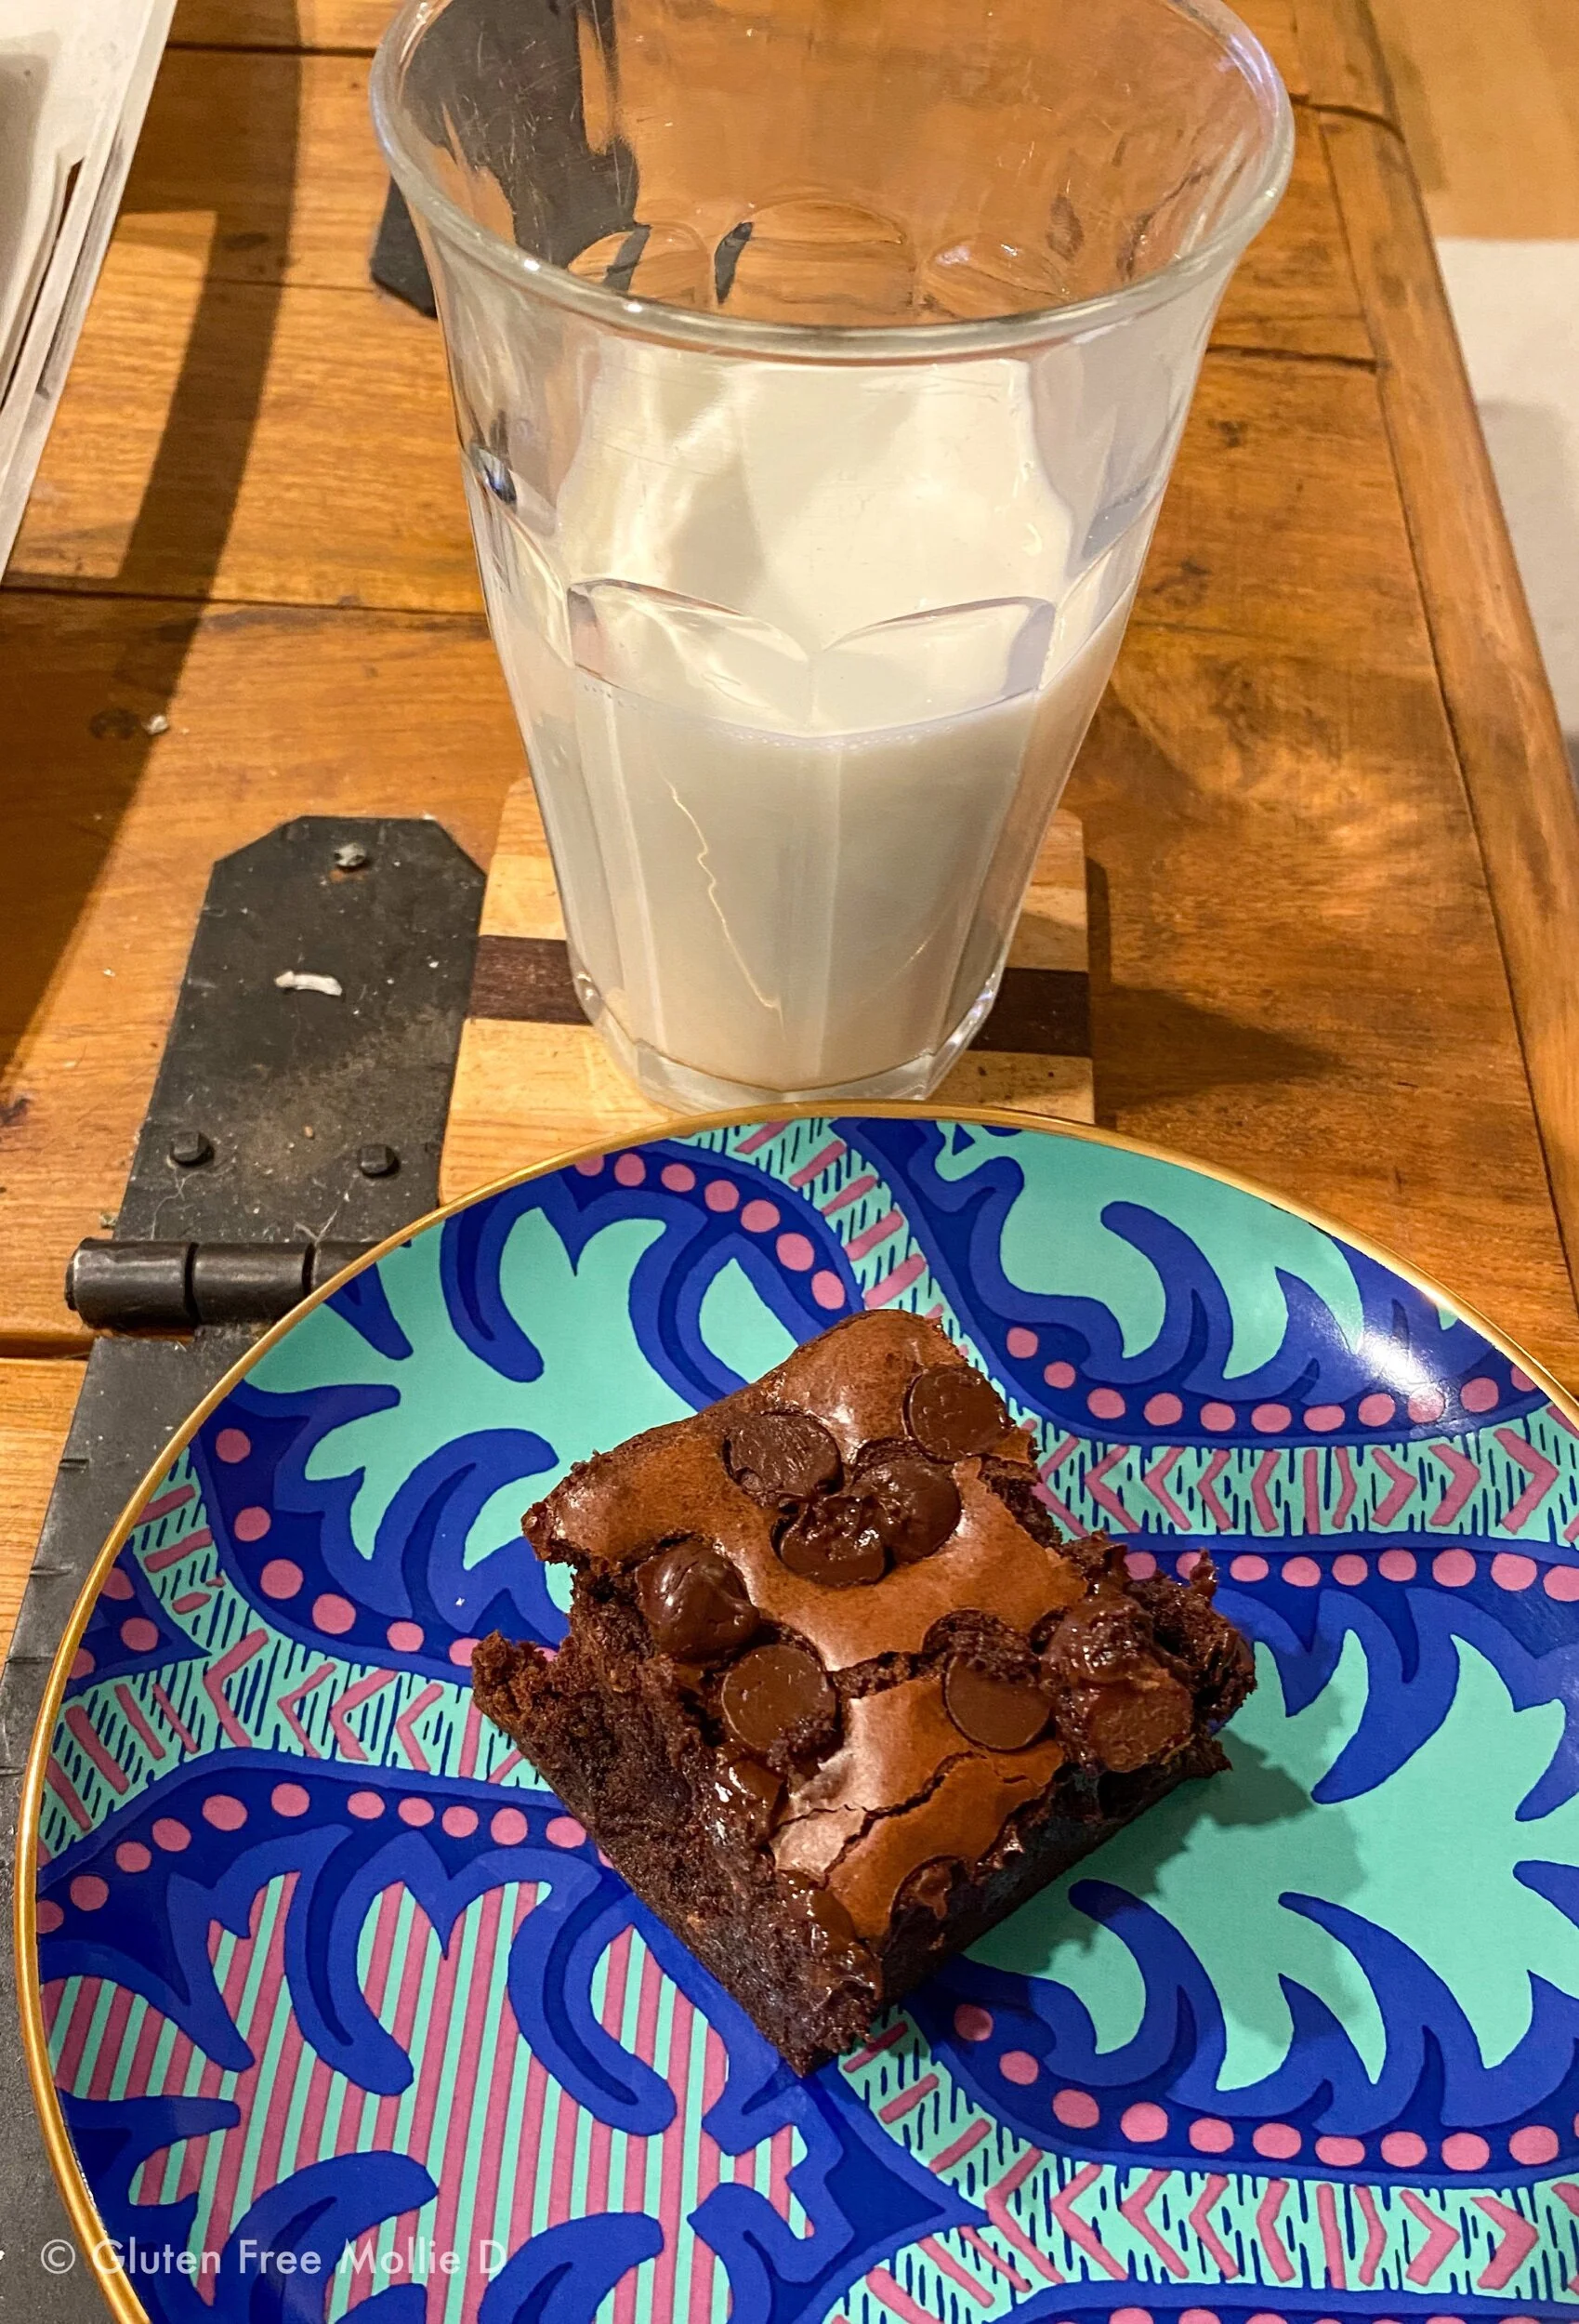
The buttered parchment paper is key to make sure they come out of the pan smoothly and don’t stick to anything when being sliced. Make sure you have a glass of milk handy; these brownies are fudgey and rich. Like whoah.
Shelf Life: Obviously, brownies are best fresh from the oven and I won’t change my mind on that. However, I do think brownies, day two, are still pretty spectacular. Even on day three, they’re yummy and satisfying. It wasn’t until day five or six when we noticed the quality starting to change, but the flavor still great.
I think these brownies lasted the better part of a week, stored in a container on the counter, but they were best during the first three days. It took all of our willpower to not polish them off way too quickly.

Last word: If you’re looking for a really decadent chocolate dessert that’s easy to prepare, then these brownies are for you. They’re rich, fudgey, and ridiculously delicious. They don’t take long to make and you can have dinner while you wait for them to cool.

Great for a weeknight dessert or bring a batch to a friend (from a safe distance). These brownies are fantastic and will be a favorite for all of the brownie, and chocolate, fans in your life.

*****************
So, which will it be? Bagels or brownies? Or will you have the ultimate Sunday Funday and bake them both? I can’t wait to find out.
Enjoy!
