Mollie Bakes: Bread
Welcome to Mollie Bakes! In this series, yours truly will be baking a new “baked good” each month and will share the process along the way. Let’s get started!
For this inaugural episode, I decided to partner with our favorite brand for all-things flour-y, Jovial Foods (their GF pasta is the best!). And for my first baking venture, I decided to make something I crave fairly often, but have yet to find a store-bought version that will satisfy those cravings and is as all-natural as I prefer: Bread! To be more specific: Rye Bread.

While those of us with Celiac cannot have traditional rye bread, the wonderful people over at Jovial Foods have a recipe on their website for gluten free mock rye onion-caraway bread that I just had to tackle for this first whirl of baking. Not only do they offer a vast number of (free) gluten free recipes on their website, they all feature their very own Gluten Free Bread Flour, which is what we have used for the bread I baked.

My husband and I have fond memories of enjoying Reuben sandwiches on rye, and so we thought this would be the perfect “flavor” of bread to bake first. Amidst the first few steps of making this beautiful loaf, I just knew it was going to be amazing. My years of (semi-patiently) waiting for a delicious, homemade Reuben sandwich were finally over.

Mollie Bakes: Bread
Recipe: Gluten Free Mock Rye Onion-Caraway Bread
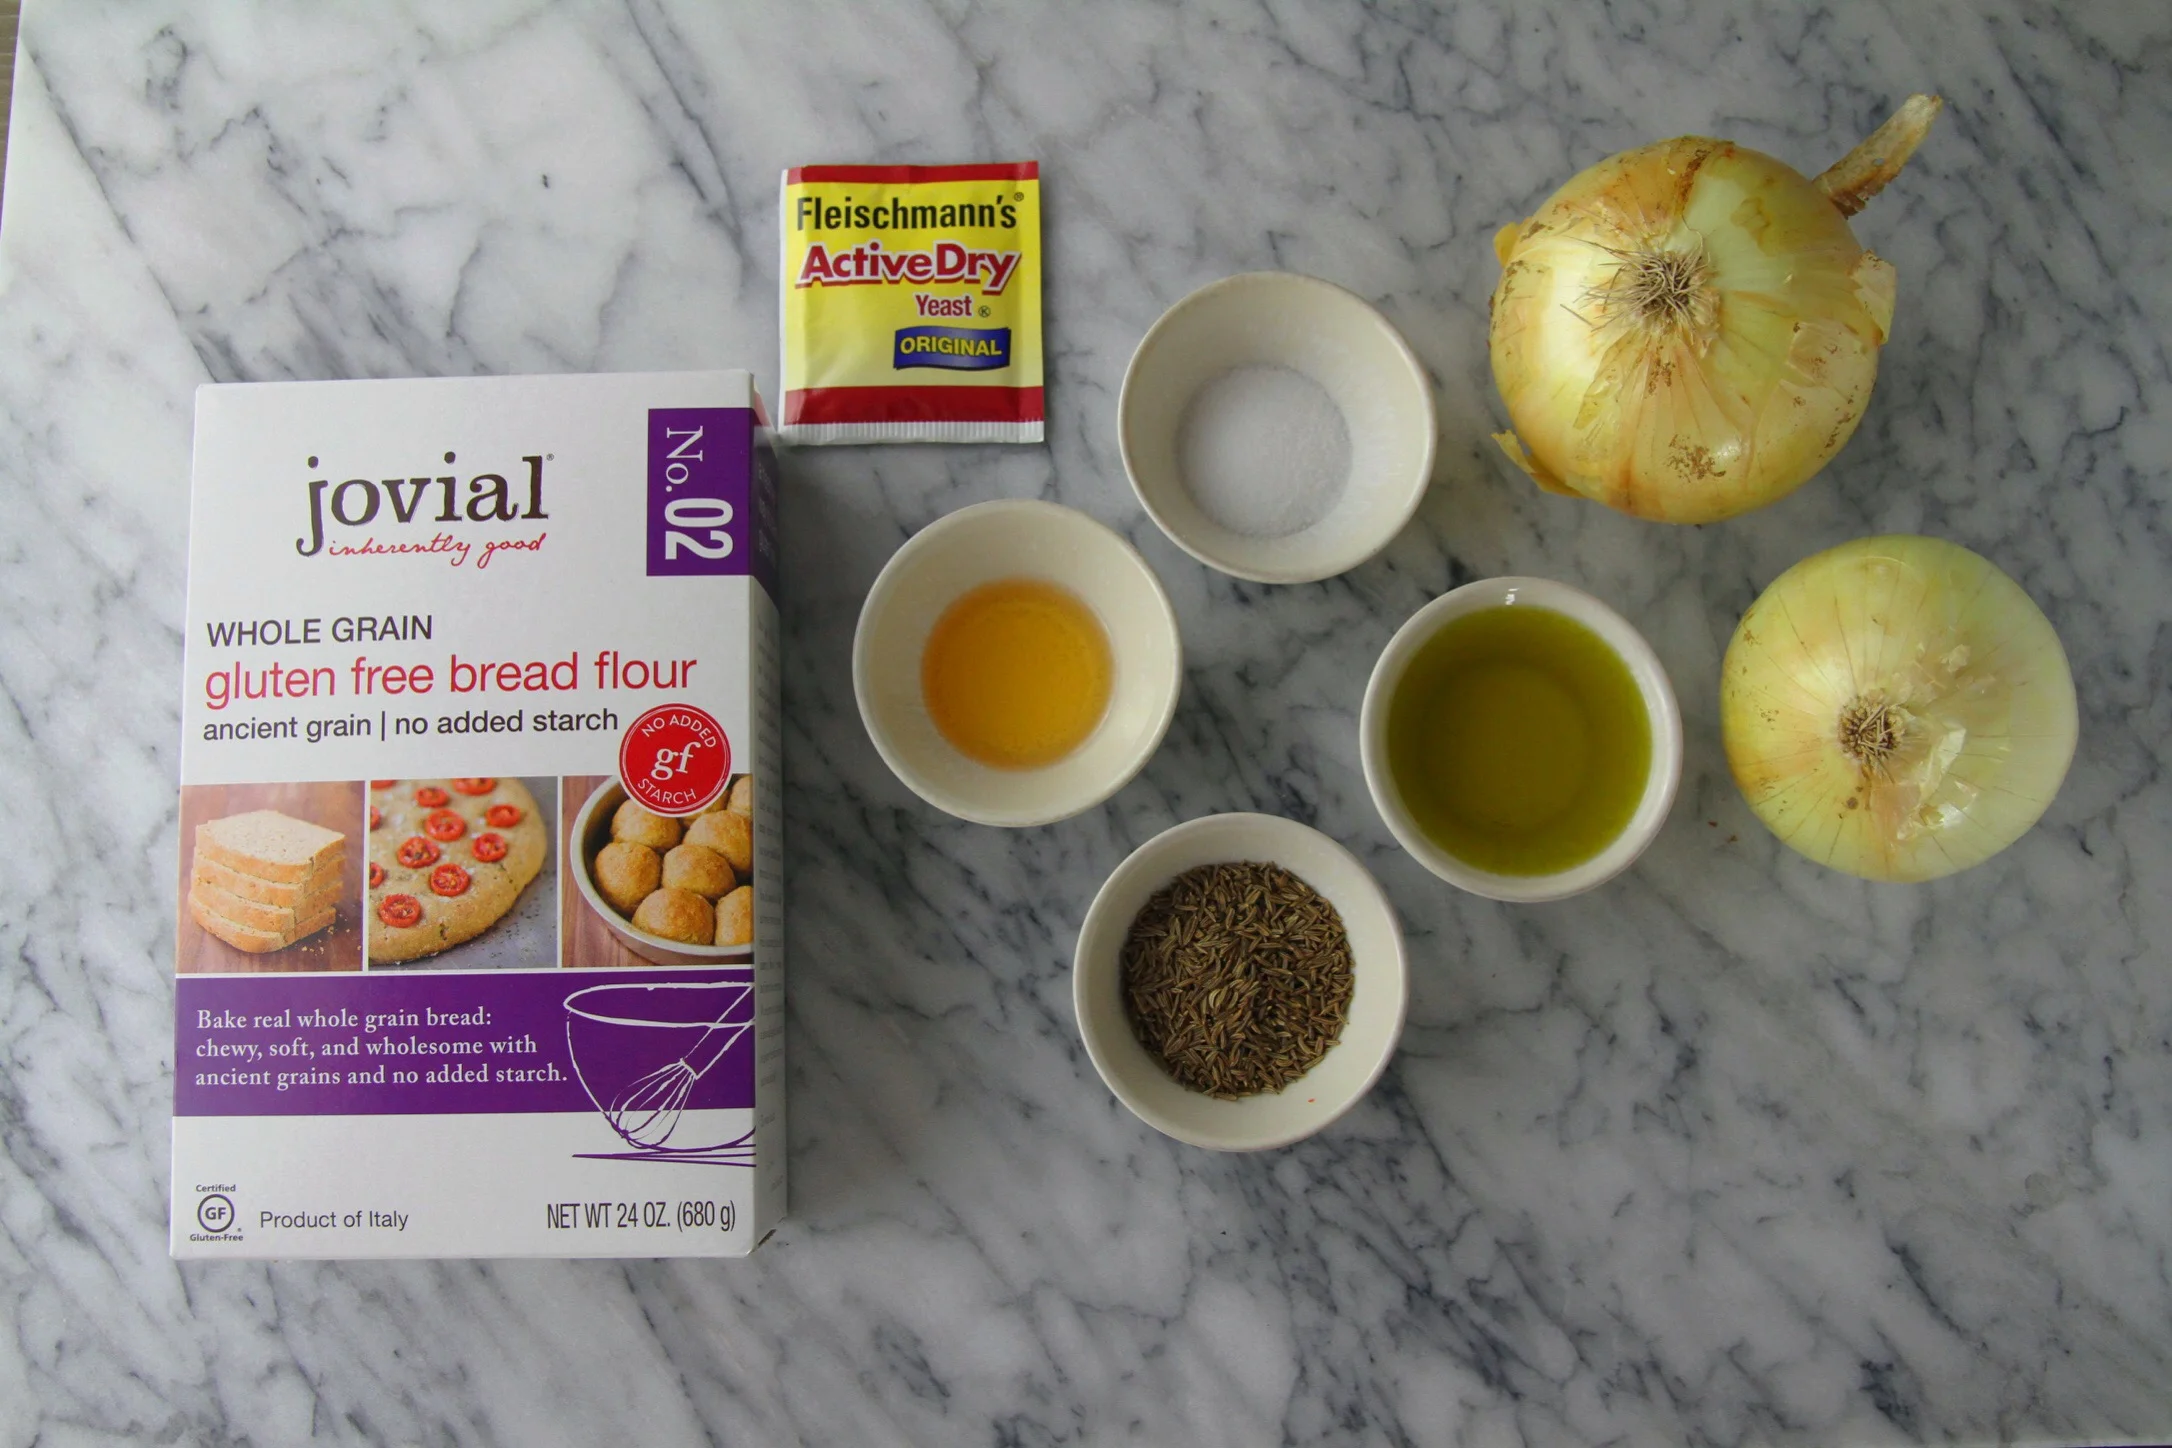
Primary Product: Jovial Foods No. 2 Whole Grain Gluten Free Bread Flour
Make + Bake: Following the recipe above, I set out a morning’s worth of time for this bread. And amazingly, that’s just what it needed! I was efficient along the way, prepping upcoming steps while waiting for others to finish such as the yeast “waking up” in warm water (15 minutes), and the dough rising (45 minutes). Conveniently, I got a lot done during the waiting blocks so that the whole bread-making process was fairly quick. Our home smelled like freshly-baked bread in no time!

Ingredients beyond flour: onions, caraway seeds, olive oil, salt, Apple cider vinegar, plus (not pictured) yeast, warm water, and baking soda.
Memory Lane: Having last made a loaf of bread from scratch when I was five years old, I wasn’t entirely sure how the gluten free version would feel during the dough-making process.

Whisking the dough. An arm workout in itself!

Adding caraway seeds to the dough and puréed onions.
If you’re curious, for my fifth birthday, all I had wanted to do was bake bread. During a hurricane. Literally. My summer birthday fell upon one crazy hurricane and for some reason I asked to make bread as the day’s activity. Not just any bread, bear-shaped bread! Who requests that?! Even then, I didn’t like gluten-filled bread so this birthday activity was even more unusual. However, I was determined, and essentially said that was all I wanted to do for my birthday. Kids! 😂

Whisking again! Proof that it’s me, Mollie, doing the work, while Seth snapped pics of the process.
Graciously, and somewhat stunned, my mom agreed to make bread-bears amidst the storm. They turned out quite well and I have a photo somewhere of me, my mom, and my sister, proudly showing off our bears made of bread, with the rain and wind pounding the windows behind us. What a birthday! To this day, I remember that I took one bite of a bread bear, and proclaimed I was done. That was enough of that, and I moved on, never making a loaf again. Until now.

Dough rising, covered in plastic.

After the rising, and although hard to tell, the dough rose nicely and was the correct consistency.
Fast-foreward to now, and while the texture and appearance of the gluten free dough was very different than I expected, I trusted the recipe we were using and tried not to second-guess any part of the process. Thankfully, every step was seamless and the result as delicious as I hoped!
Baking Tips: once the dough has fully risen, you will put it all on a sheet of parchment and “mold it” into the round loaf-shape it will need to be while it bakes in the covered dutch oven. I will admit I used my hands to form the rounded shape, and then evened/smoothed out the top using a rubber spatula.

Dough, ready to be shaped into a round on parchment.
My hands and Seth’s hands were covered in dough, which is why there is no photo of this step. :) Once that round bread dough loaf looks good to you, lift all four corners of the parchment and carefully put it into the already 500-degree Dutch Oven (hot!!), cover it, and put it all into the oven to bake for 45 minutes. The full recipe is linked above for your reference. That parchment paper lining is a magical tool so that nothing sticks to anything else. I suppose it’s not magic at all, but it does its job, perfectly!

Voilà! The moment we took the lid off and saw the beautiful result.
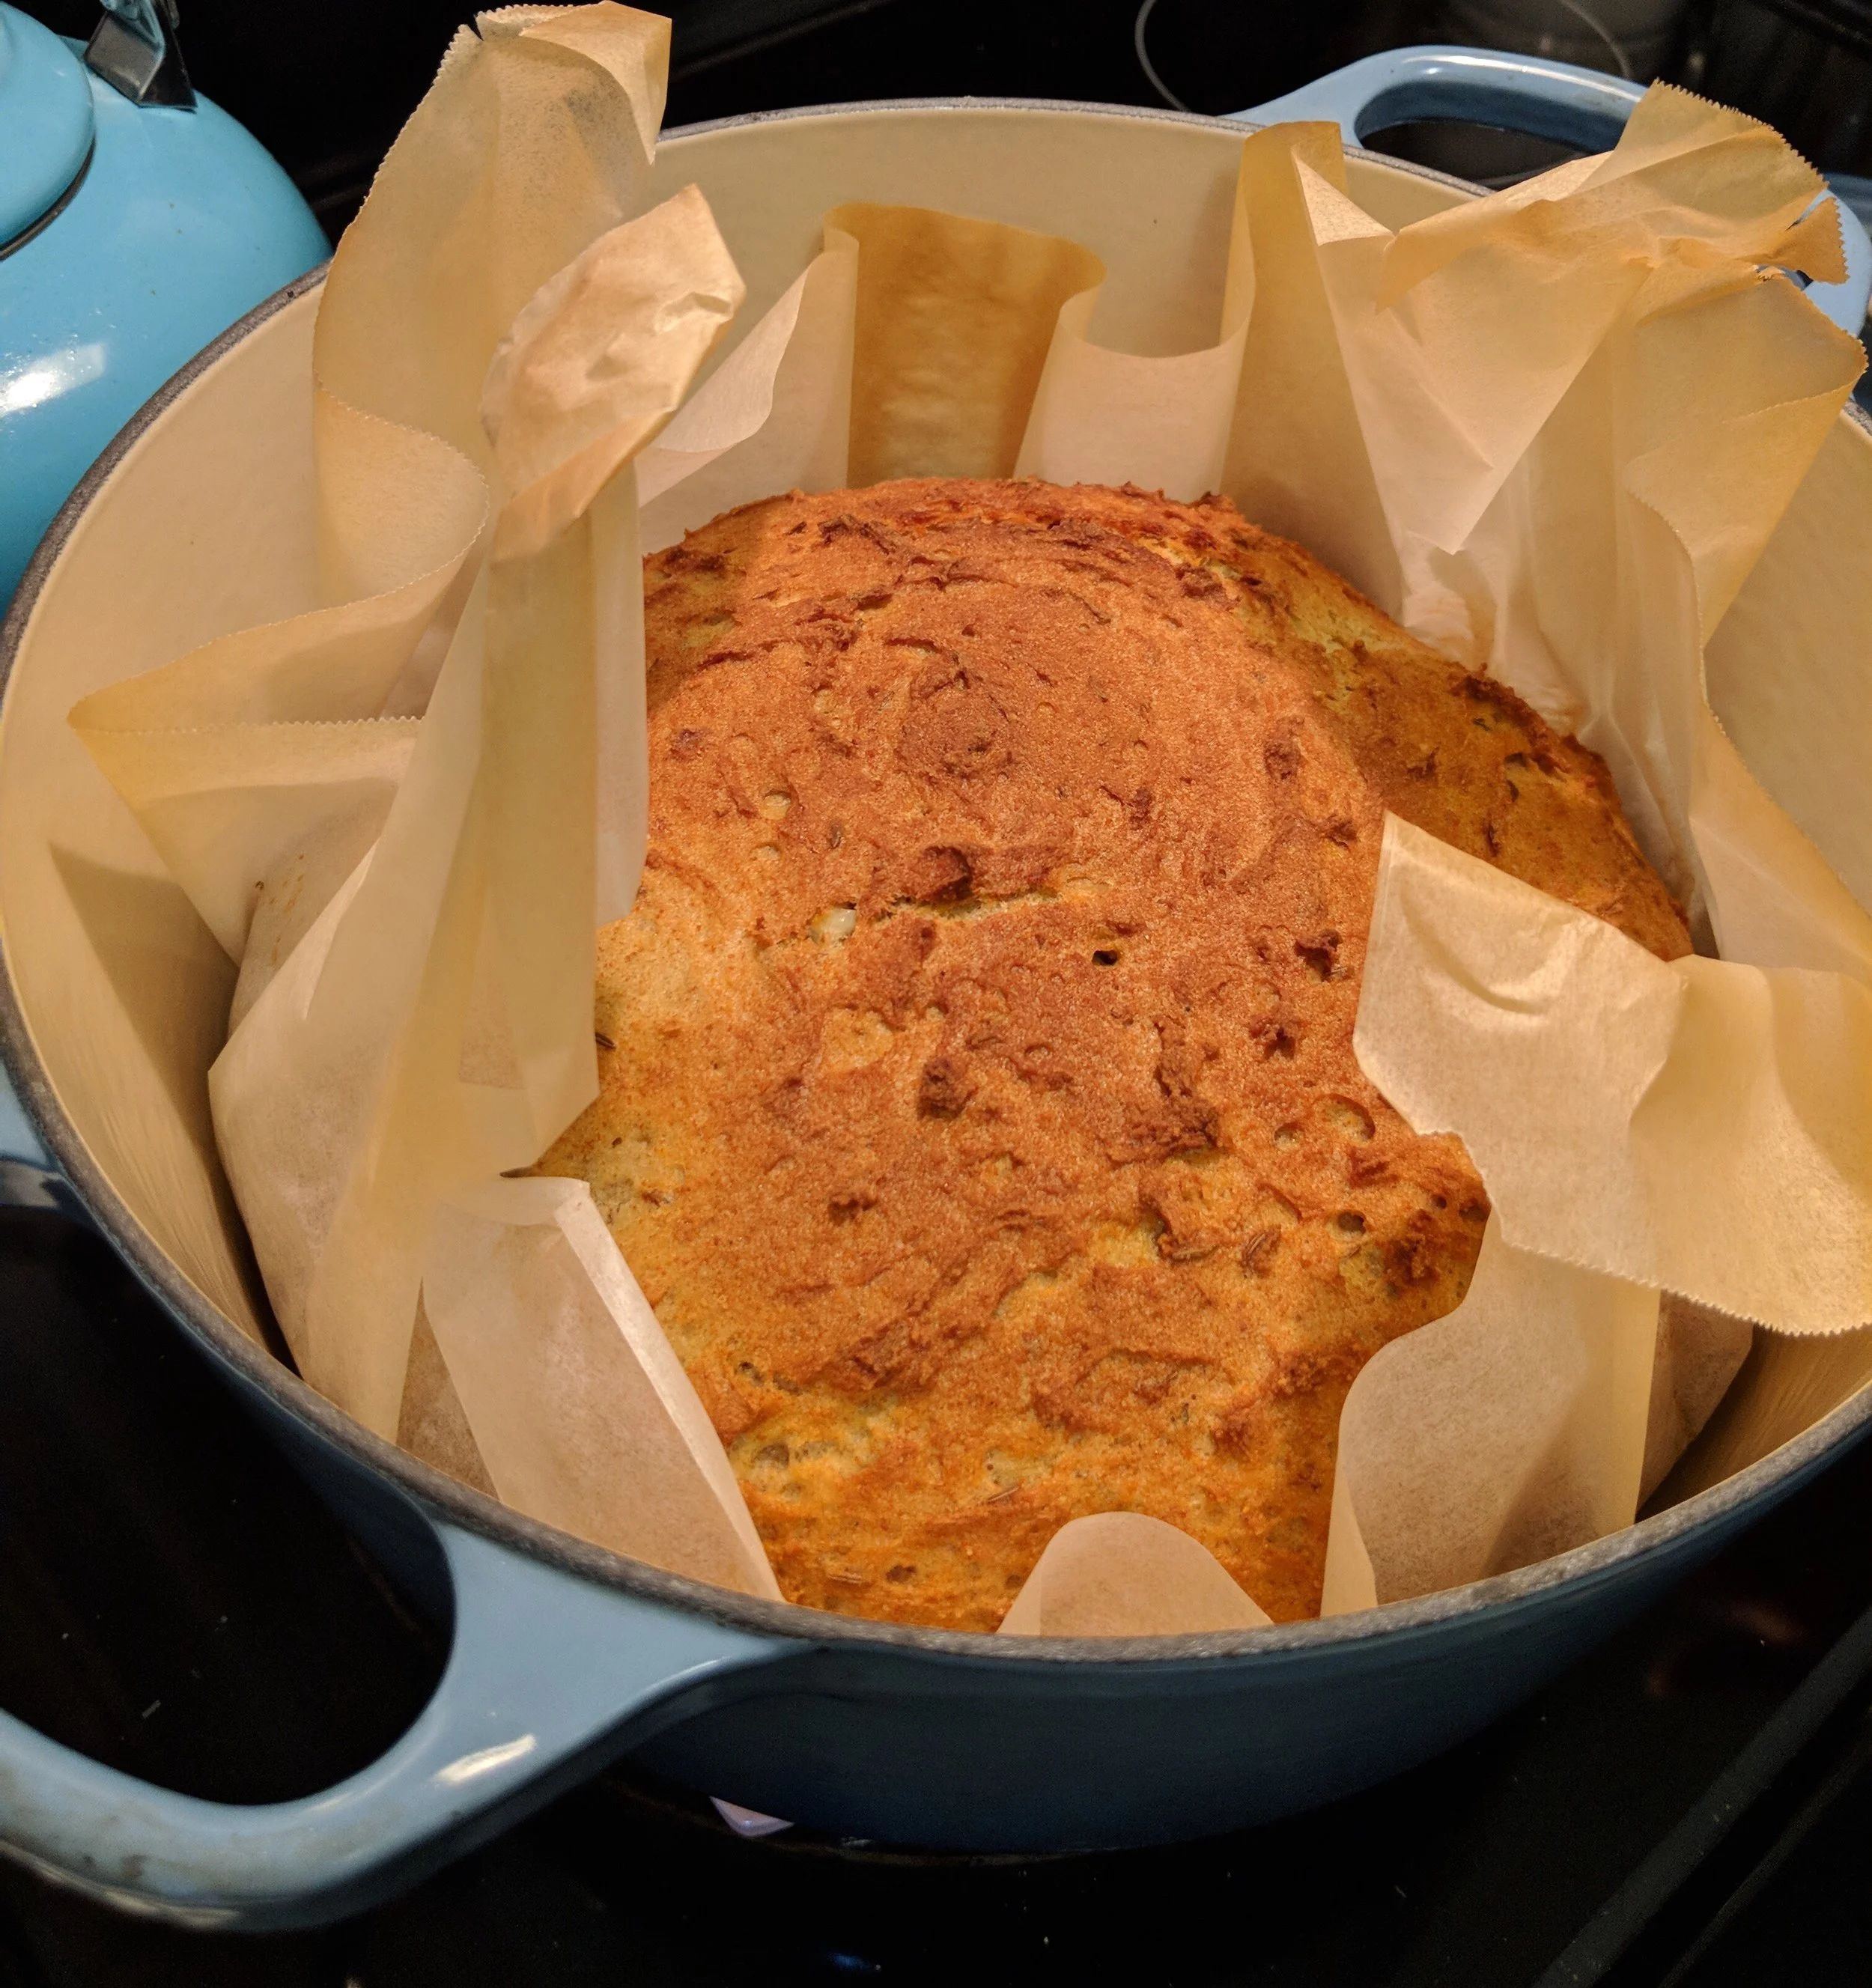
Parchment surrounded the loaf on all sides and underneath, which helped immensely when taking it out of the oven.
Outcome: Bread! Beautiful, warm, and entirely gluten free, bread! When we took the Dutch oven out after waiting (fairly) patiently for it to bake, I was stunned and thrilled with how beautiful the loaf turned out. It smelled incredible and was lifted out of the oven easily by using the corners of the parchment, once again.

The finished loaf. Look at that color!

Crispy on the outside and smelled amazing.
The bread slid right off of the paper onto a cooling rack and we did everything in our power not to cut into it immediately. Per recipe instructions, we waited three hours (minimum) before cutting into the loaf. And once it was finally (!) time to slice it up and make dinner, I was even more enamored with the finished product.

Slices!
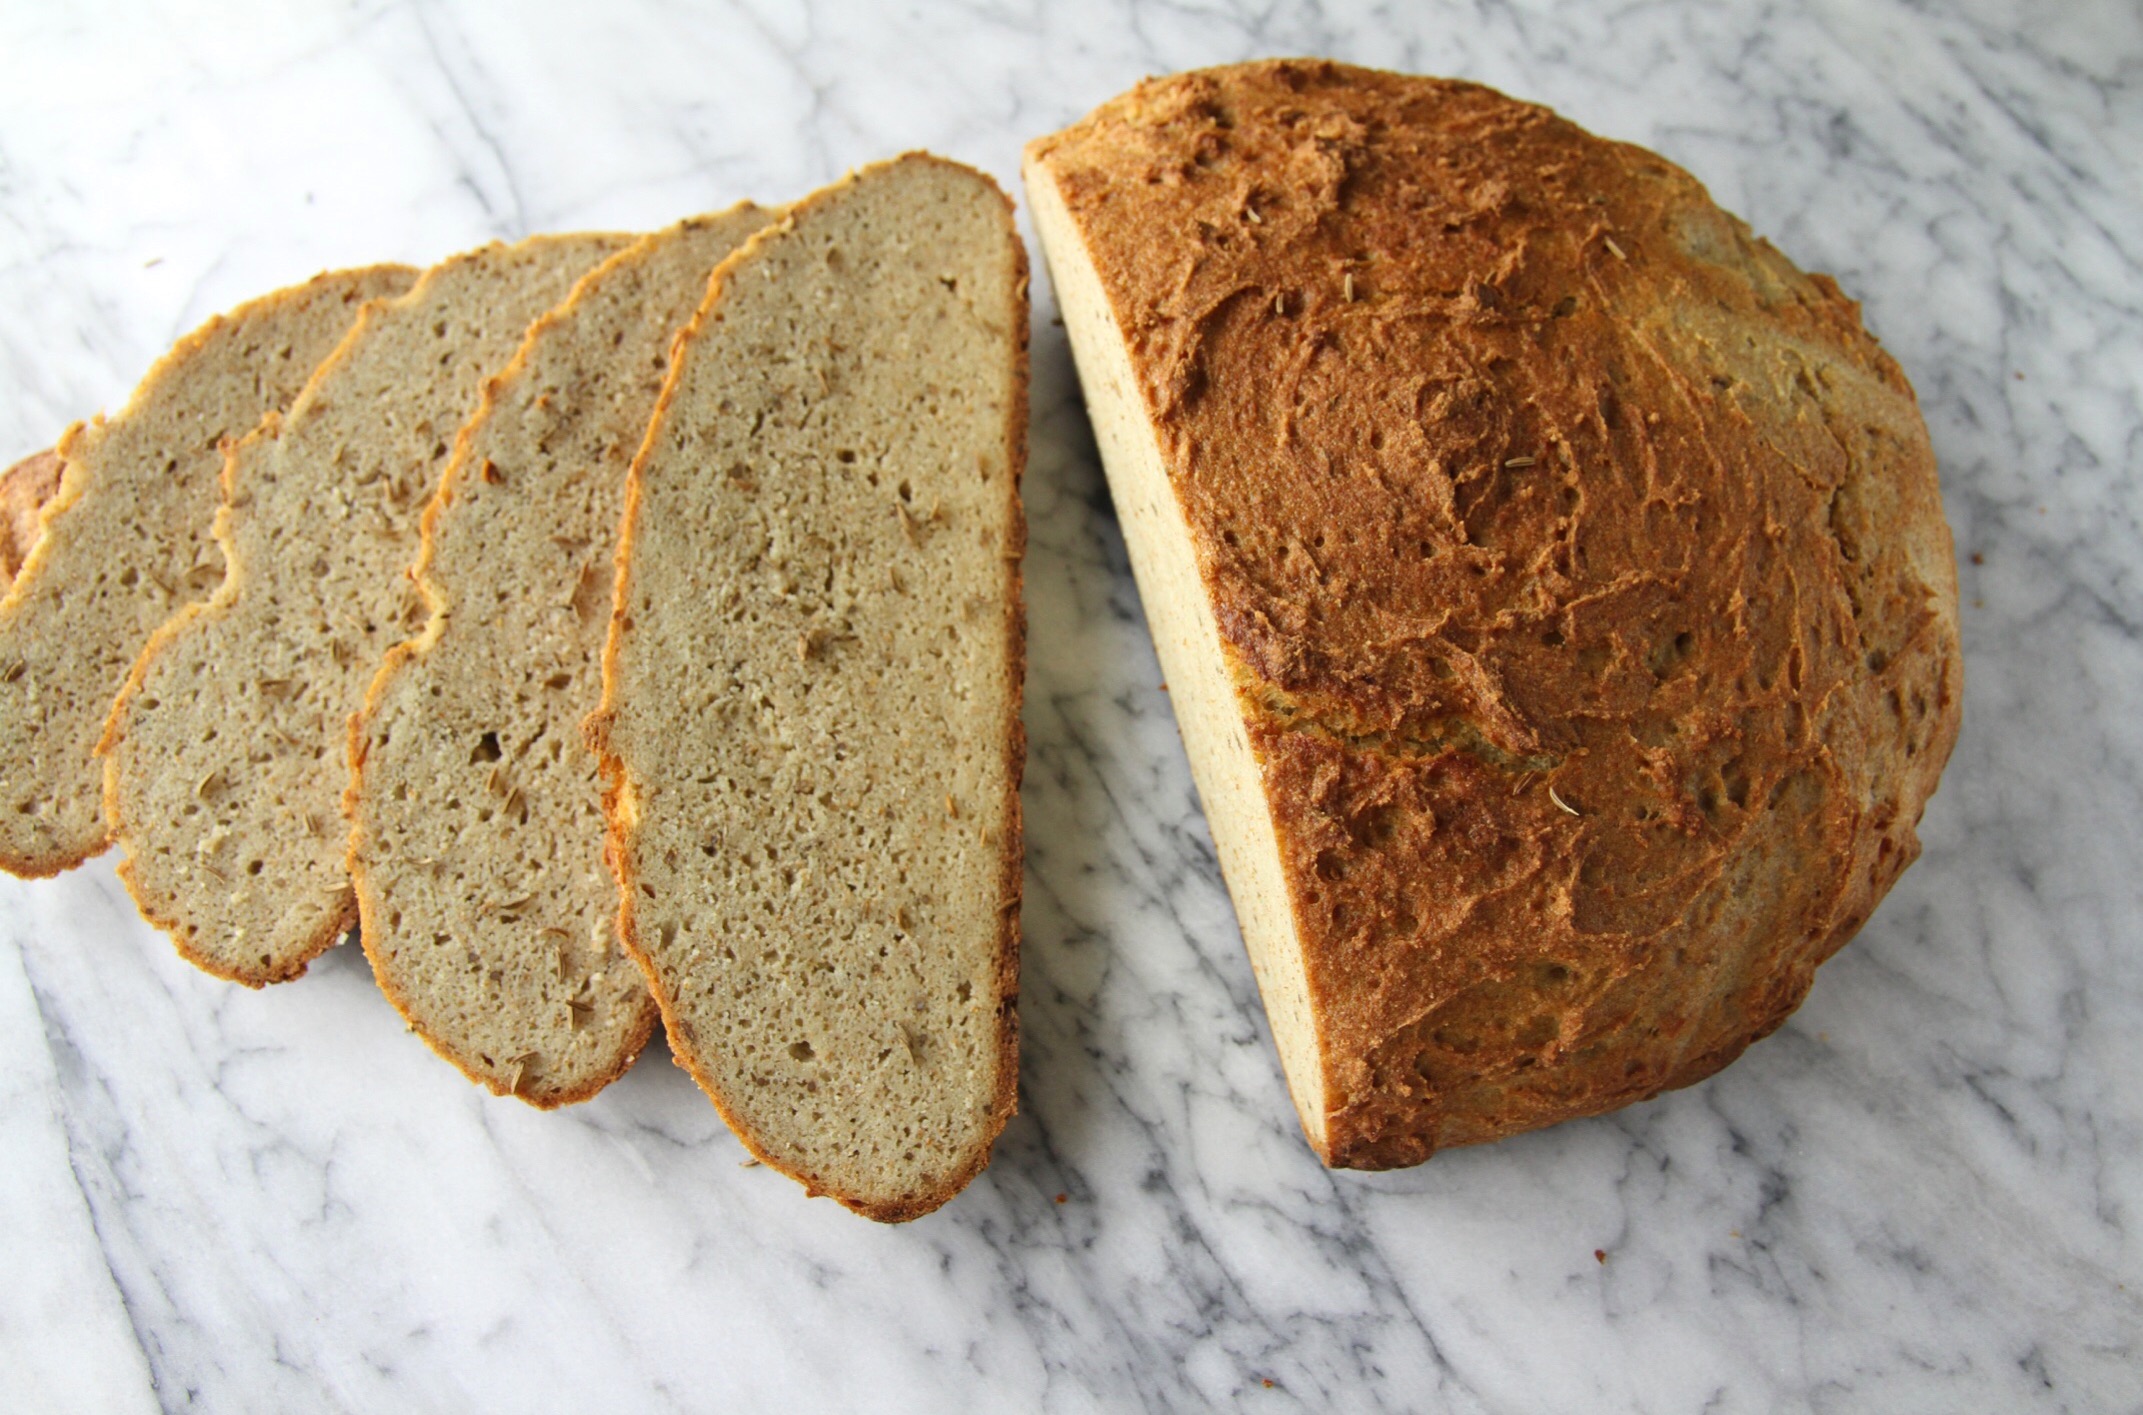
We used slices from the middle of the loaf to make sure they would be big enough for “dinner size” sandwiches. :)
Our gluten free mock rye onion-caraway bread was a delicious success! For dinner, we made classic Reuben sandwiches and they tasted as great as I remembered, which in my mind, was just perfect.

Reuben with a side of homemade pickles.

What’s Next: More Baking! I’m looking forward to making many more recipes and sharing the delicious outcome with you. Will it be savory or sweet? Tune in next month to find out during the upcoming edition of “Mollie Bakes..” 😊
Thank you to Jovial Foods for sponsoring this post. All opinions, and stories presented, are my own.
