Mollie Bakes: Layer Cake and Bagels
Hello!
I have finally returned from my extended baking hiatus, thanks for your patience, and today I present to you my first two baking projects in our new house: two-layer caramel butter cake and quick-and-easy gluten free bagels.
You see, it took me a minute to get back into the swing of things and longer than I expected to get into that baking mood. However, now that I’ve begun and have all of my ingredients organized to my liking, I can’t help but reach for my favorite baking books (frequently) and get to work.
I’m so glad my hiatus has ended. I love to bake and subsequently share my treats. Yes, I’m a bigger fan of giving away my baking projects than actually eating them.
Of course, I try everything to make sure it’s delicious, but I get far more joy from sharing the goodies than keeping them all to myself. Except when I make bagels. That recipe only yields four and, uh, we are hungry people. ;)
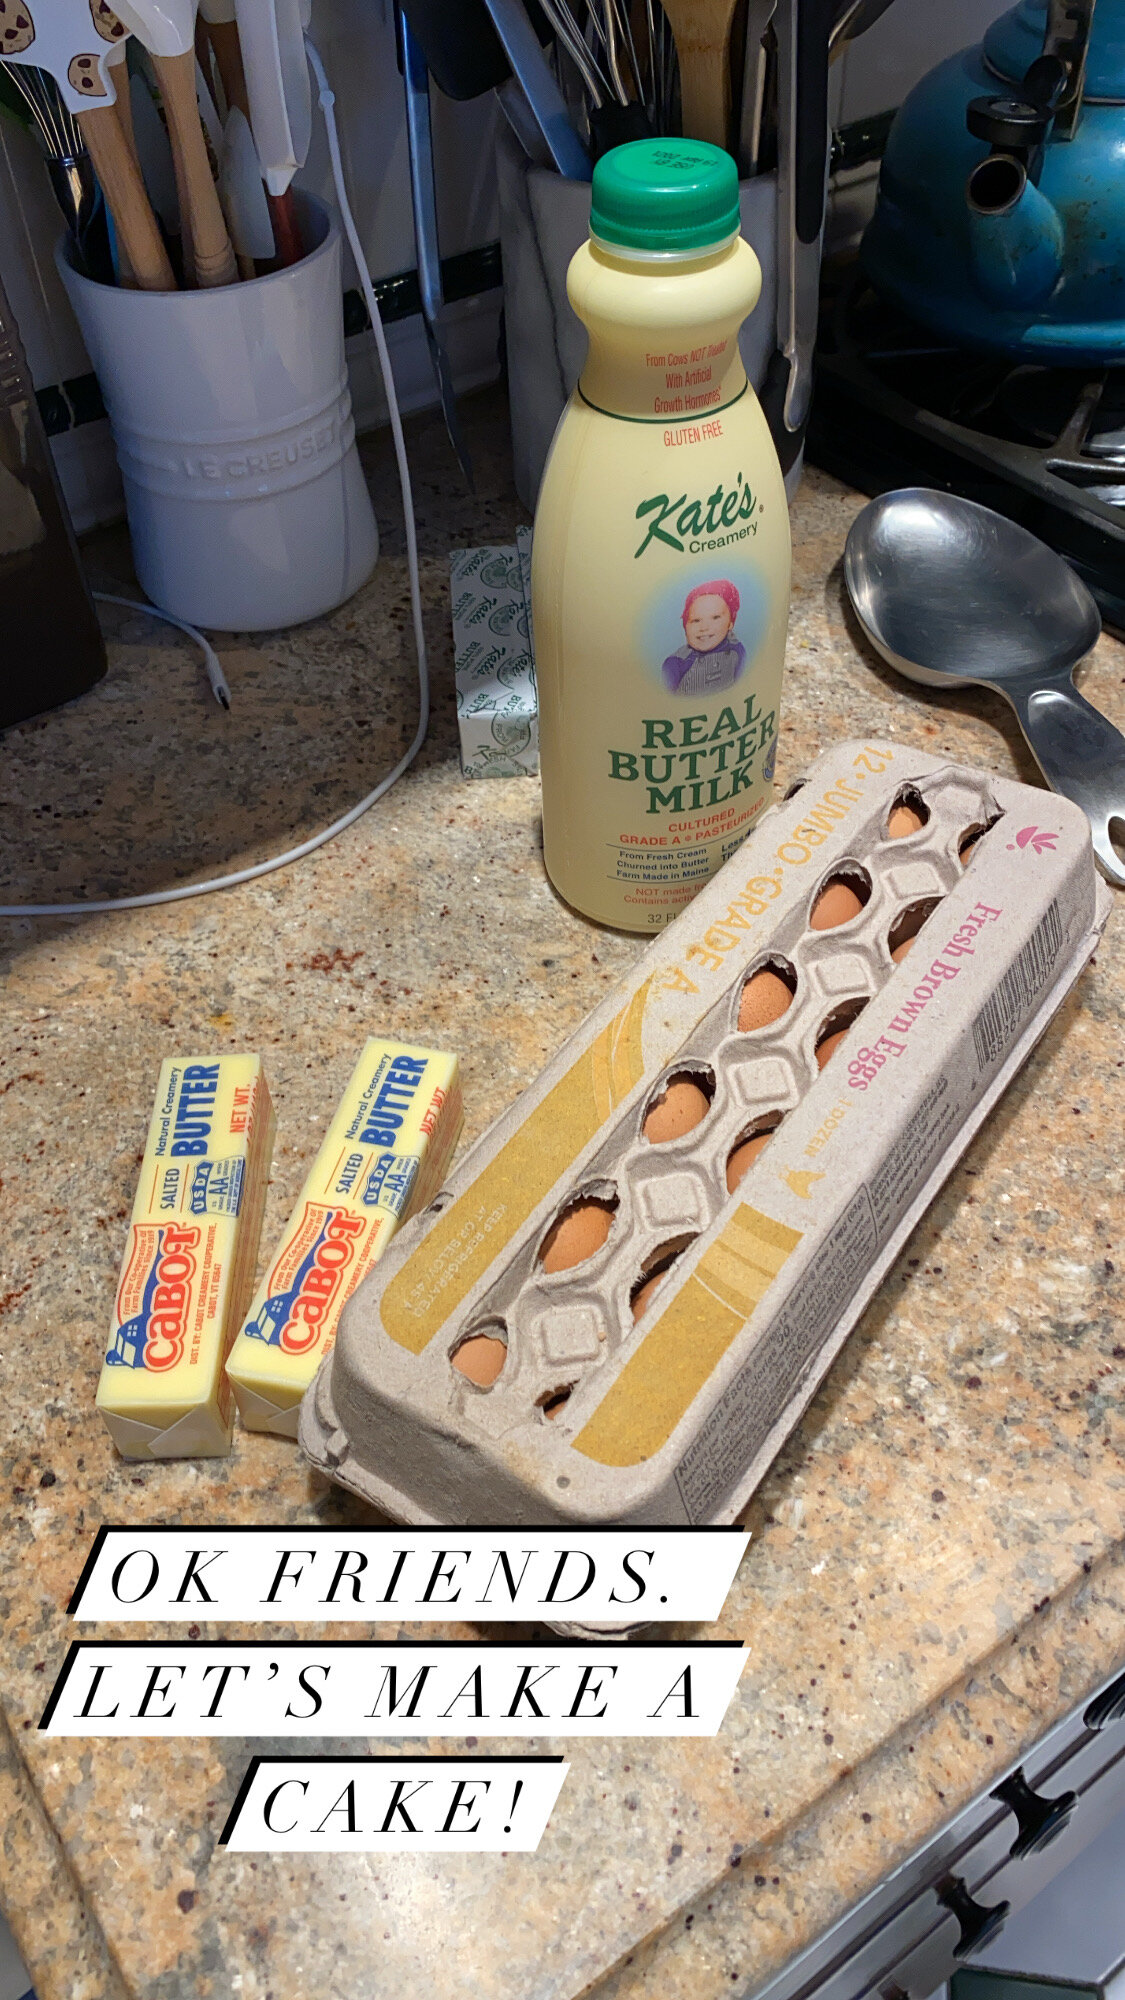
Let’s get to the baking, shall we?

RECIPE + SOURCE
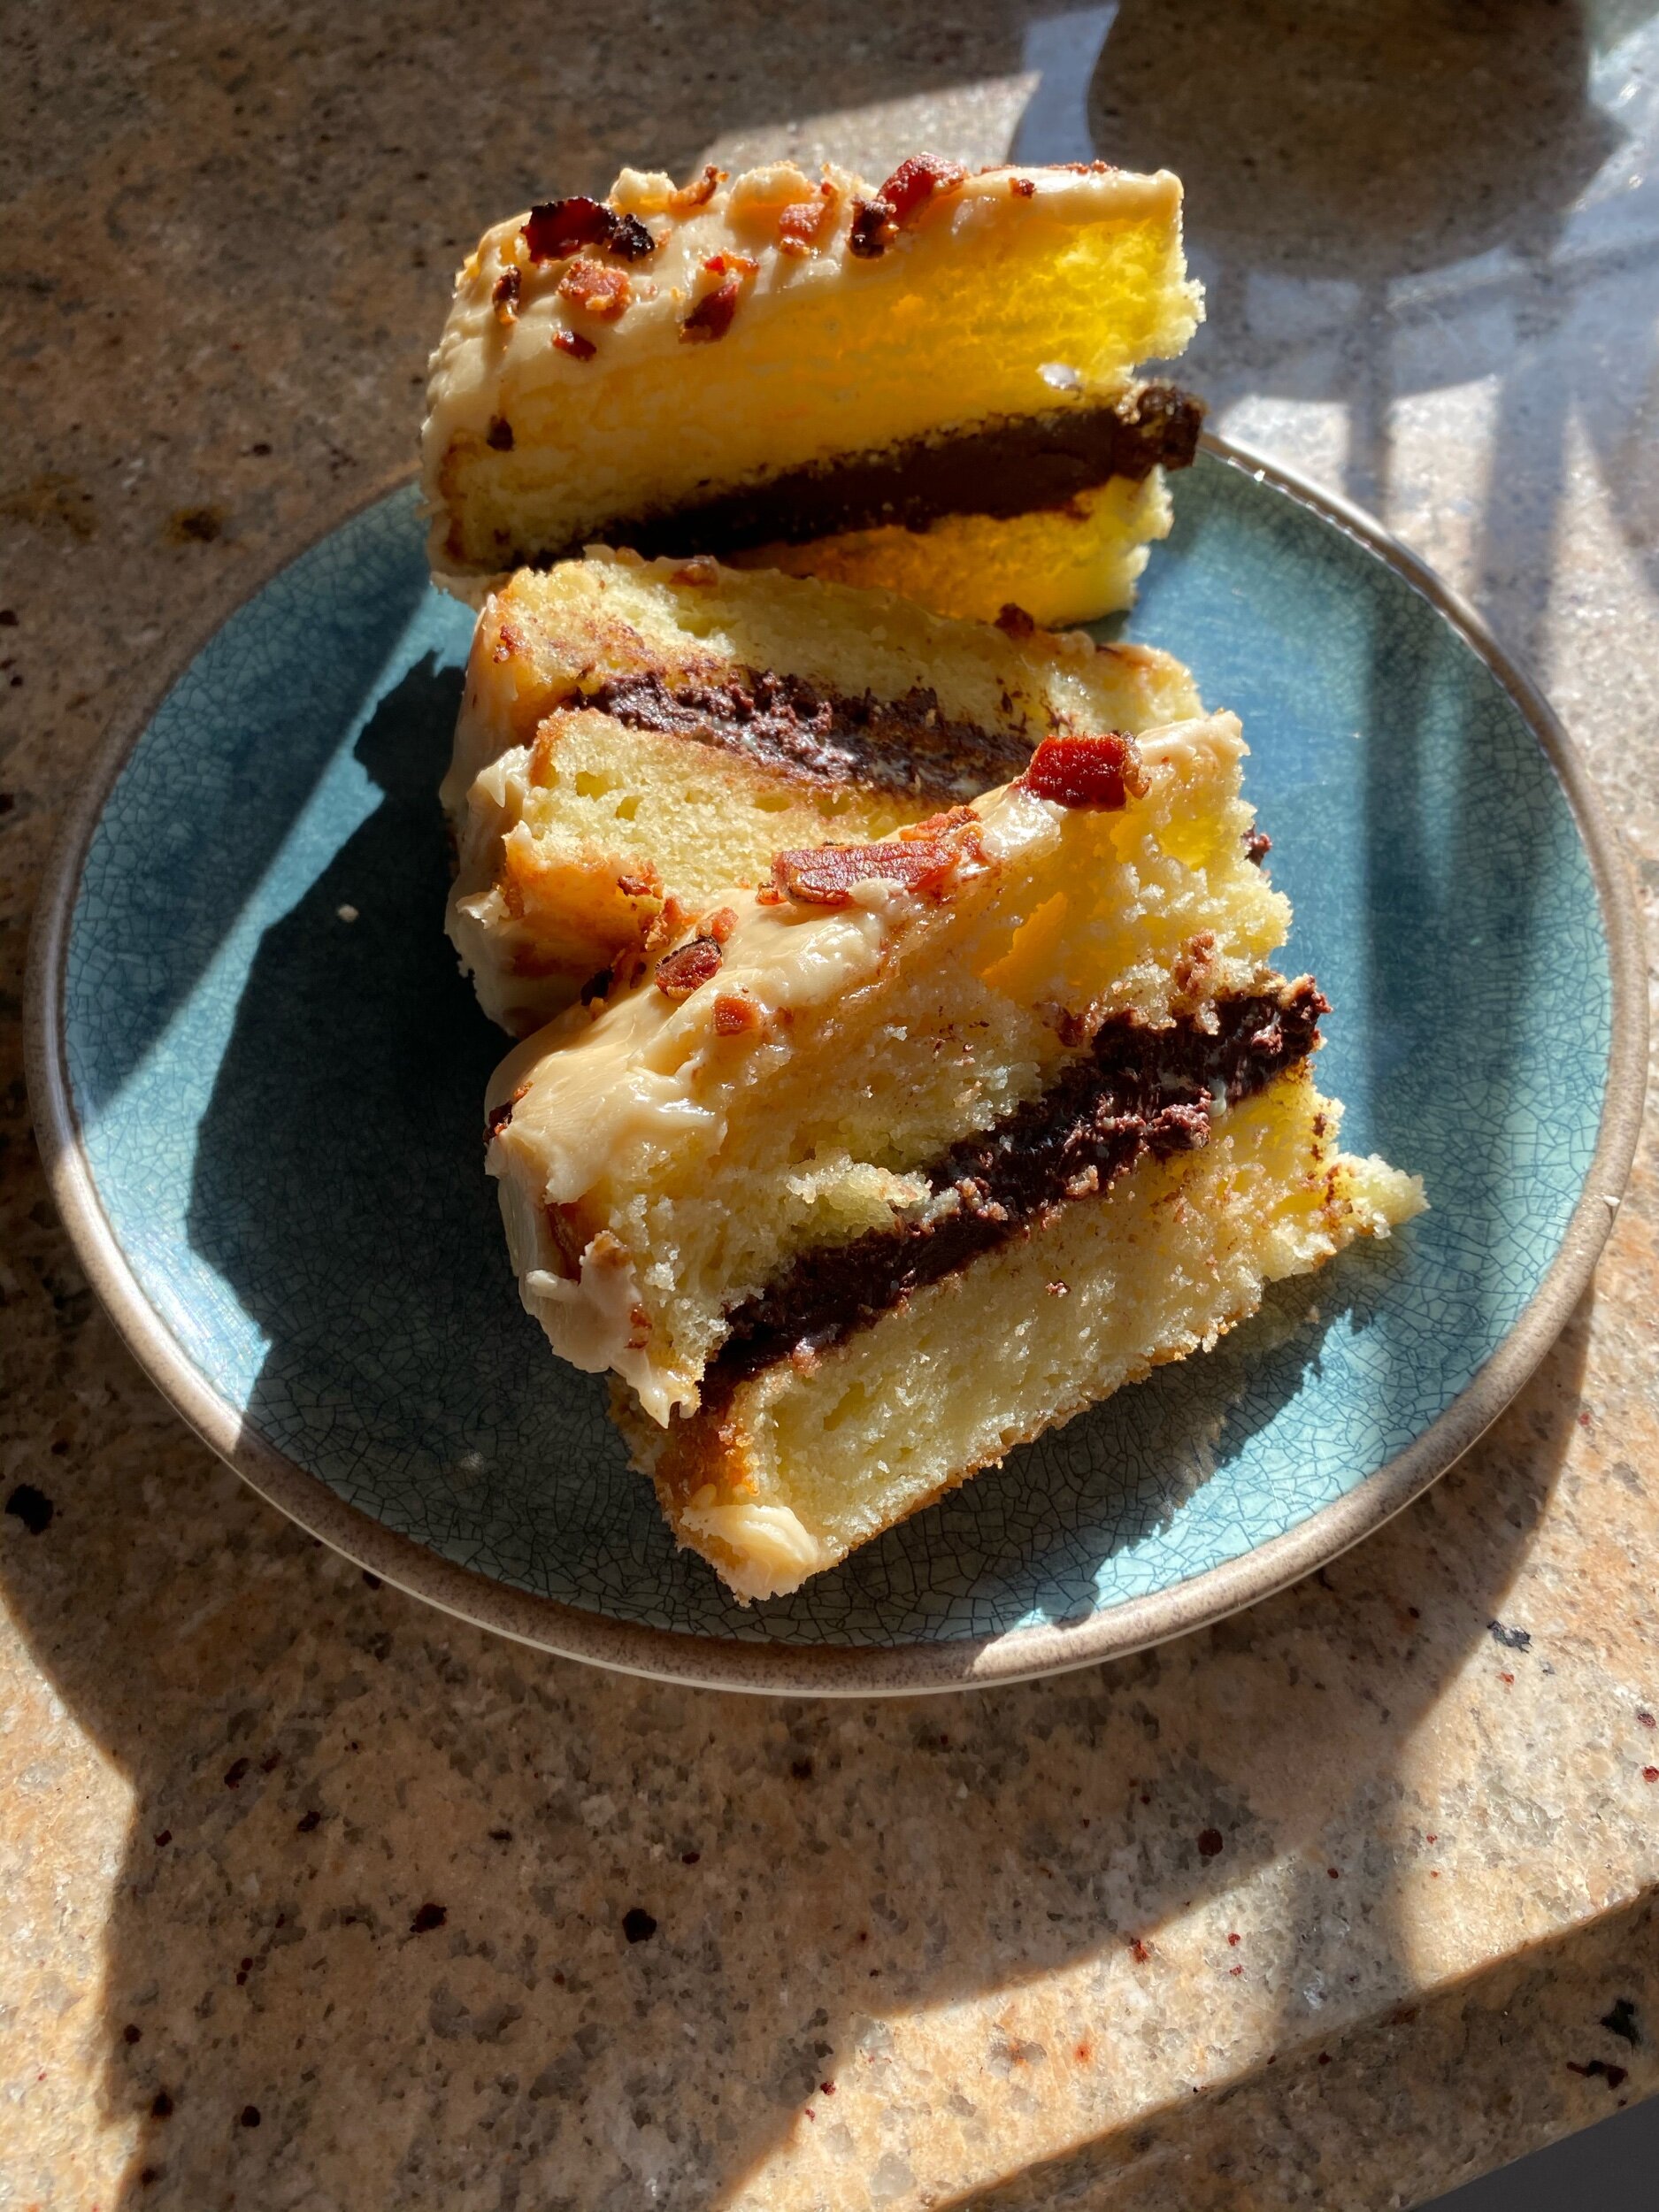
Caramel Butter Cake with Fudgy Chocolate Frosting. Recipe via Half Baked Harvest.

MAKE IT GLUTEN FREE + BAKING TIPS
As you may have noticed, I do not shy away from recipes that are not gluten free. In fact, I seek them out, especially when baking, because I want to make everything just like everyone else. Therefore, my must-own pantry item for all baking is gluten free flour. Specifically, I always have Cup4Cup Gluten Free Flour or King Arthur Measure-for-Measure Gluten Free Flour in my baking cabinet. I know there are other brands out there and other options for gluten free baking, but these two flours work perfectly, every time.
My opinion? Don’t mess with success! I’m thrilled that there are two great options so that I can bake any recipe I find and not worry about the finished product. I’m grateful these two products exist which allow me to bake gluten free with ease. I strongly recommend keeping either one, or both, in your pantry at all times.
For this cake, I used Cup4Cup Gluten Free Flour as a 1:1 substitute. No other changes were necessary to make the cake gluten free. How convenient!
Now, a few baking tips if you’d like to make this cake in the near future…
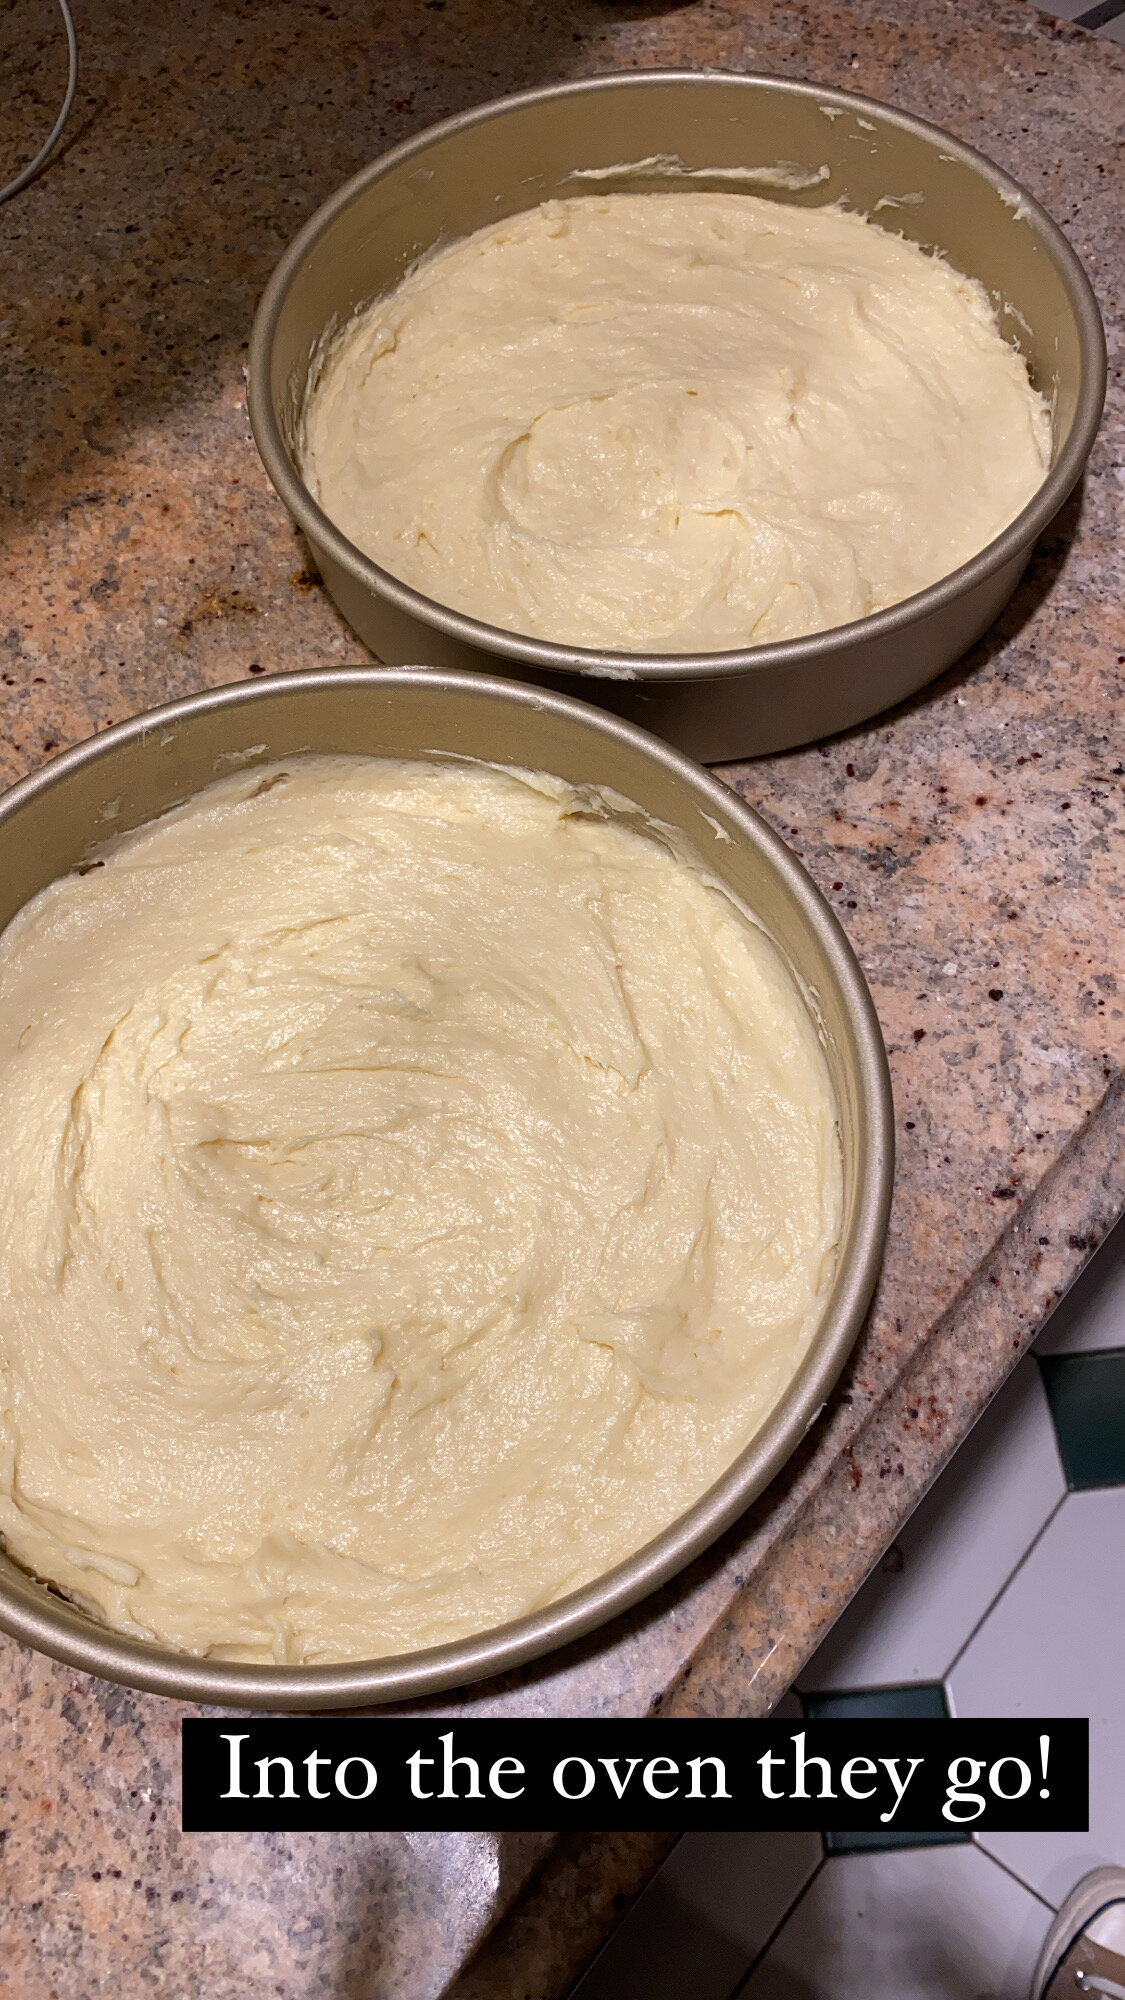
Make sure your butter is at room temperature! It will combine much more easily with the sugar if it’s not cold.
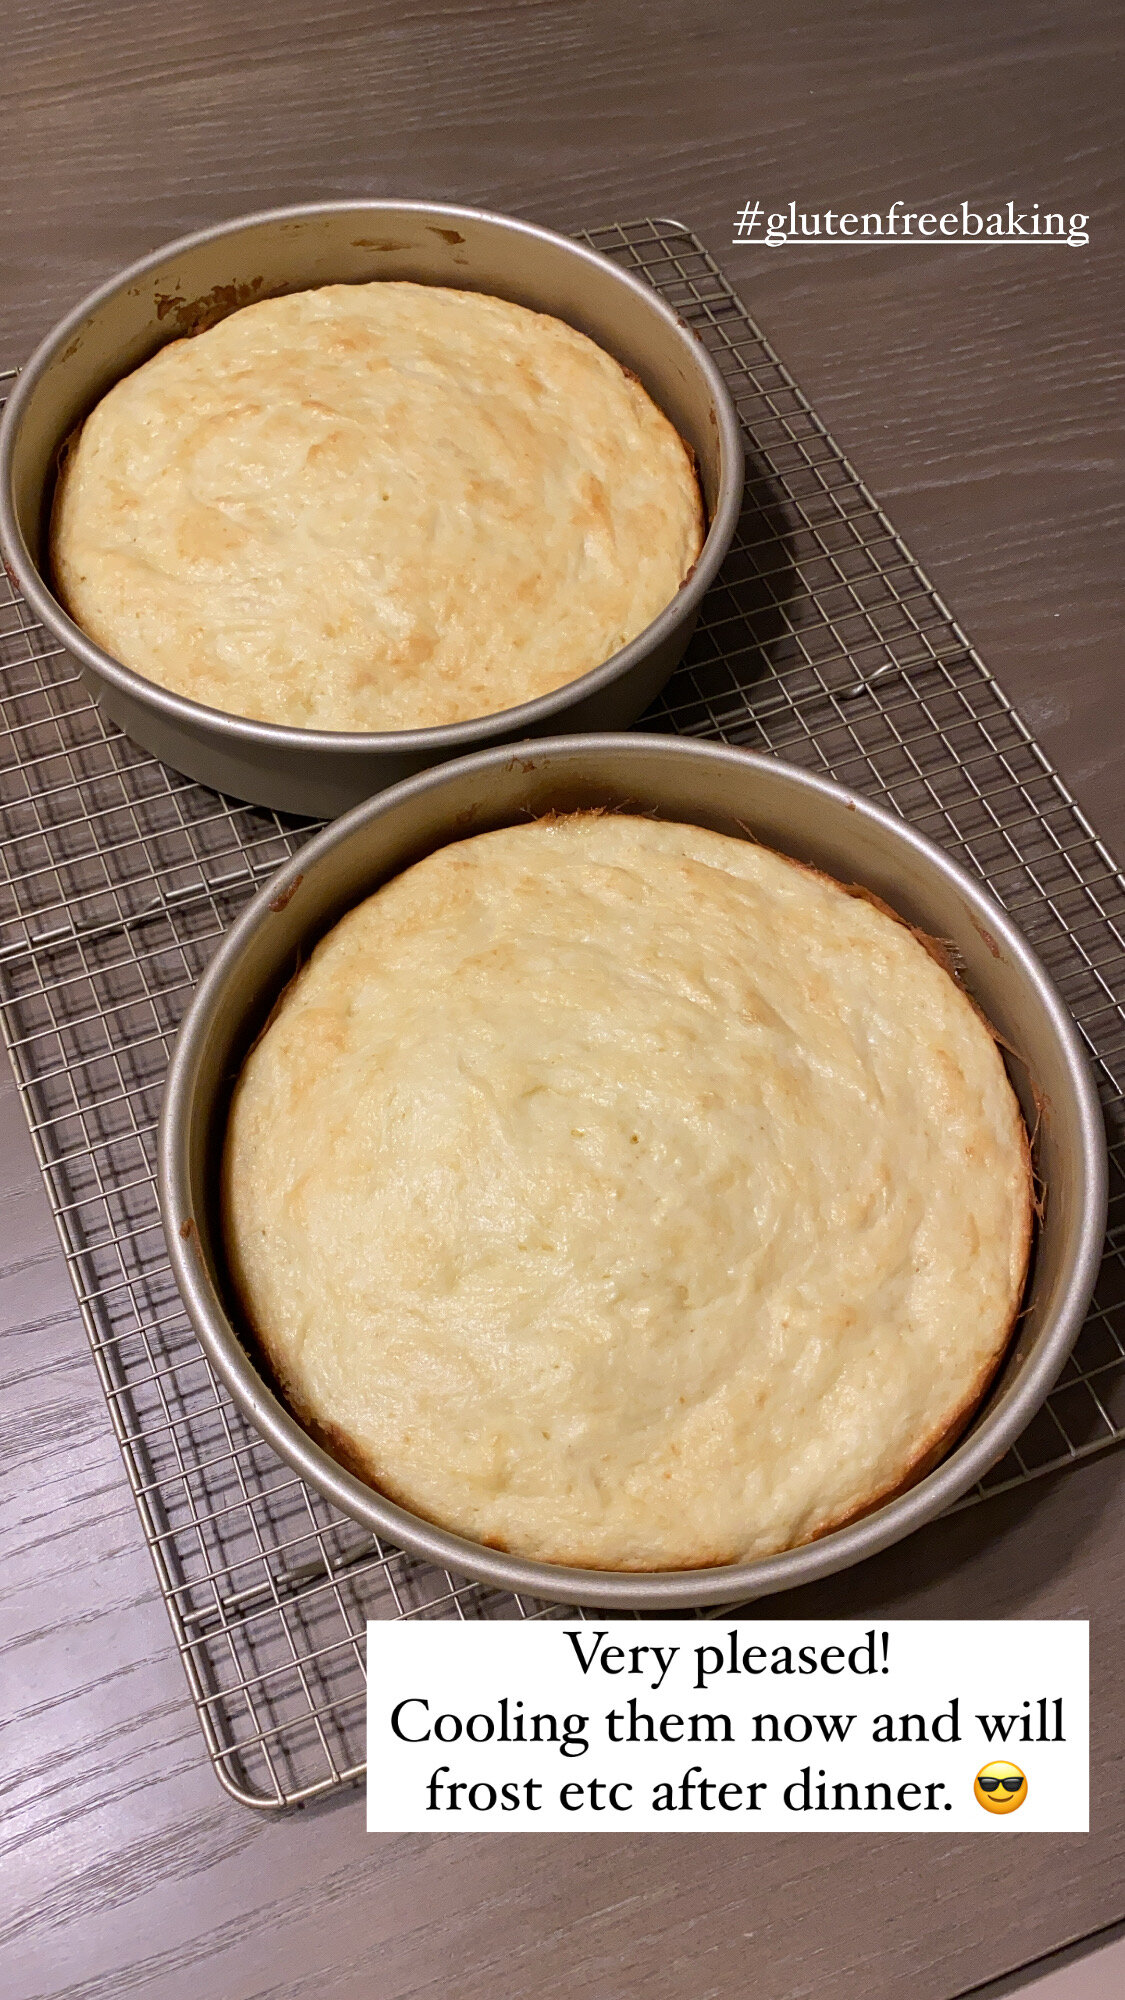
I used 9’’ round cake pans rather than 8’’, but still followed the cook-time guidelines (start on the low end and add minutes as needed). The cakes are a pretty light color when done, but that’s OK. You don’t want them to be overcooked.
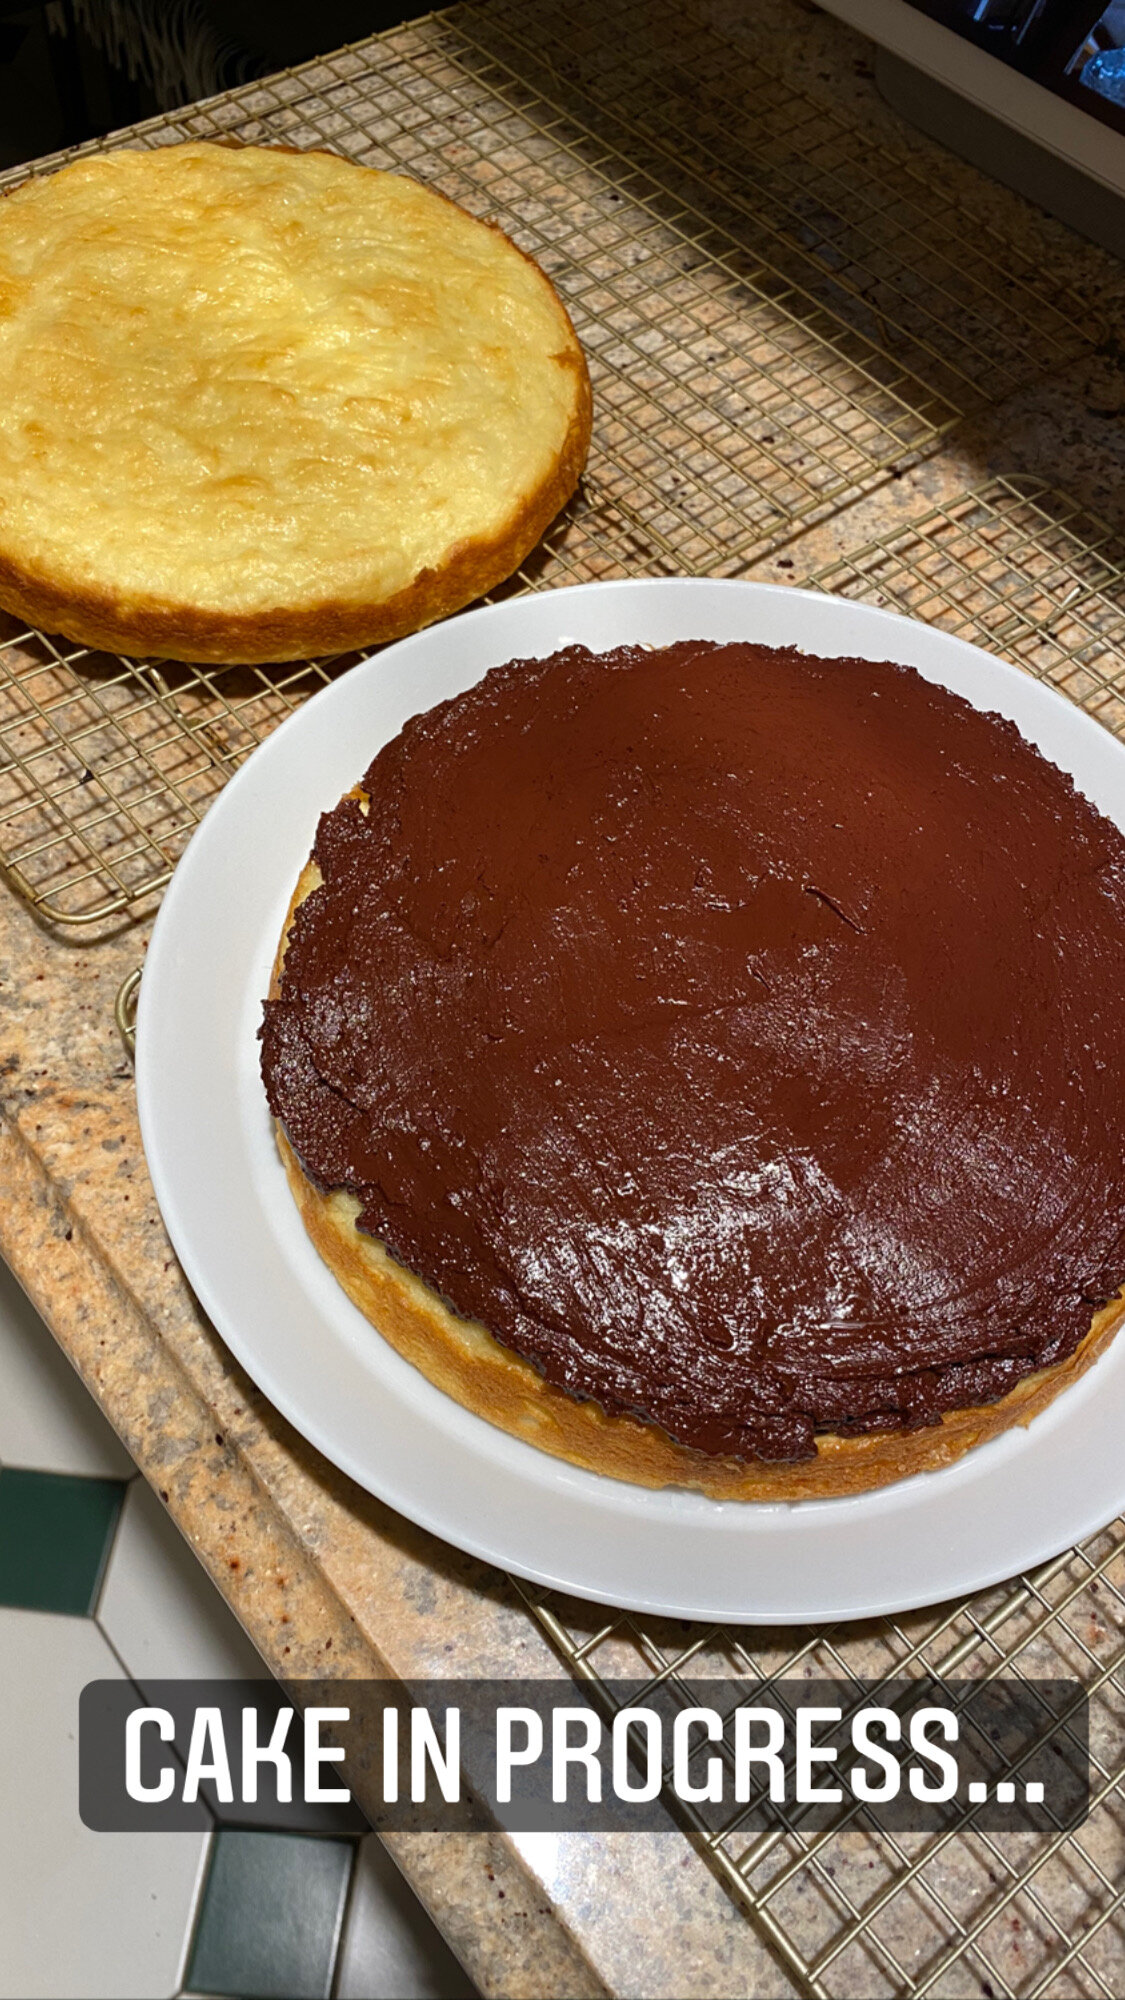
I made the chocolate frosting on the stovetop instead of in a microwave (we don’t own one) and it worked just as well. Be careful to not over-mix the chocolate, sour cream, and espresso. It will be glossy when done and that’s good! Shiny is important here.
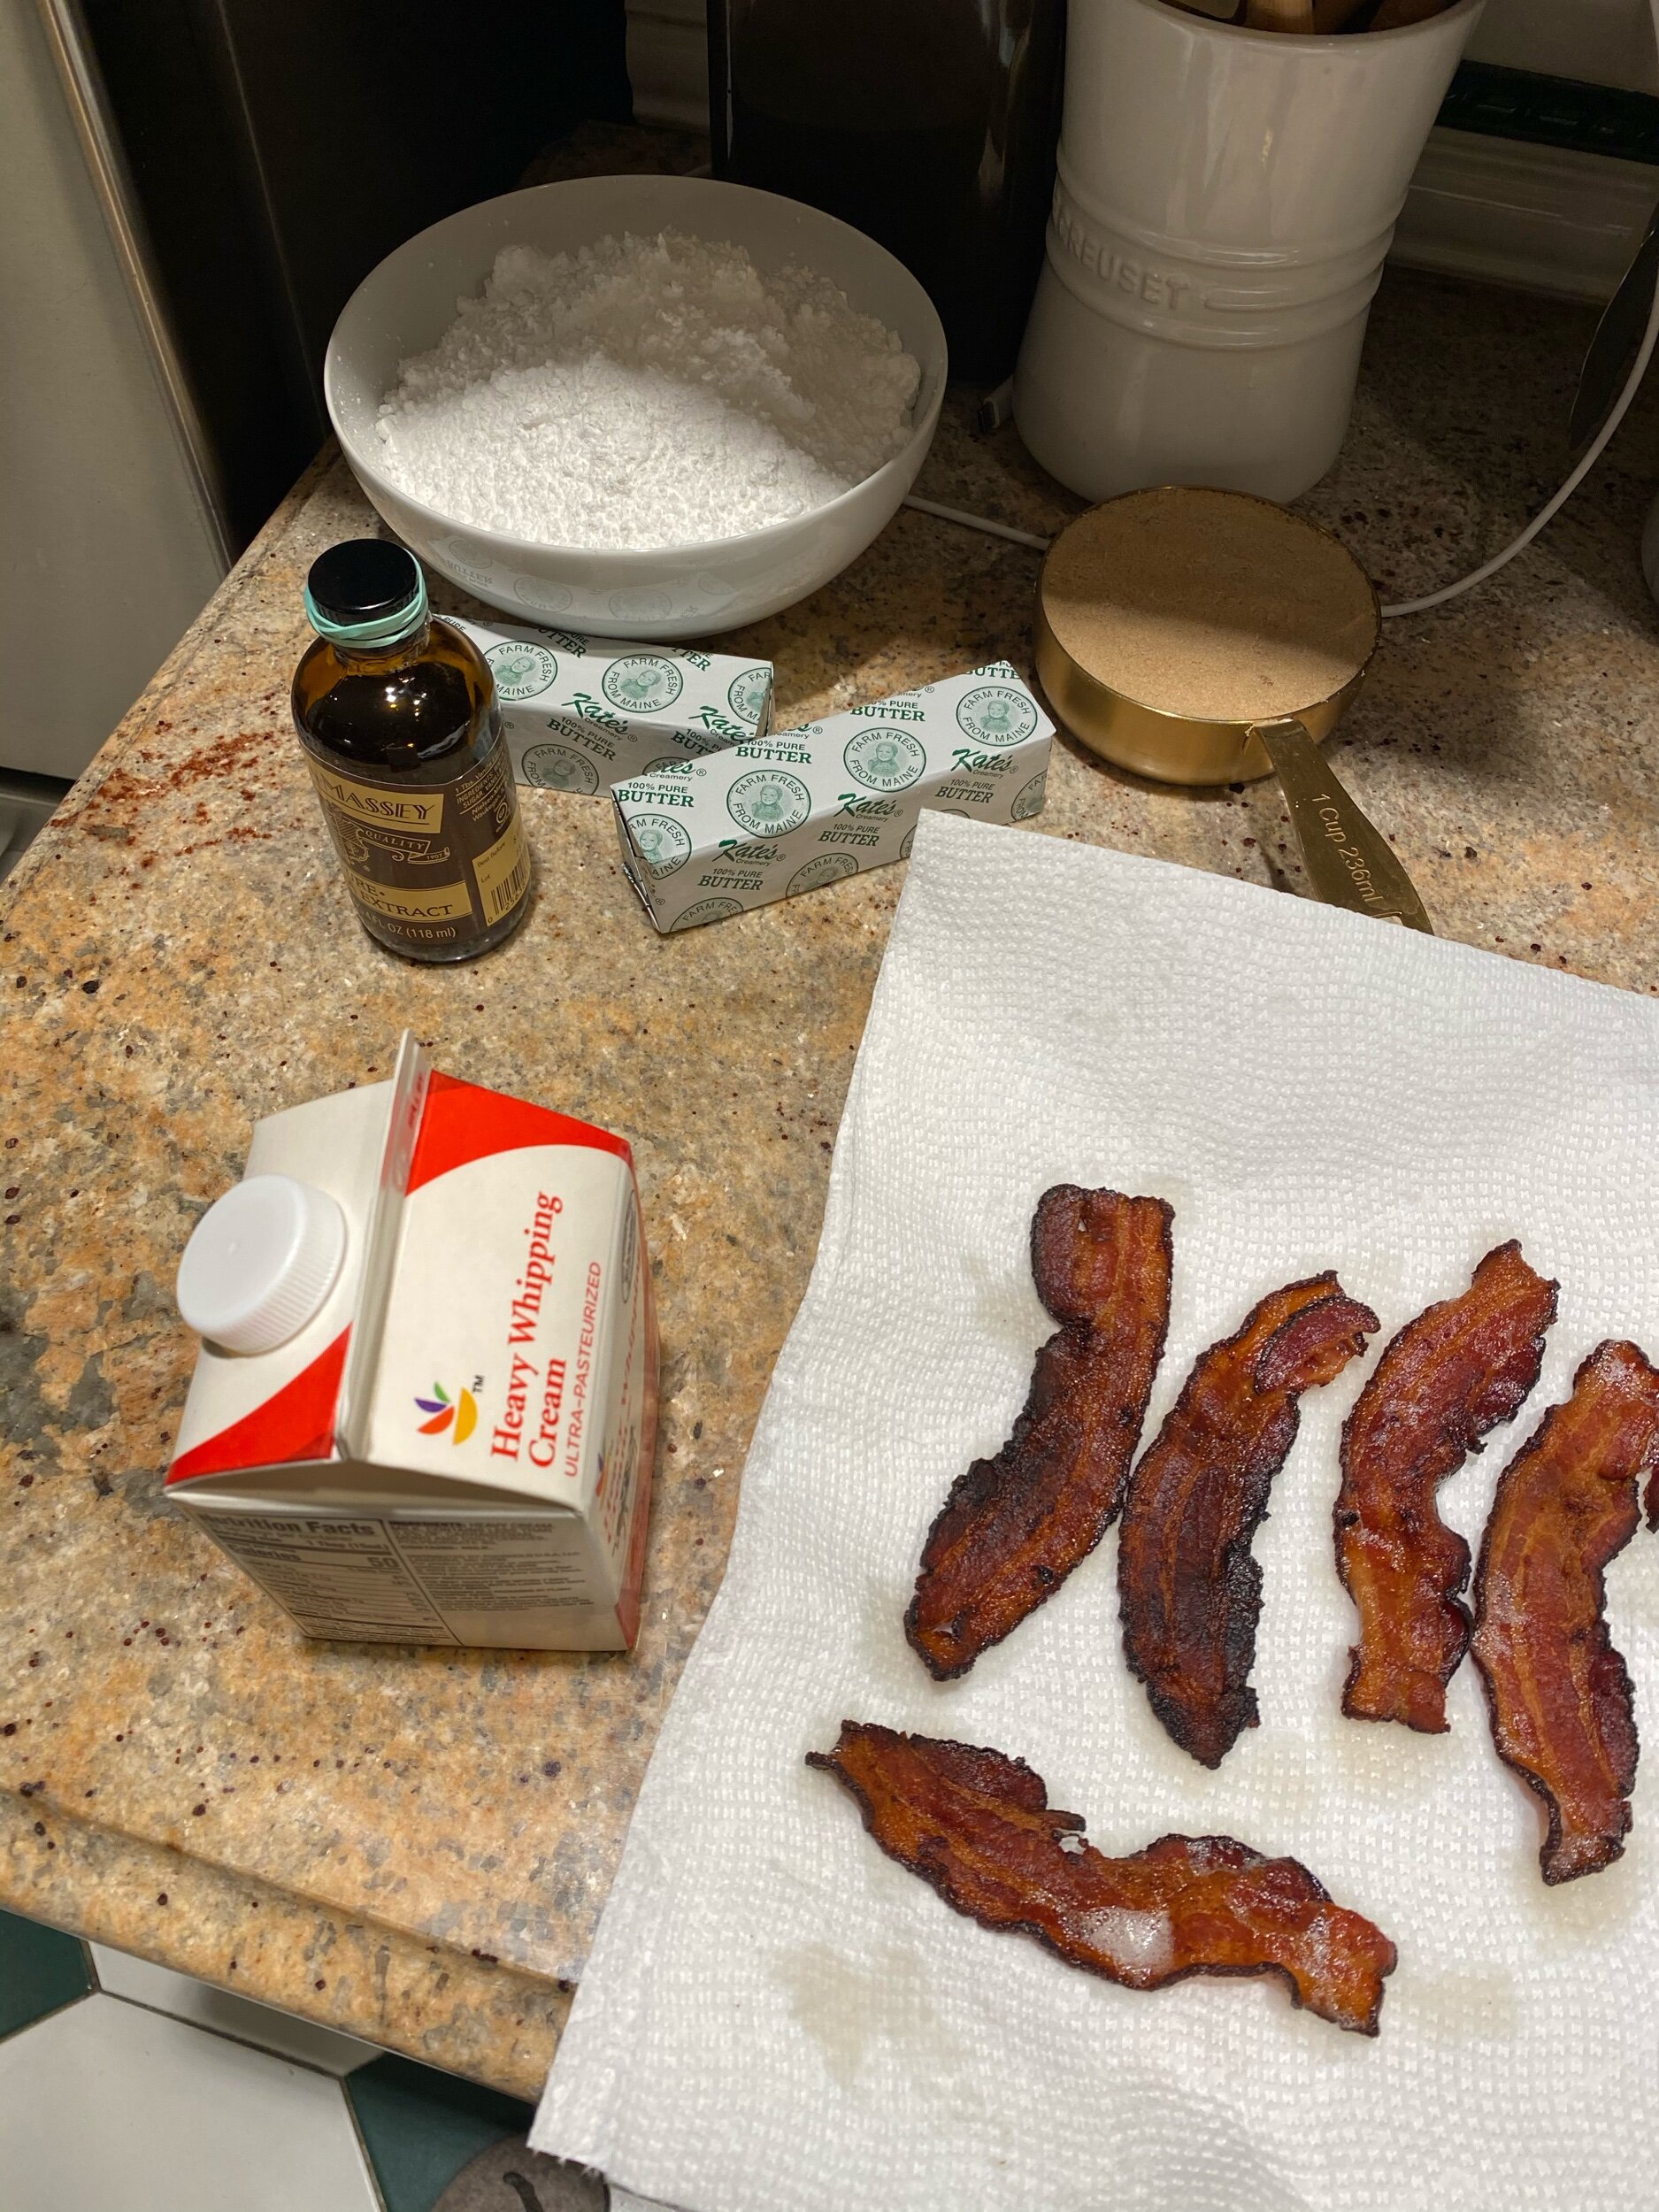
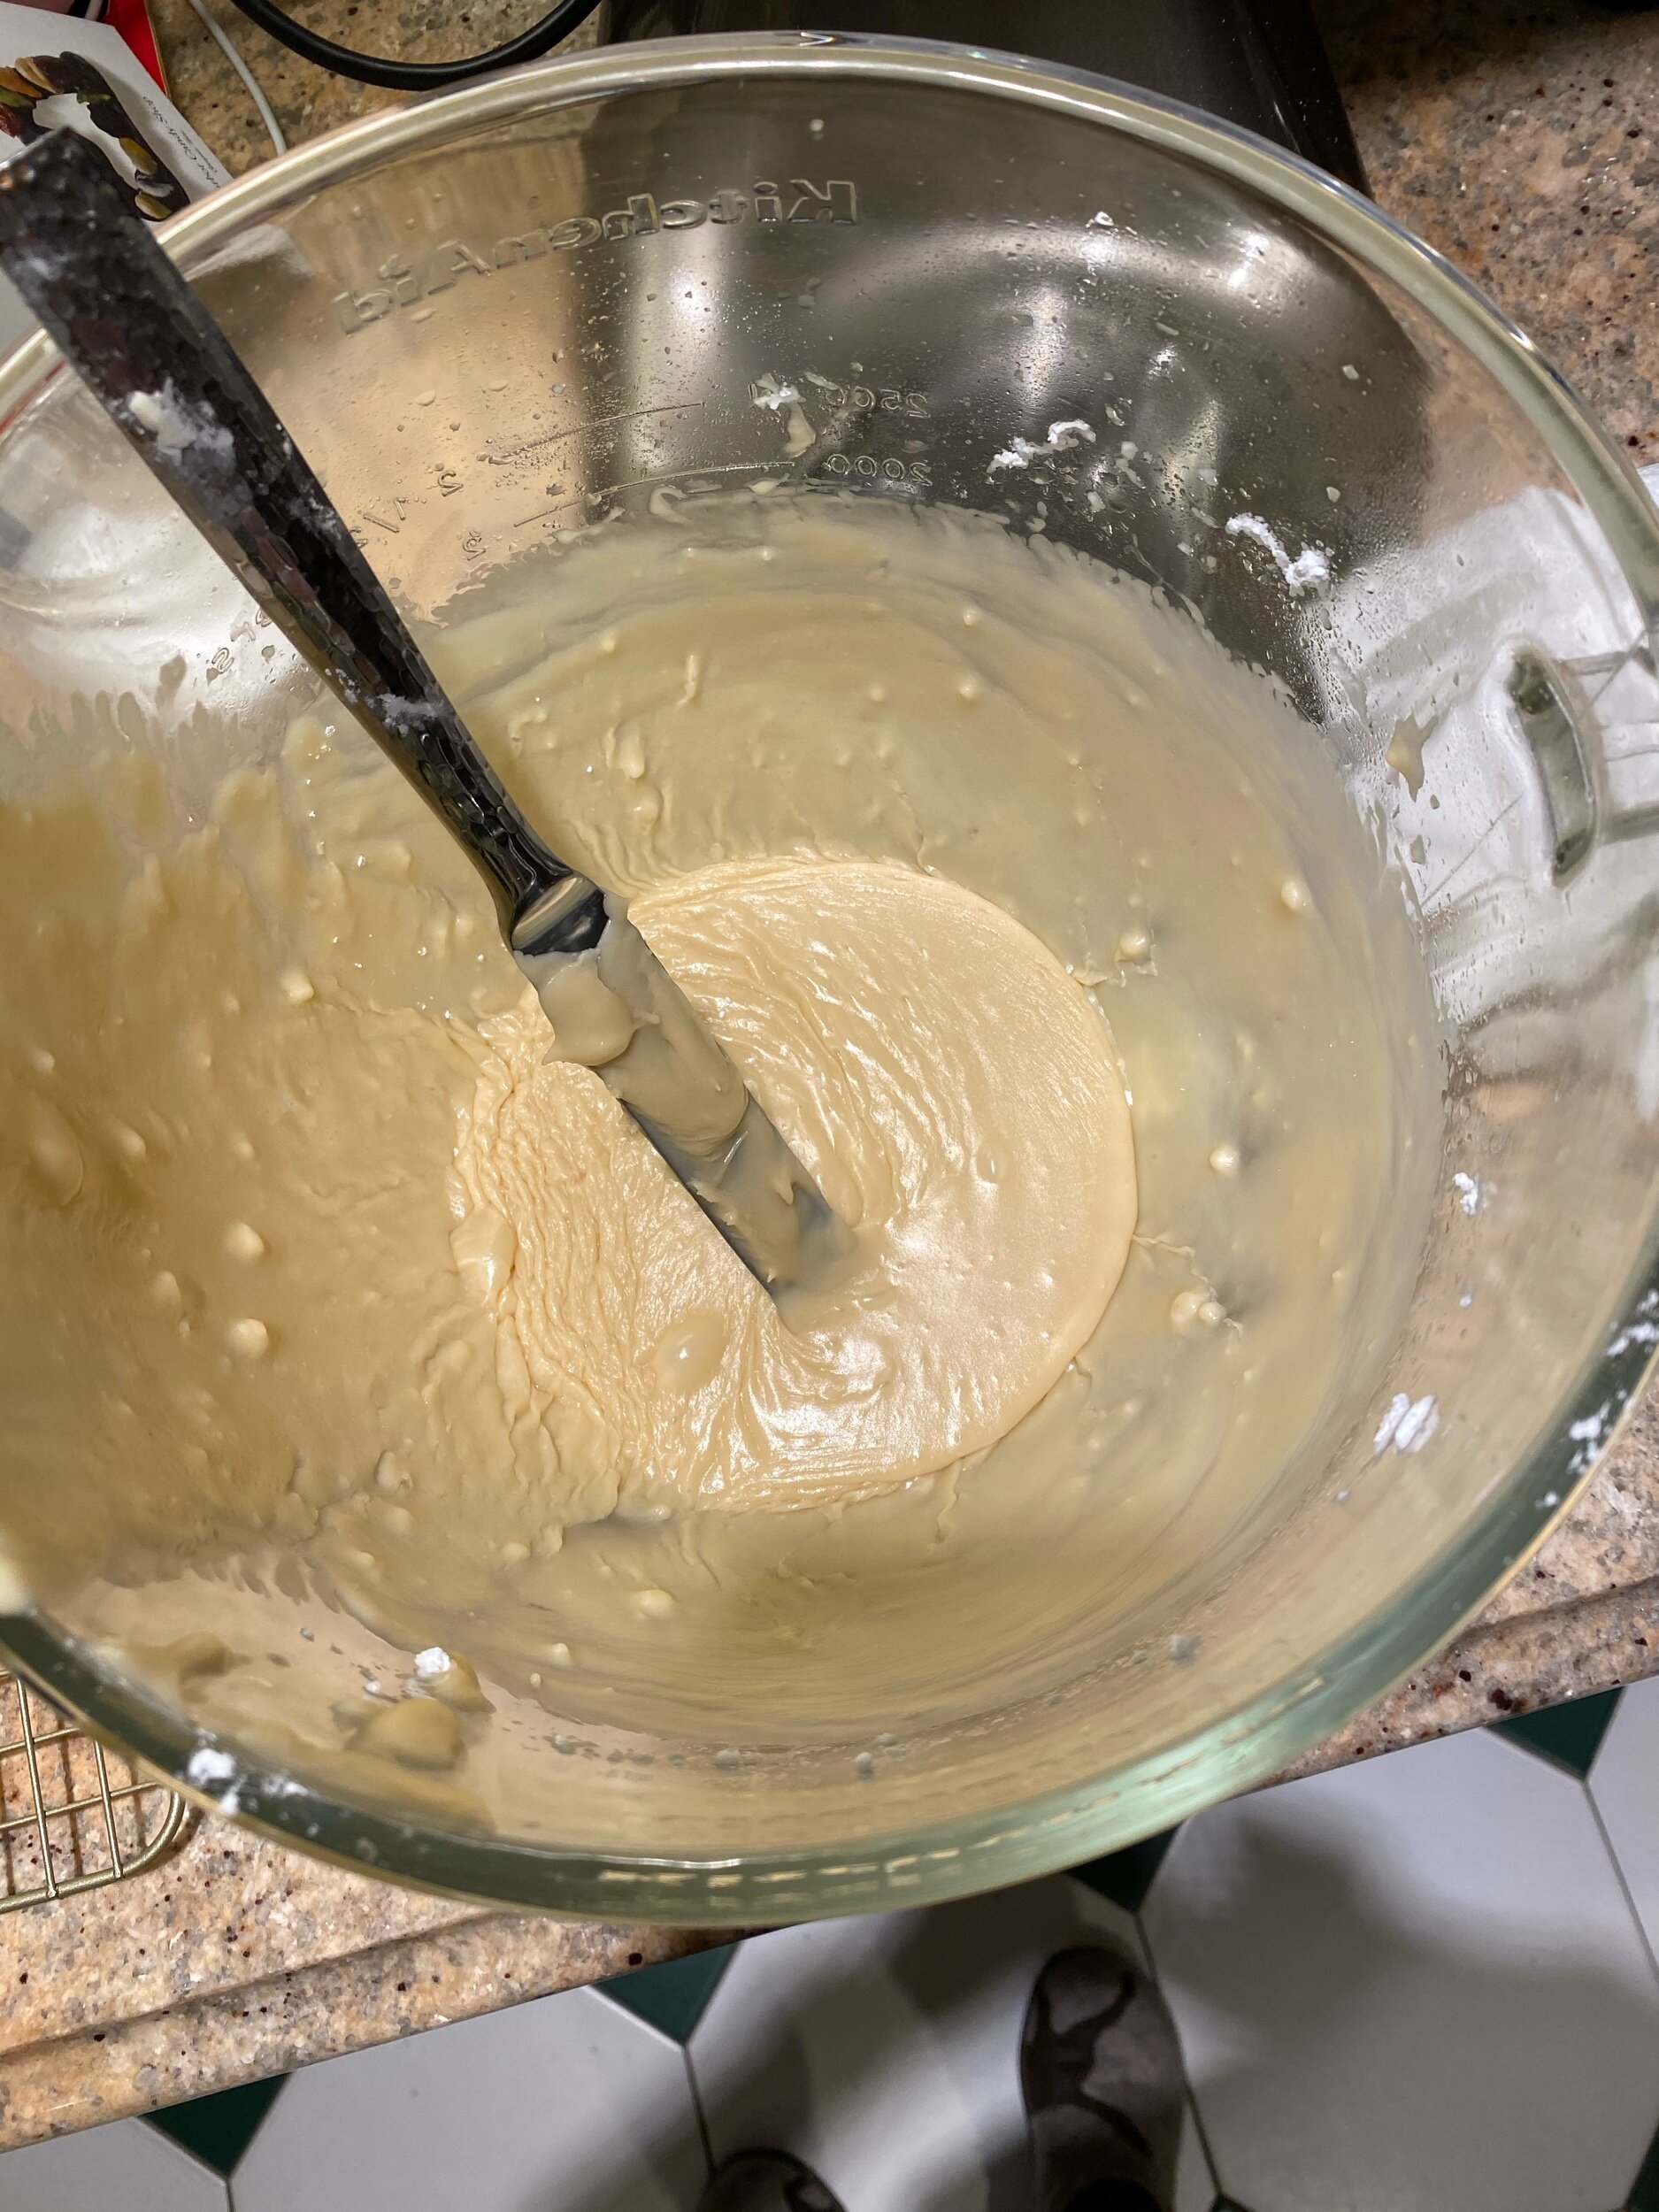
For the brown sugar frosting (caramel), do follow the instructions and use dark brown sugar. I was careless and used light brown sugar (that’s what I had), and I do wish I had gotten dark brown. I think it would have enhanced the flavor of the frosting and become a better caramel overall. Notes for next time. ;)
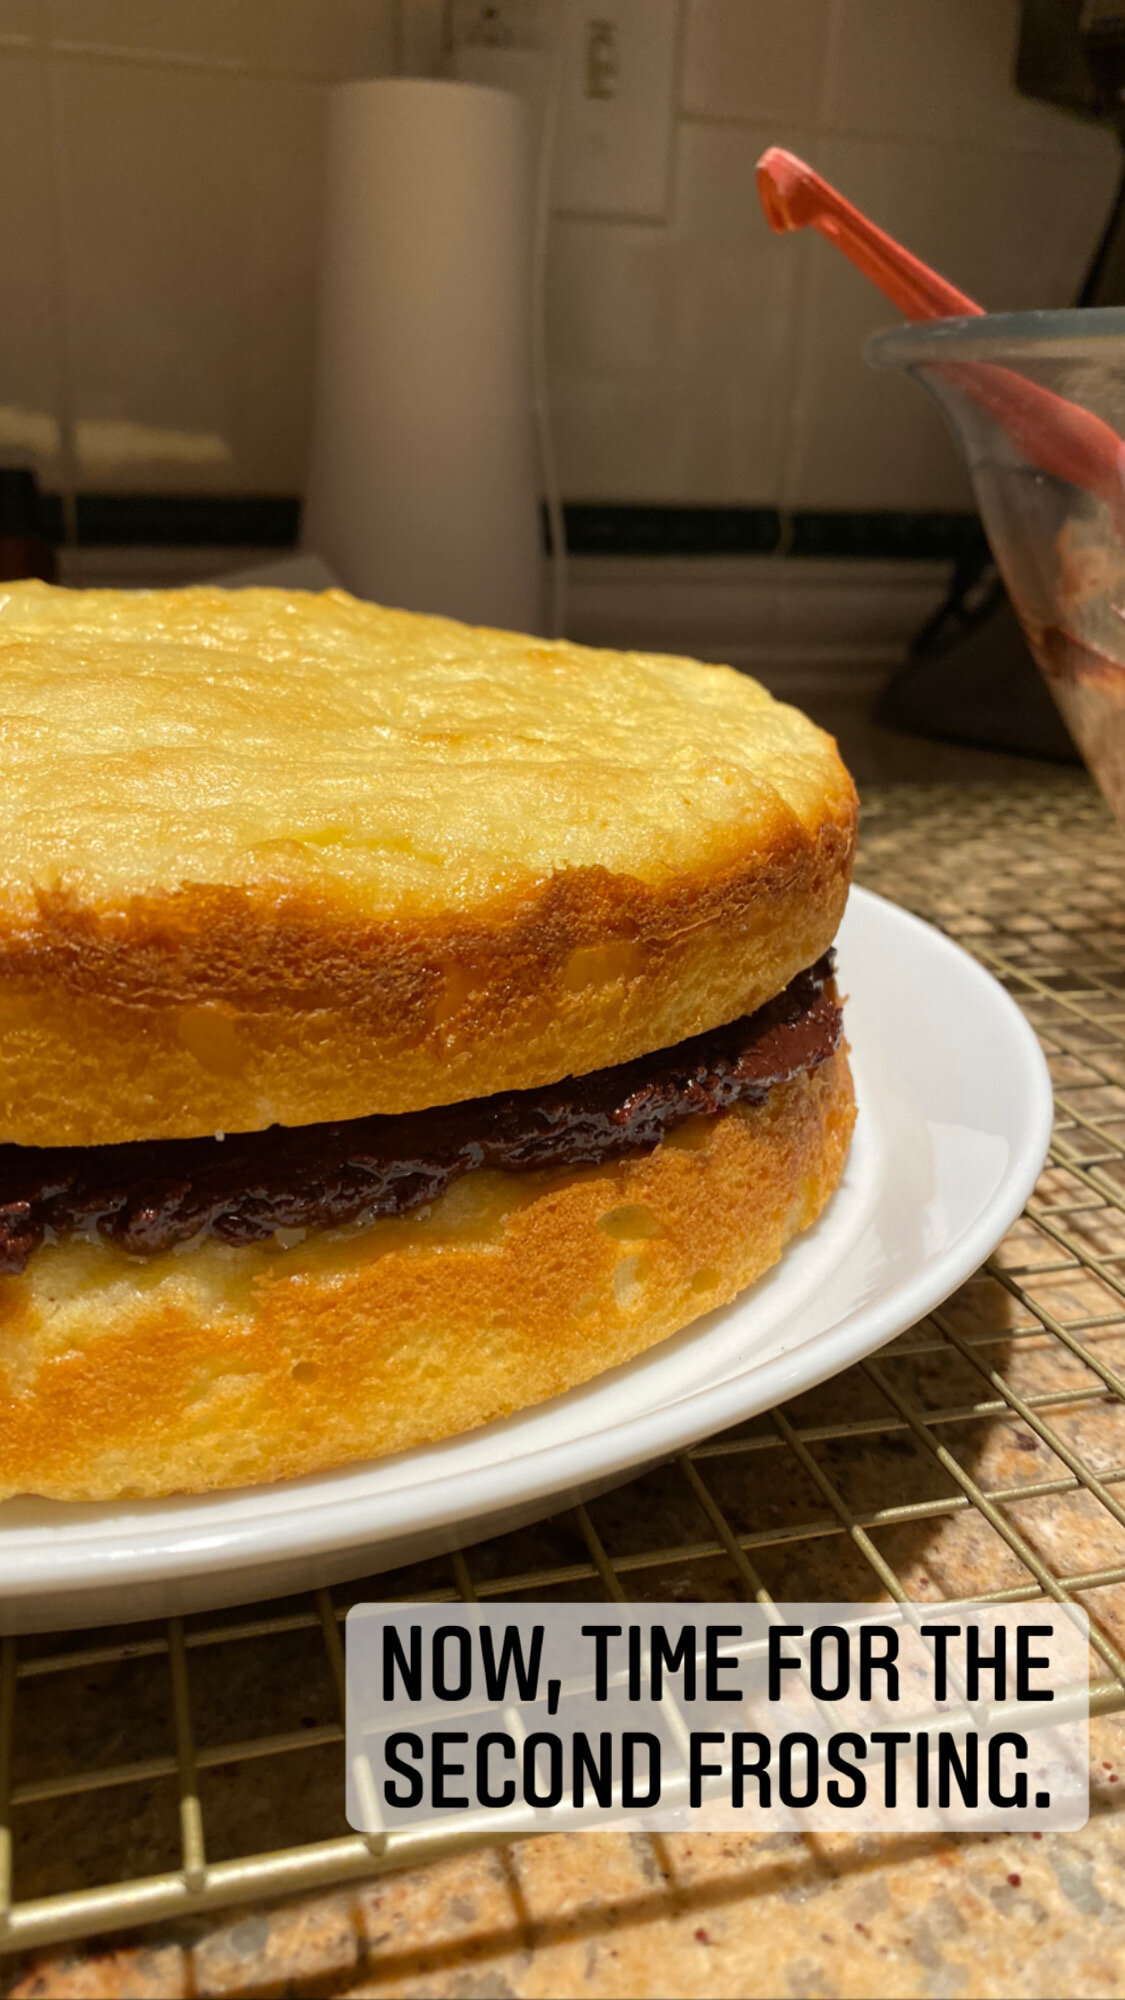
Make sure the cakes are completely cool before adding the two frostings. The chocolate is the “middle” layer and the brown sugar frosting goes on top of the stacked cakes (and on the sides). Feel free to taste the frosting(s) before covering the cake.
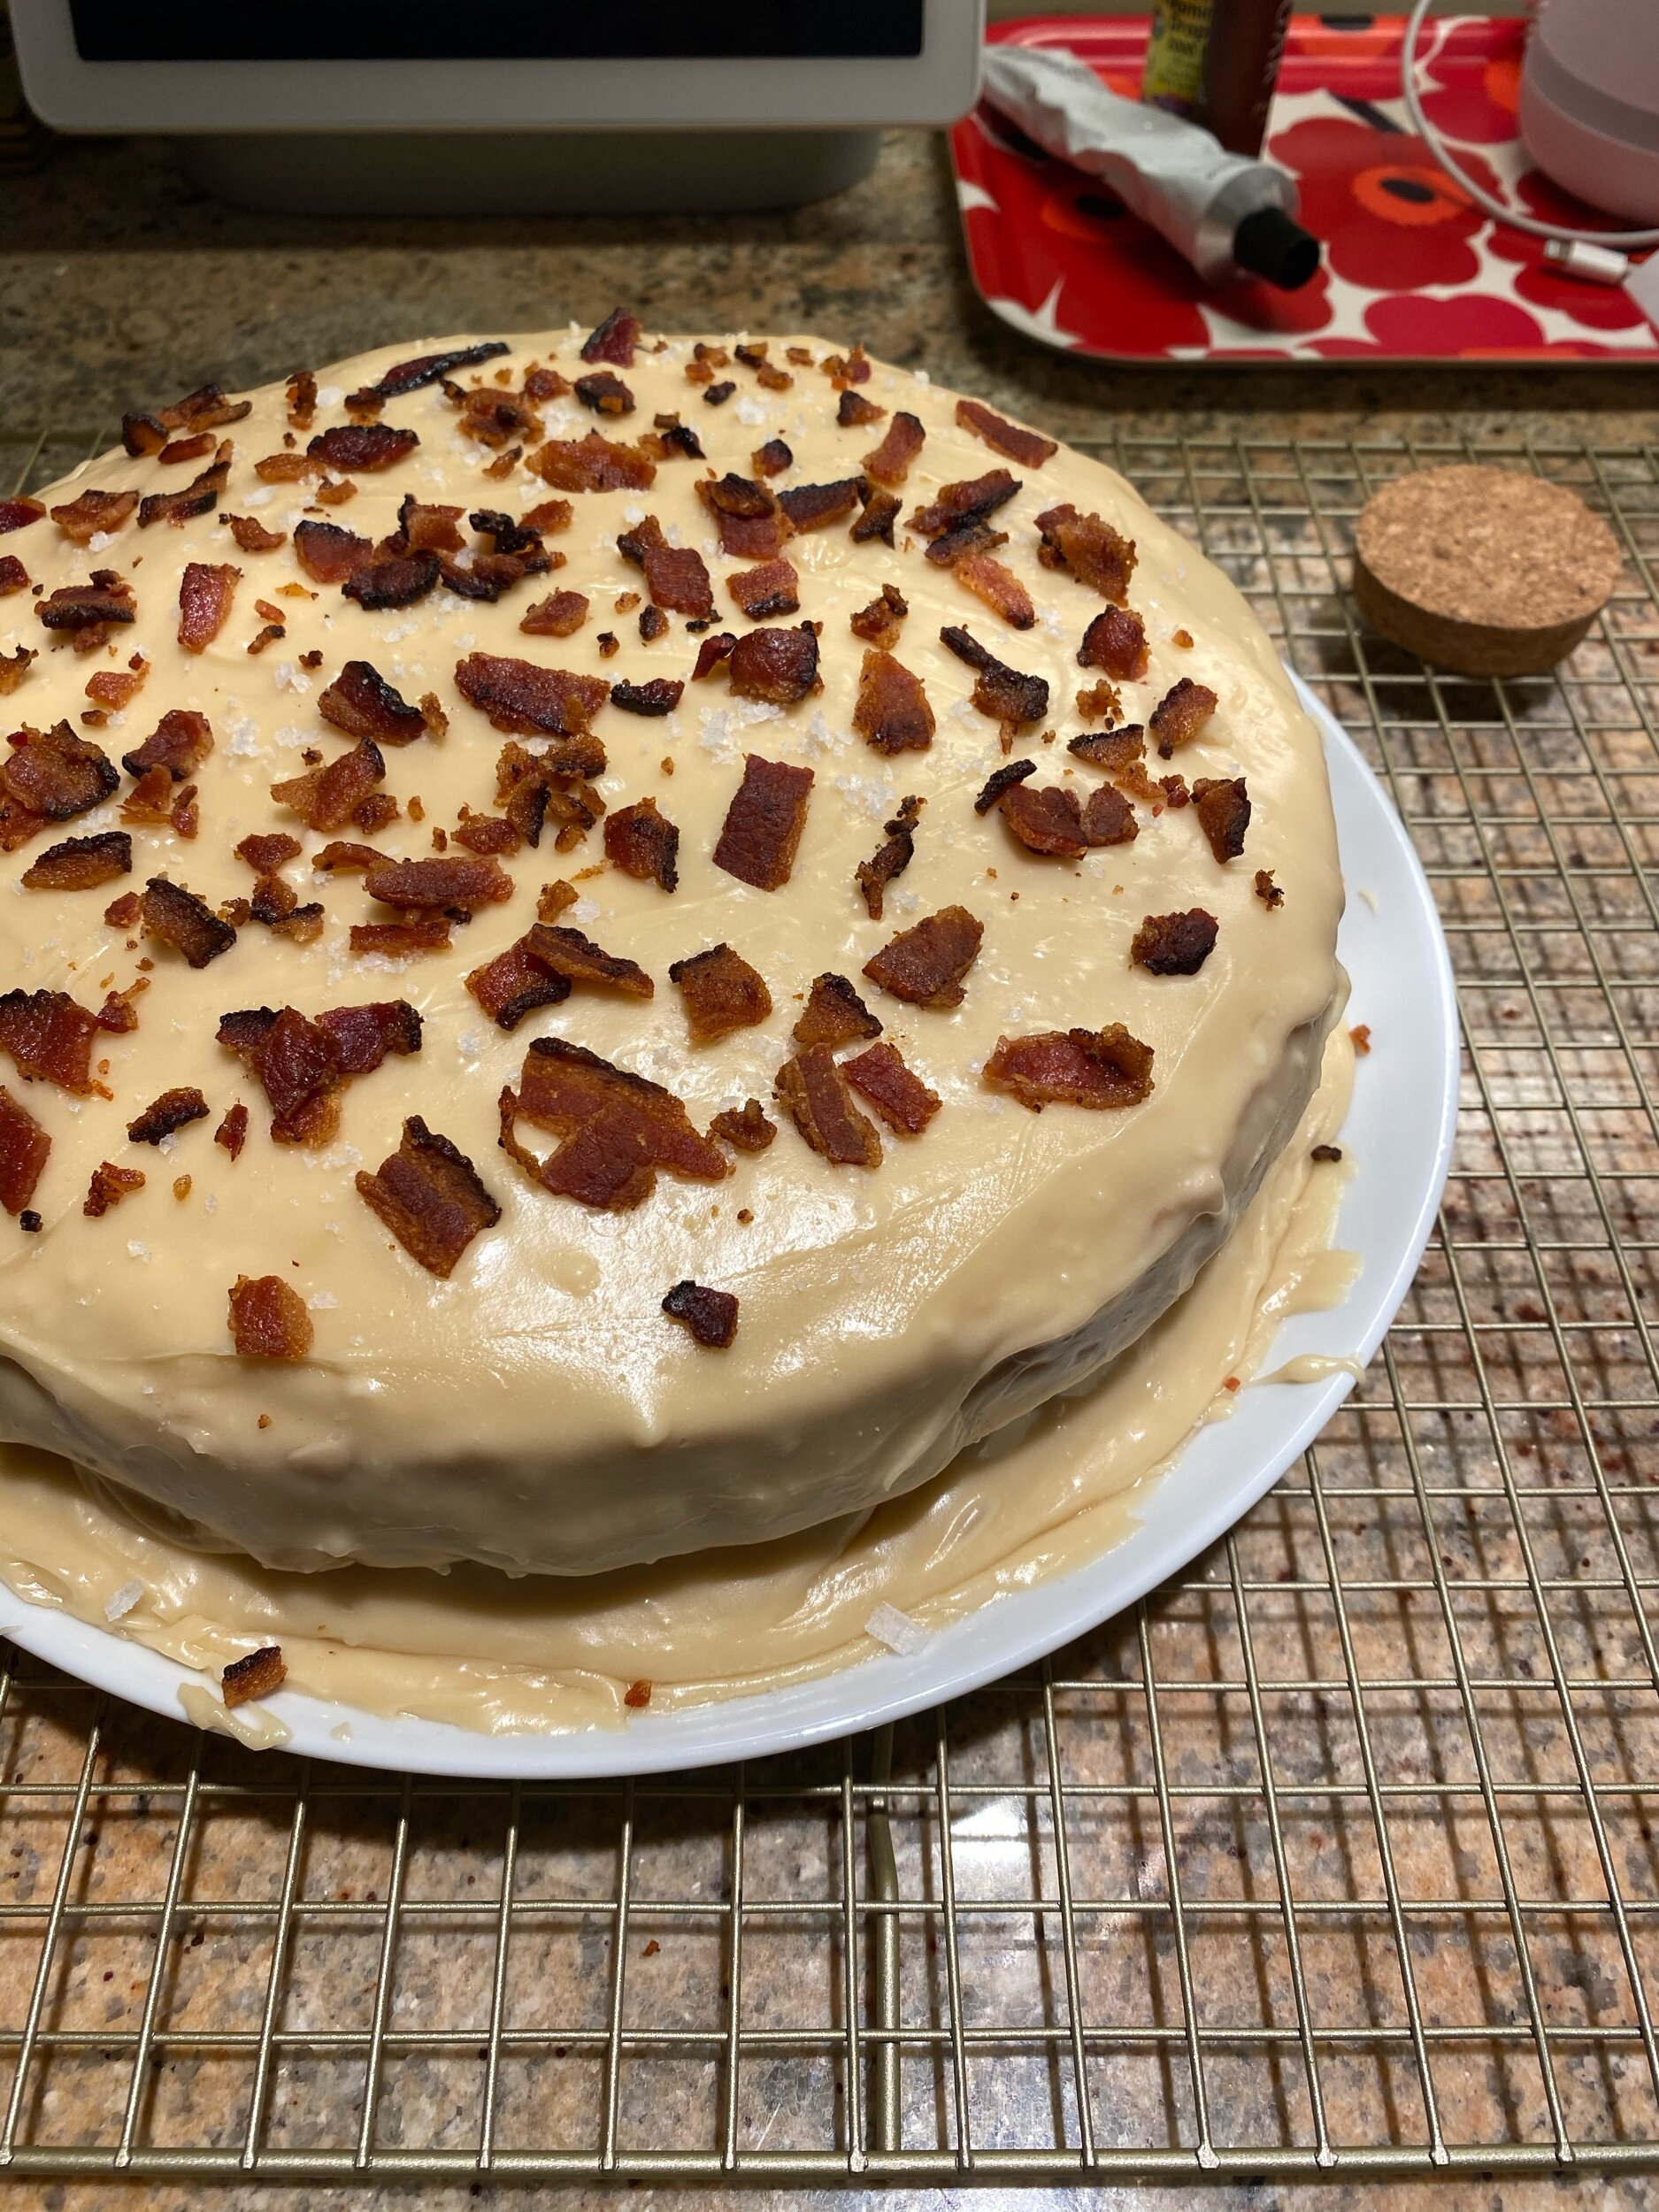
Finally, I topped my cake with crumbled bacon as a salty, crunchy surprise. The recipe recommends chocolate shavings and sea salt, which would be equally delicious. The bacon was a strong choice, flavor-wise, and I’m not sure I’d do it again, but it was fun crumbling bacon over a very sweet cake. Next time I may just serve the bacon on the side. Like a garnish. ;)

FINAL REVIEW
I don’t like to sugarcoat my reviews (pun intended) so here goes the truth: this cake was good, not great. However, Seth loved it and thought the chocolate frosting was the best part. I liked the cake the best and the chocolate least.
I’m coming to a scary conclusion that I’m not sure I like to have chocolate anywhere near a non-chocolate cake. Please don’t be mad. I am not a monster. The plain, vanilla-based cake was yummy. I think I would have liked it more with a traditional buttercream frosting. What can I say? I’m a vanilla cake fan for life.

Was the bacon necessary? Not at all! But it was a fun experiment and now I know what cake tastes like with a bacon crumble topping. As mentioned above, bacon-on-cake is an acquired taste so next time I’d probably just serve it on the side. No one would be bothered and those who like it can crumble it on their slice. Personally, I would eat the bacon after the slice of cake. I’m a bigger fan of savory anyway. ;)
In summary, this cake was not hard to bake and the result was good. It was a good cake. I do think I’ve made better cakes. Will I make this one again? Possibly. It’s too soon to tell.

If and when I do decide to make this specific cake again, I’ll follow my own baking tips and do a simple sprinkle on top of cocoa and sea salt. A savory and sweet topping to please everyone.
RECIPE + SOURCE
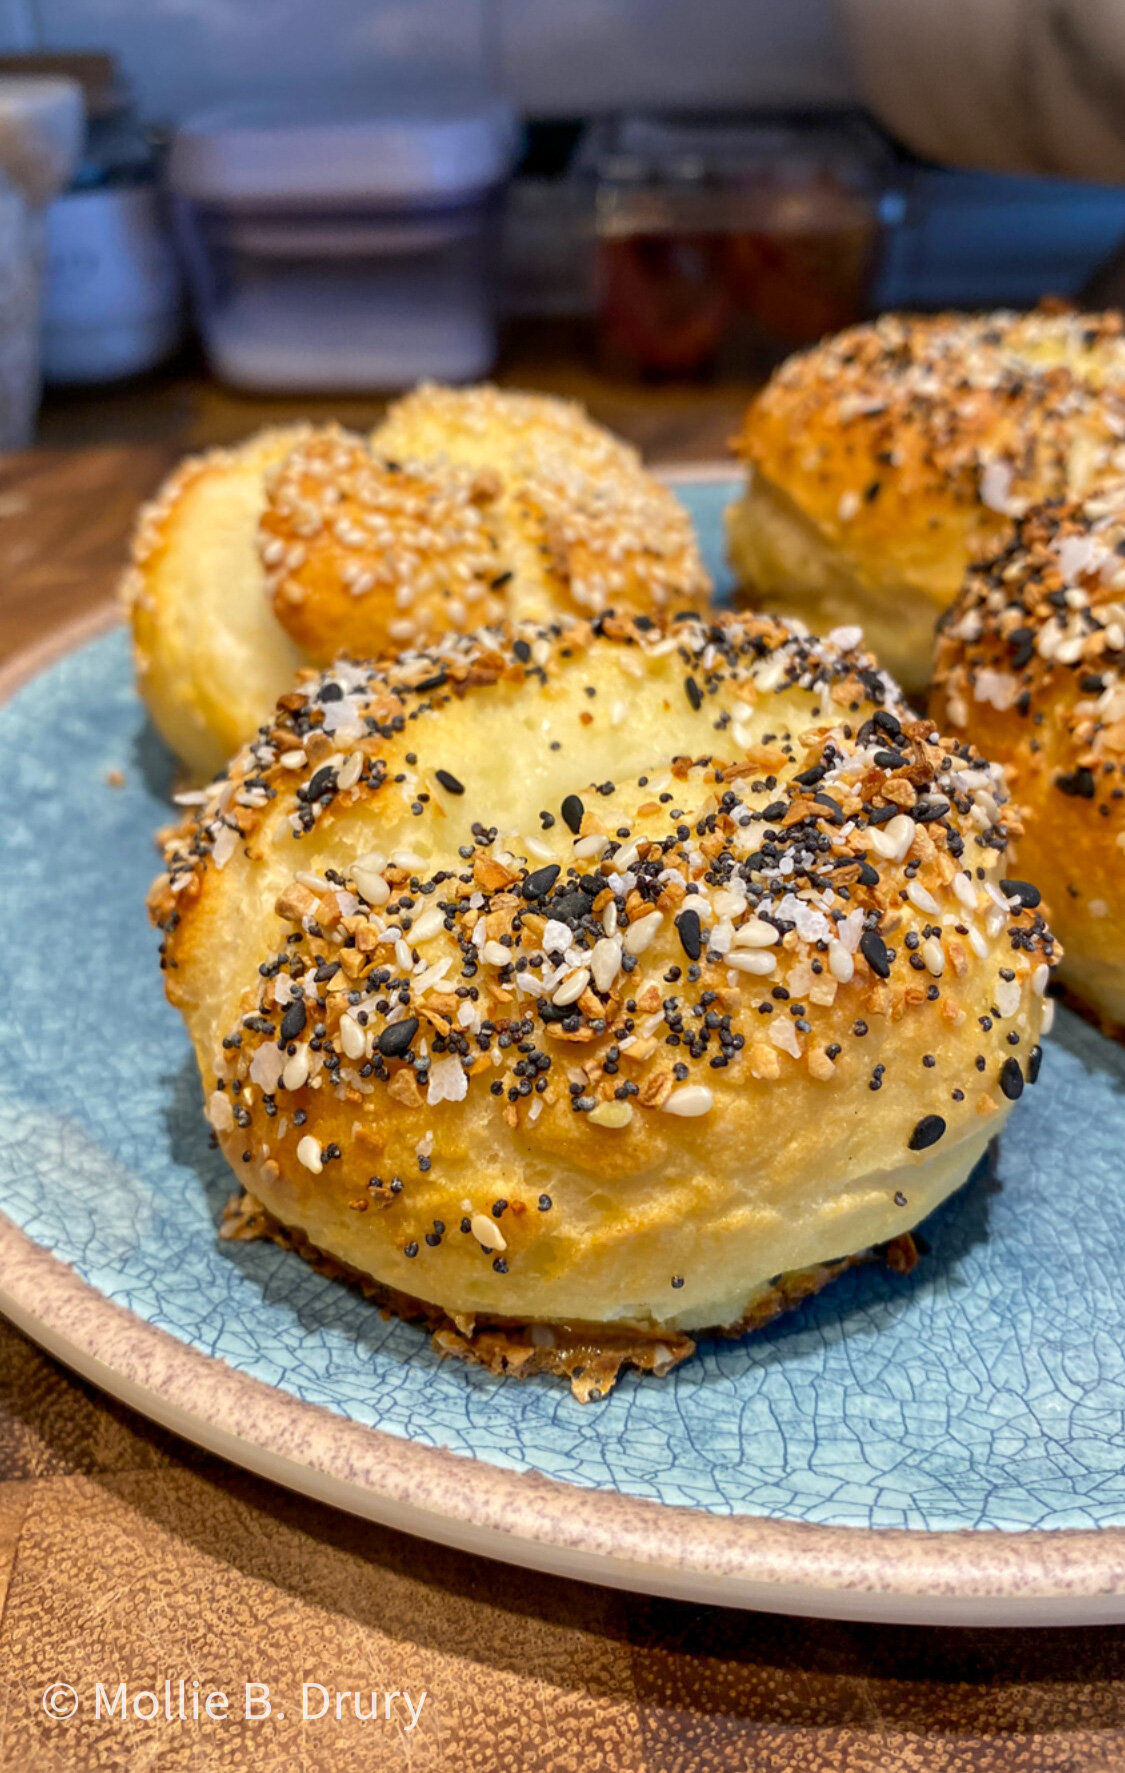
5-Ingredient Gluten Free Bagels. Recipe via The Skinny Taste.

MAKE IT GLUTEN FREE + BAKING TIPS
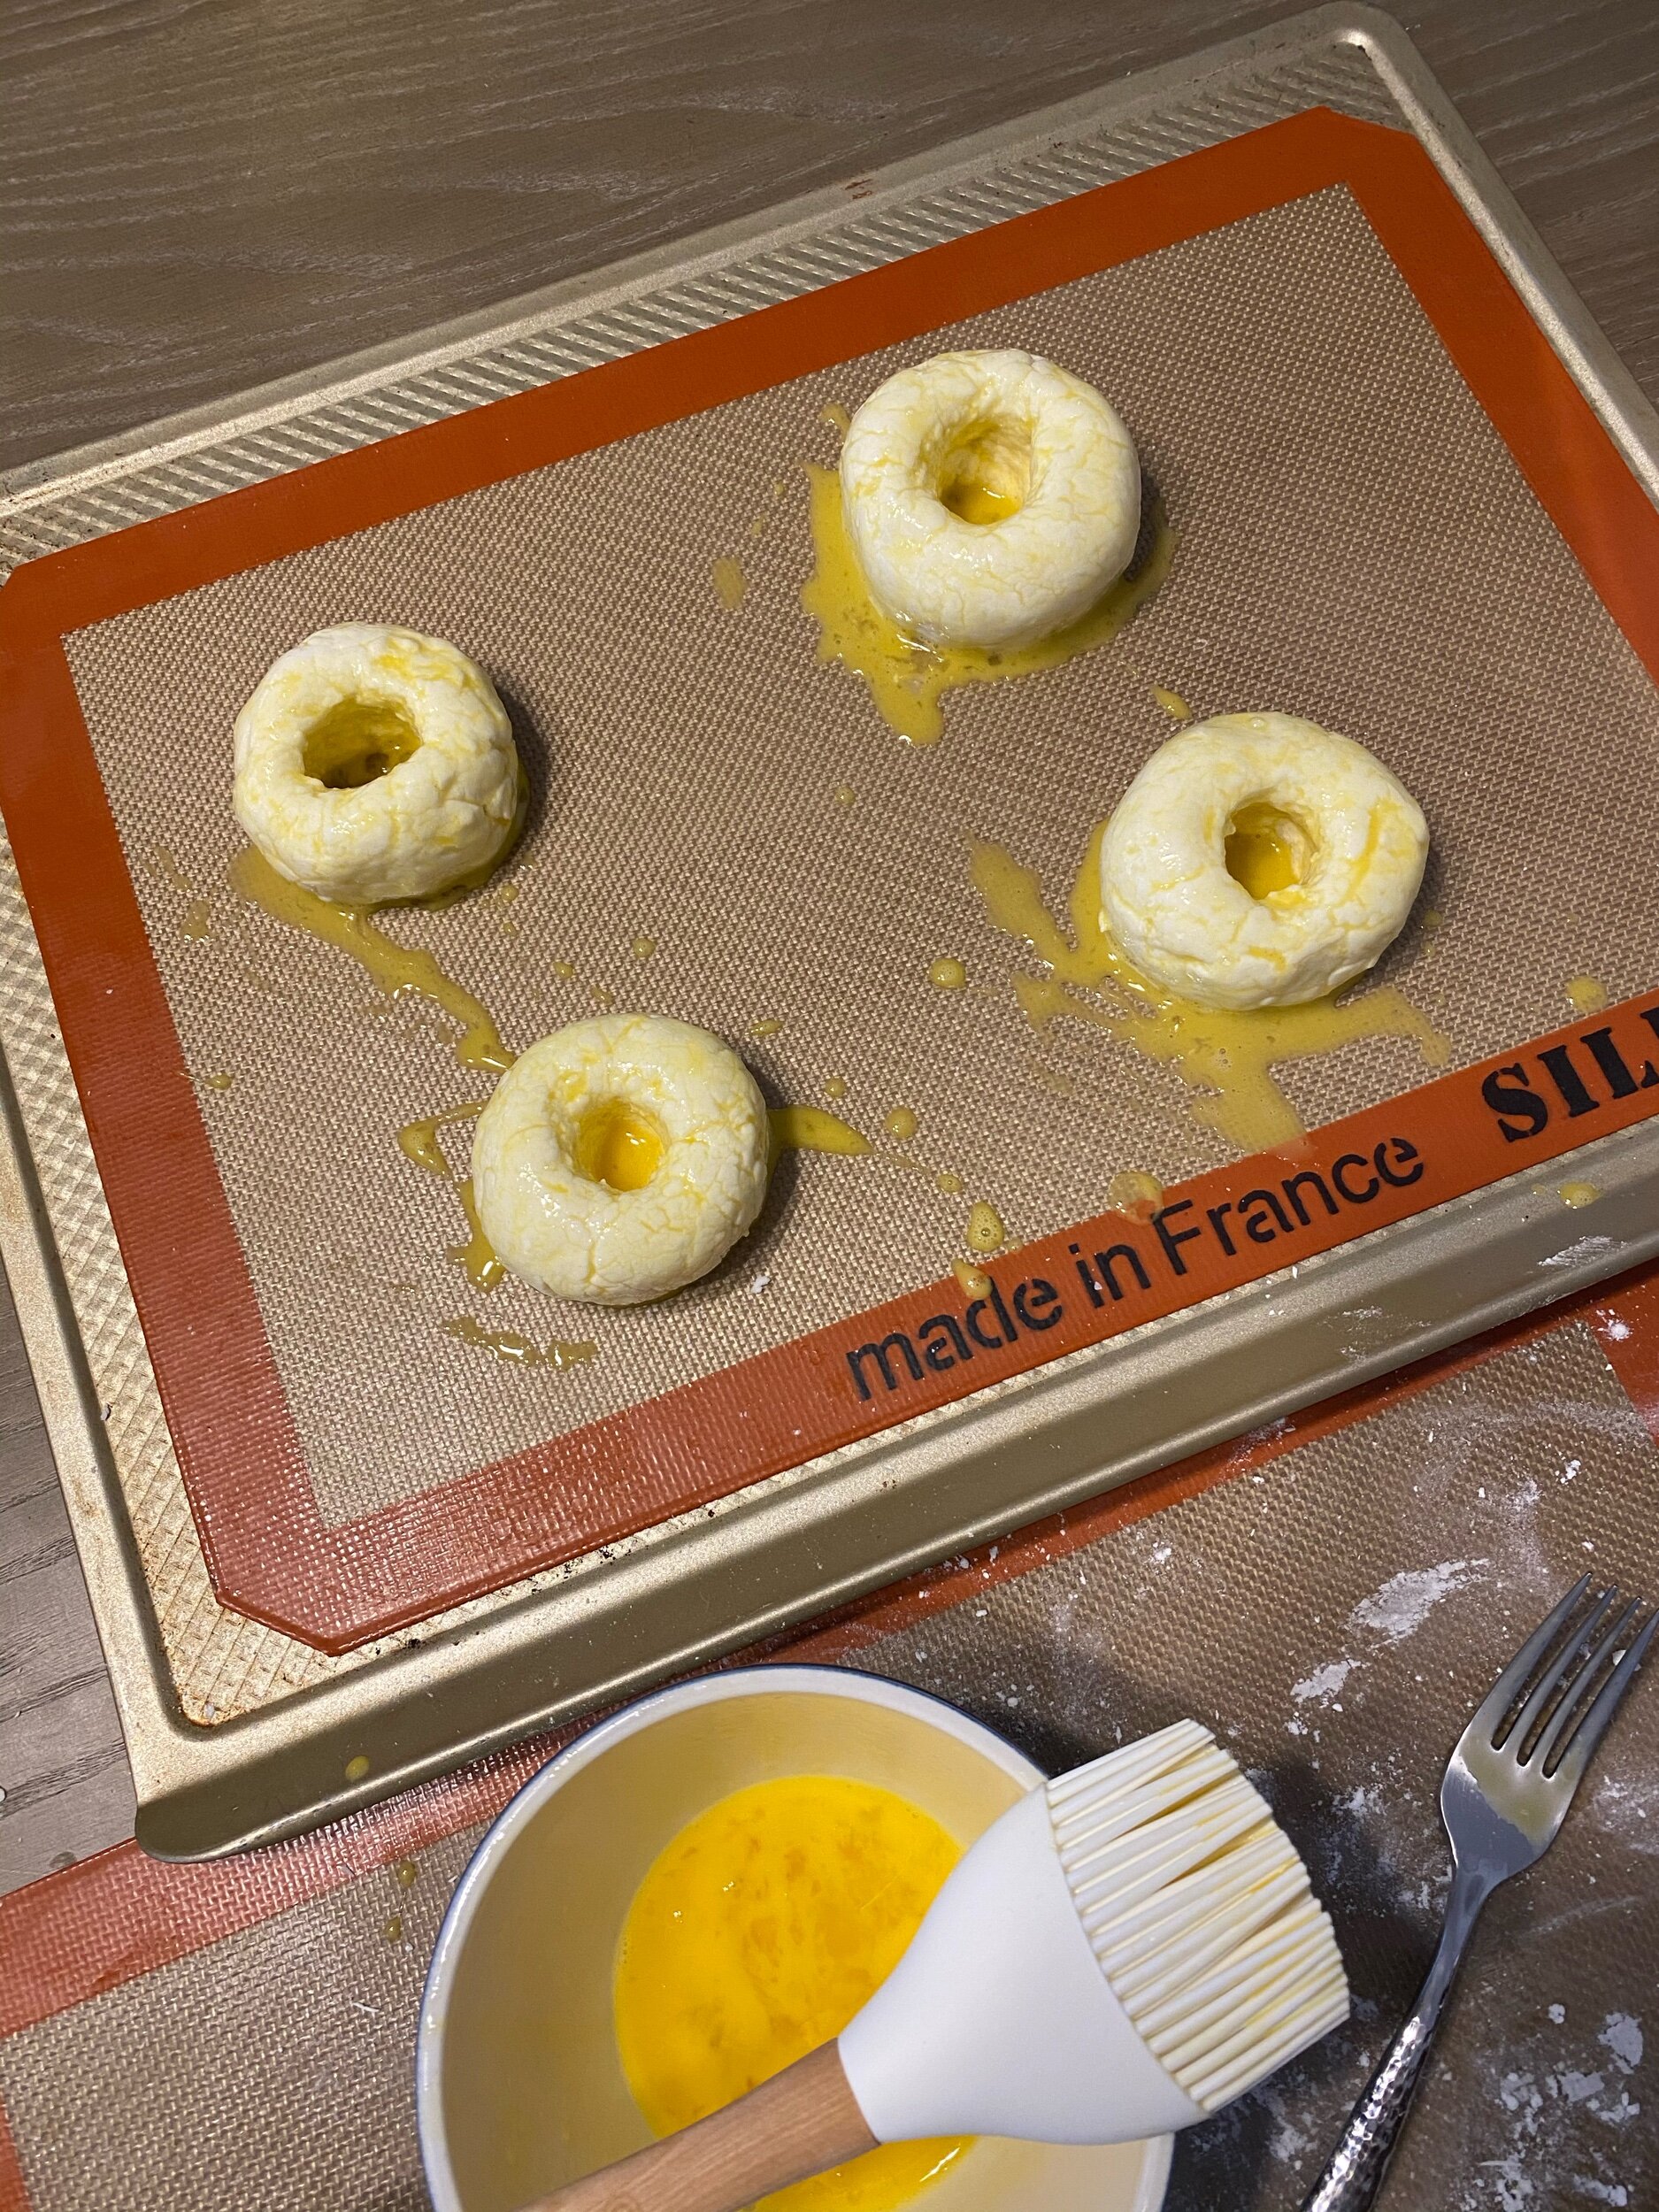
While the recipe is based on using regular flour, the author does say that it works with gluten free so that’s what I did! To make the bagels gluten free I used Cup4Cup Gluten Free Flour in place of regular all purpose. That’s the only necessary swap!
The joy of this bagel recipe is that it’s very simple, quick, and straightforward. Essentially, it’s fool-proof! Follow the instructions as written and before you know it, you’ll have hot, fresh bagels on your breakfast table. What could be better?
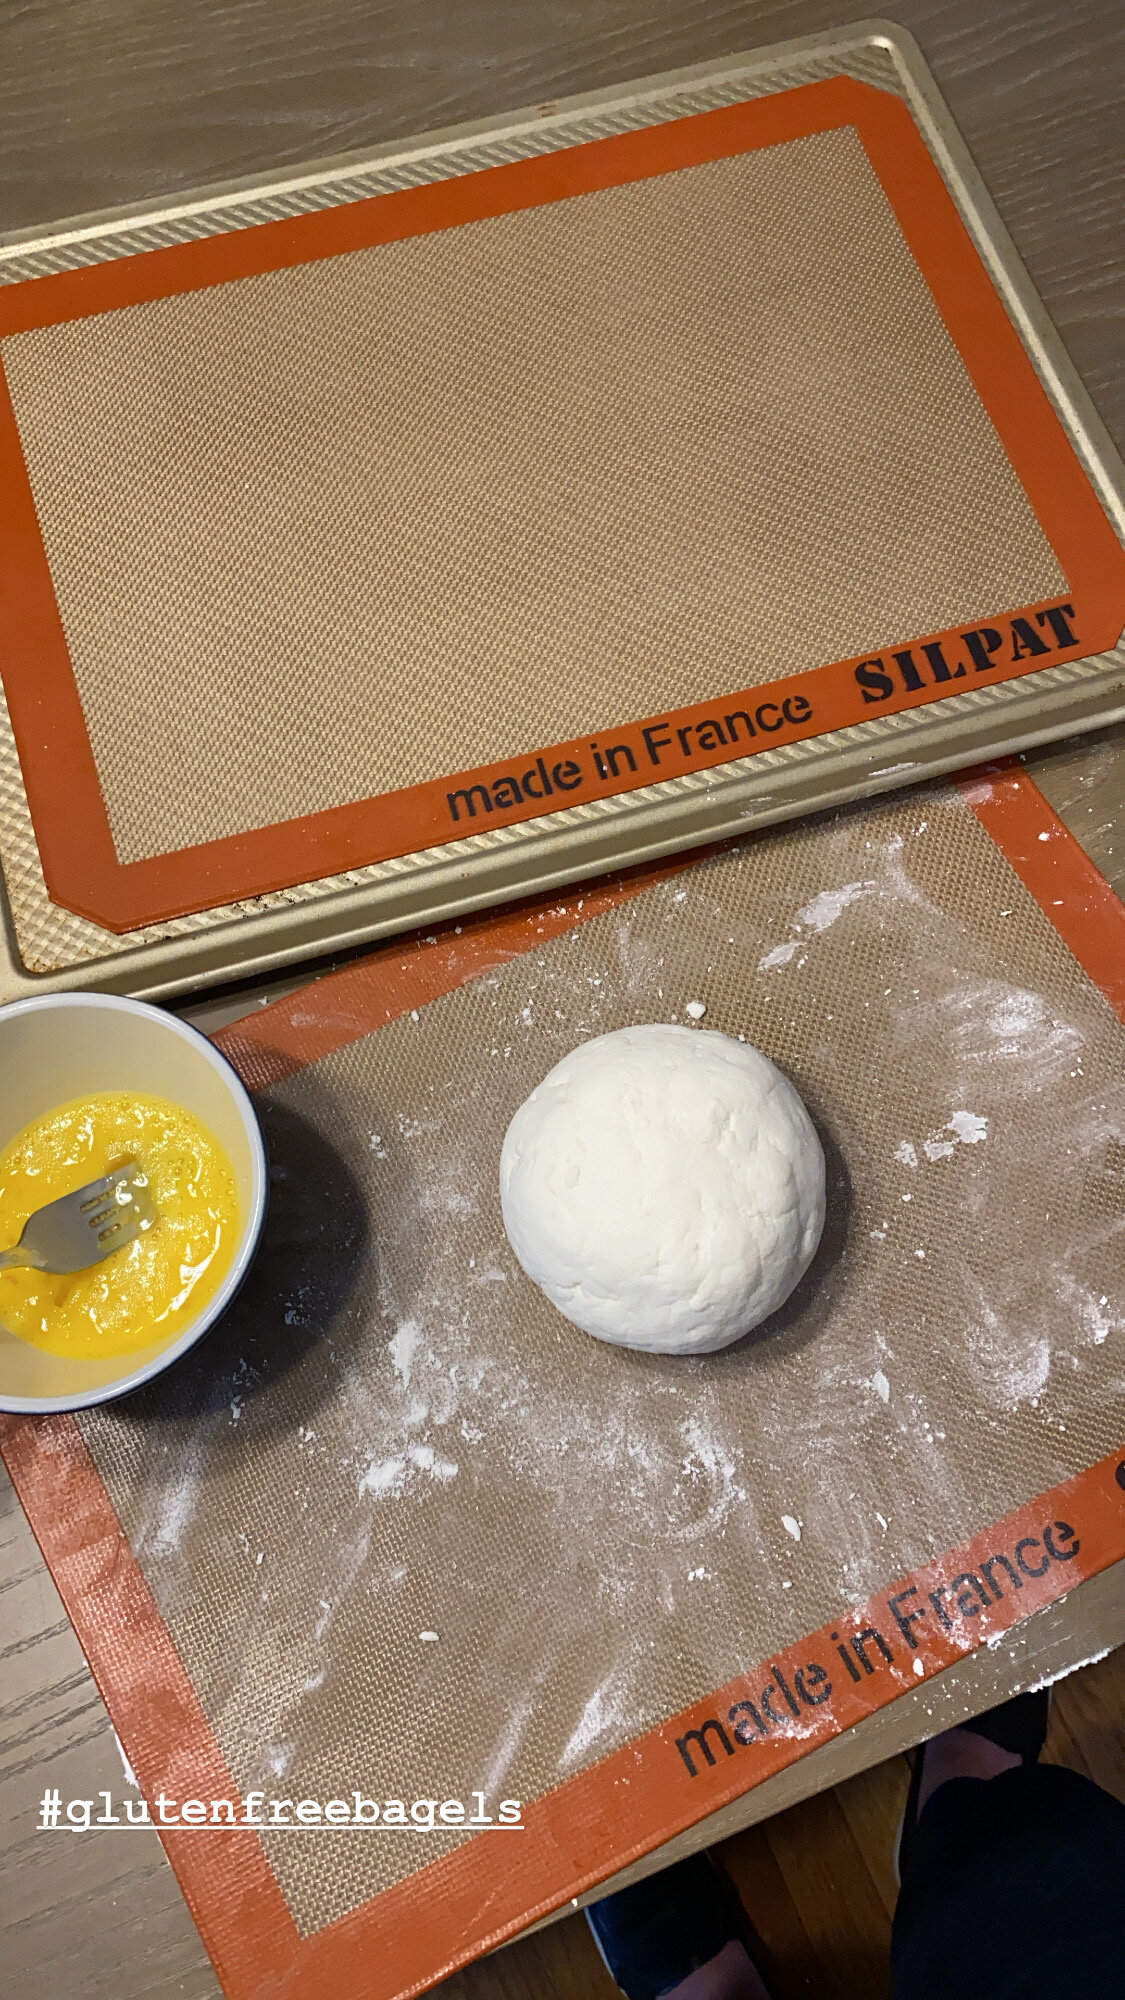
The one tip I can offer is to be careful when forming the bagels. The dough is a bit sticky so be sure to have extra (GF) flour covering your work surface. I’ve made these bagels a few times and the toughest part (for me) is making the bagel shape. My lack of arts and crafts skills carry over into the food world, too. Whoops.
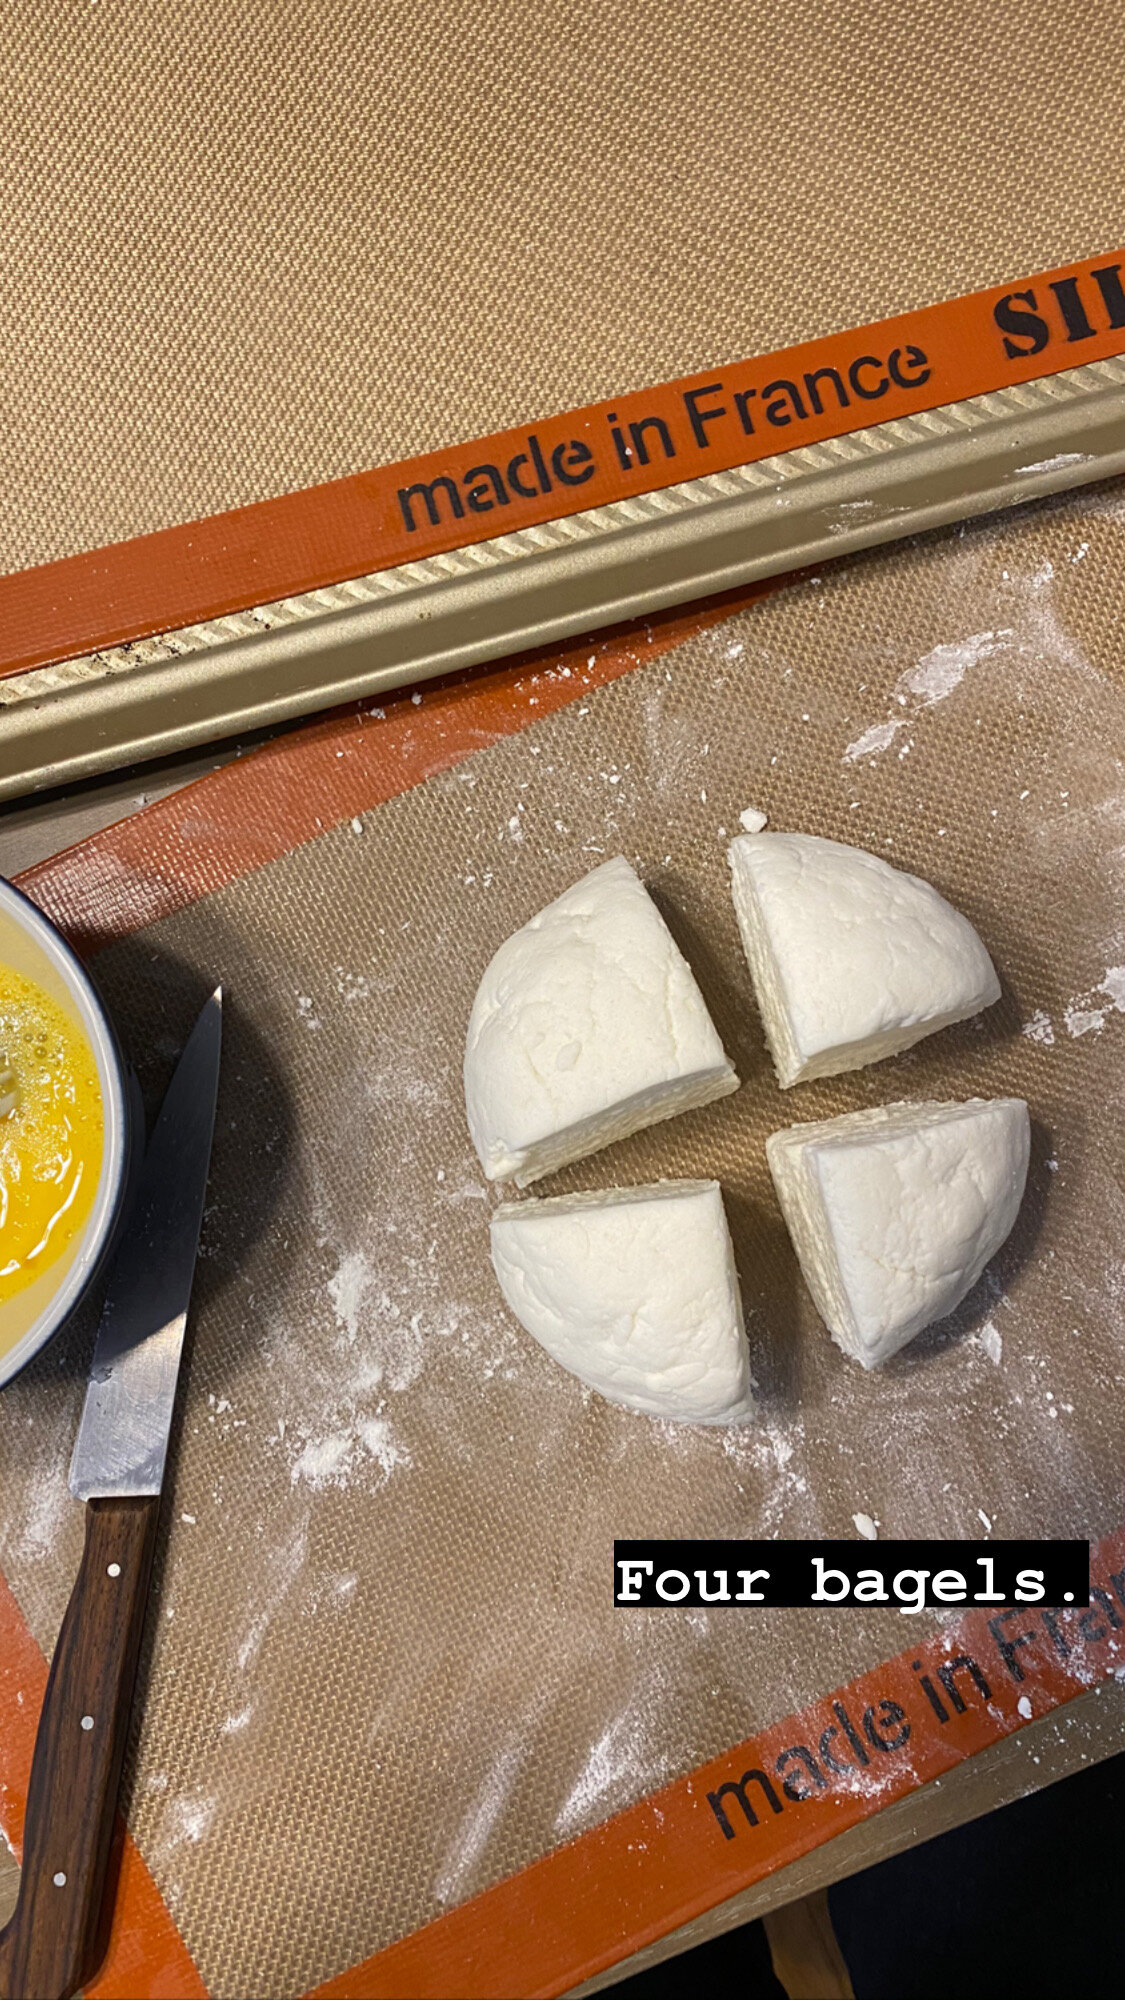
After several attempts, I think it’s best to make the hole in the center of the bagel by using a knife, first, to make the small “incision” in the center. Then widen the center using your hands creating the bagel shape.
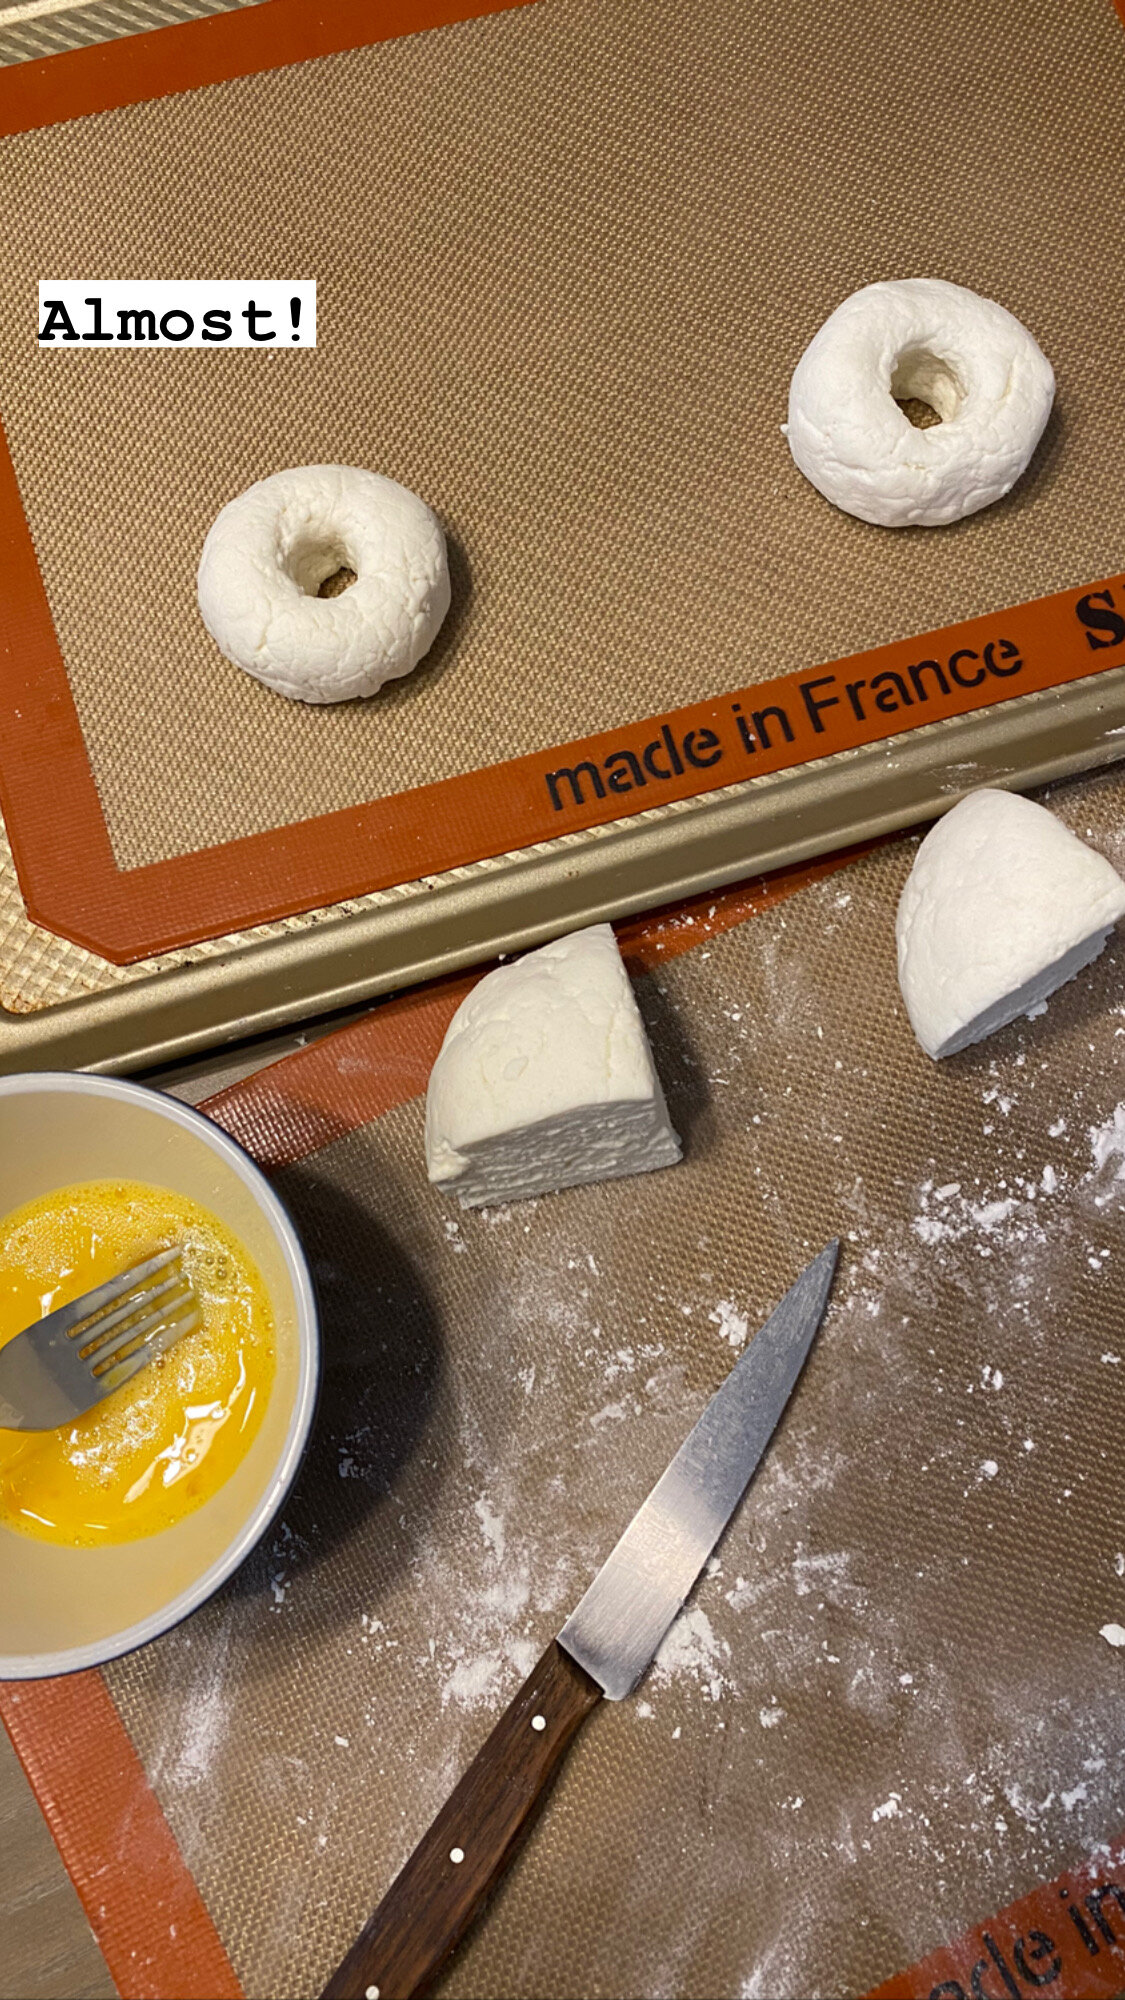
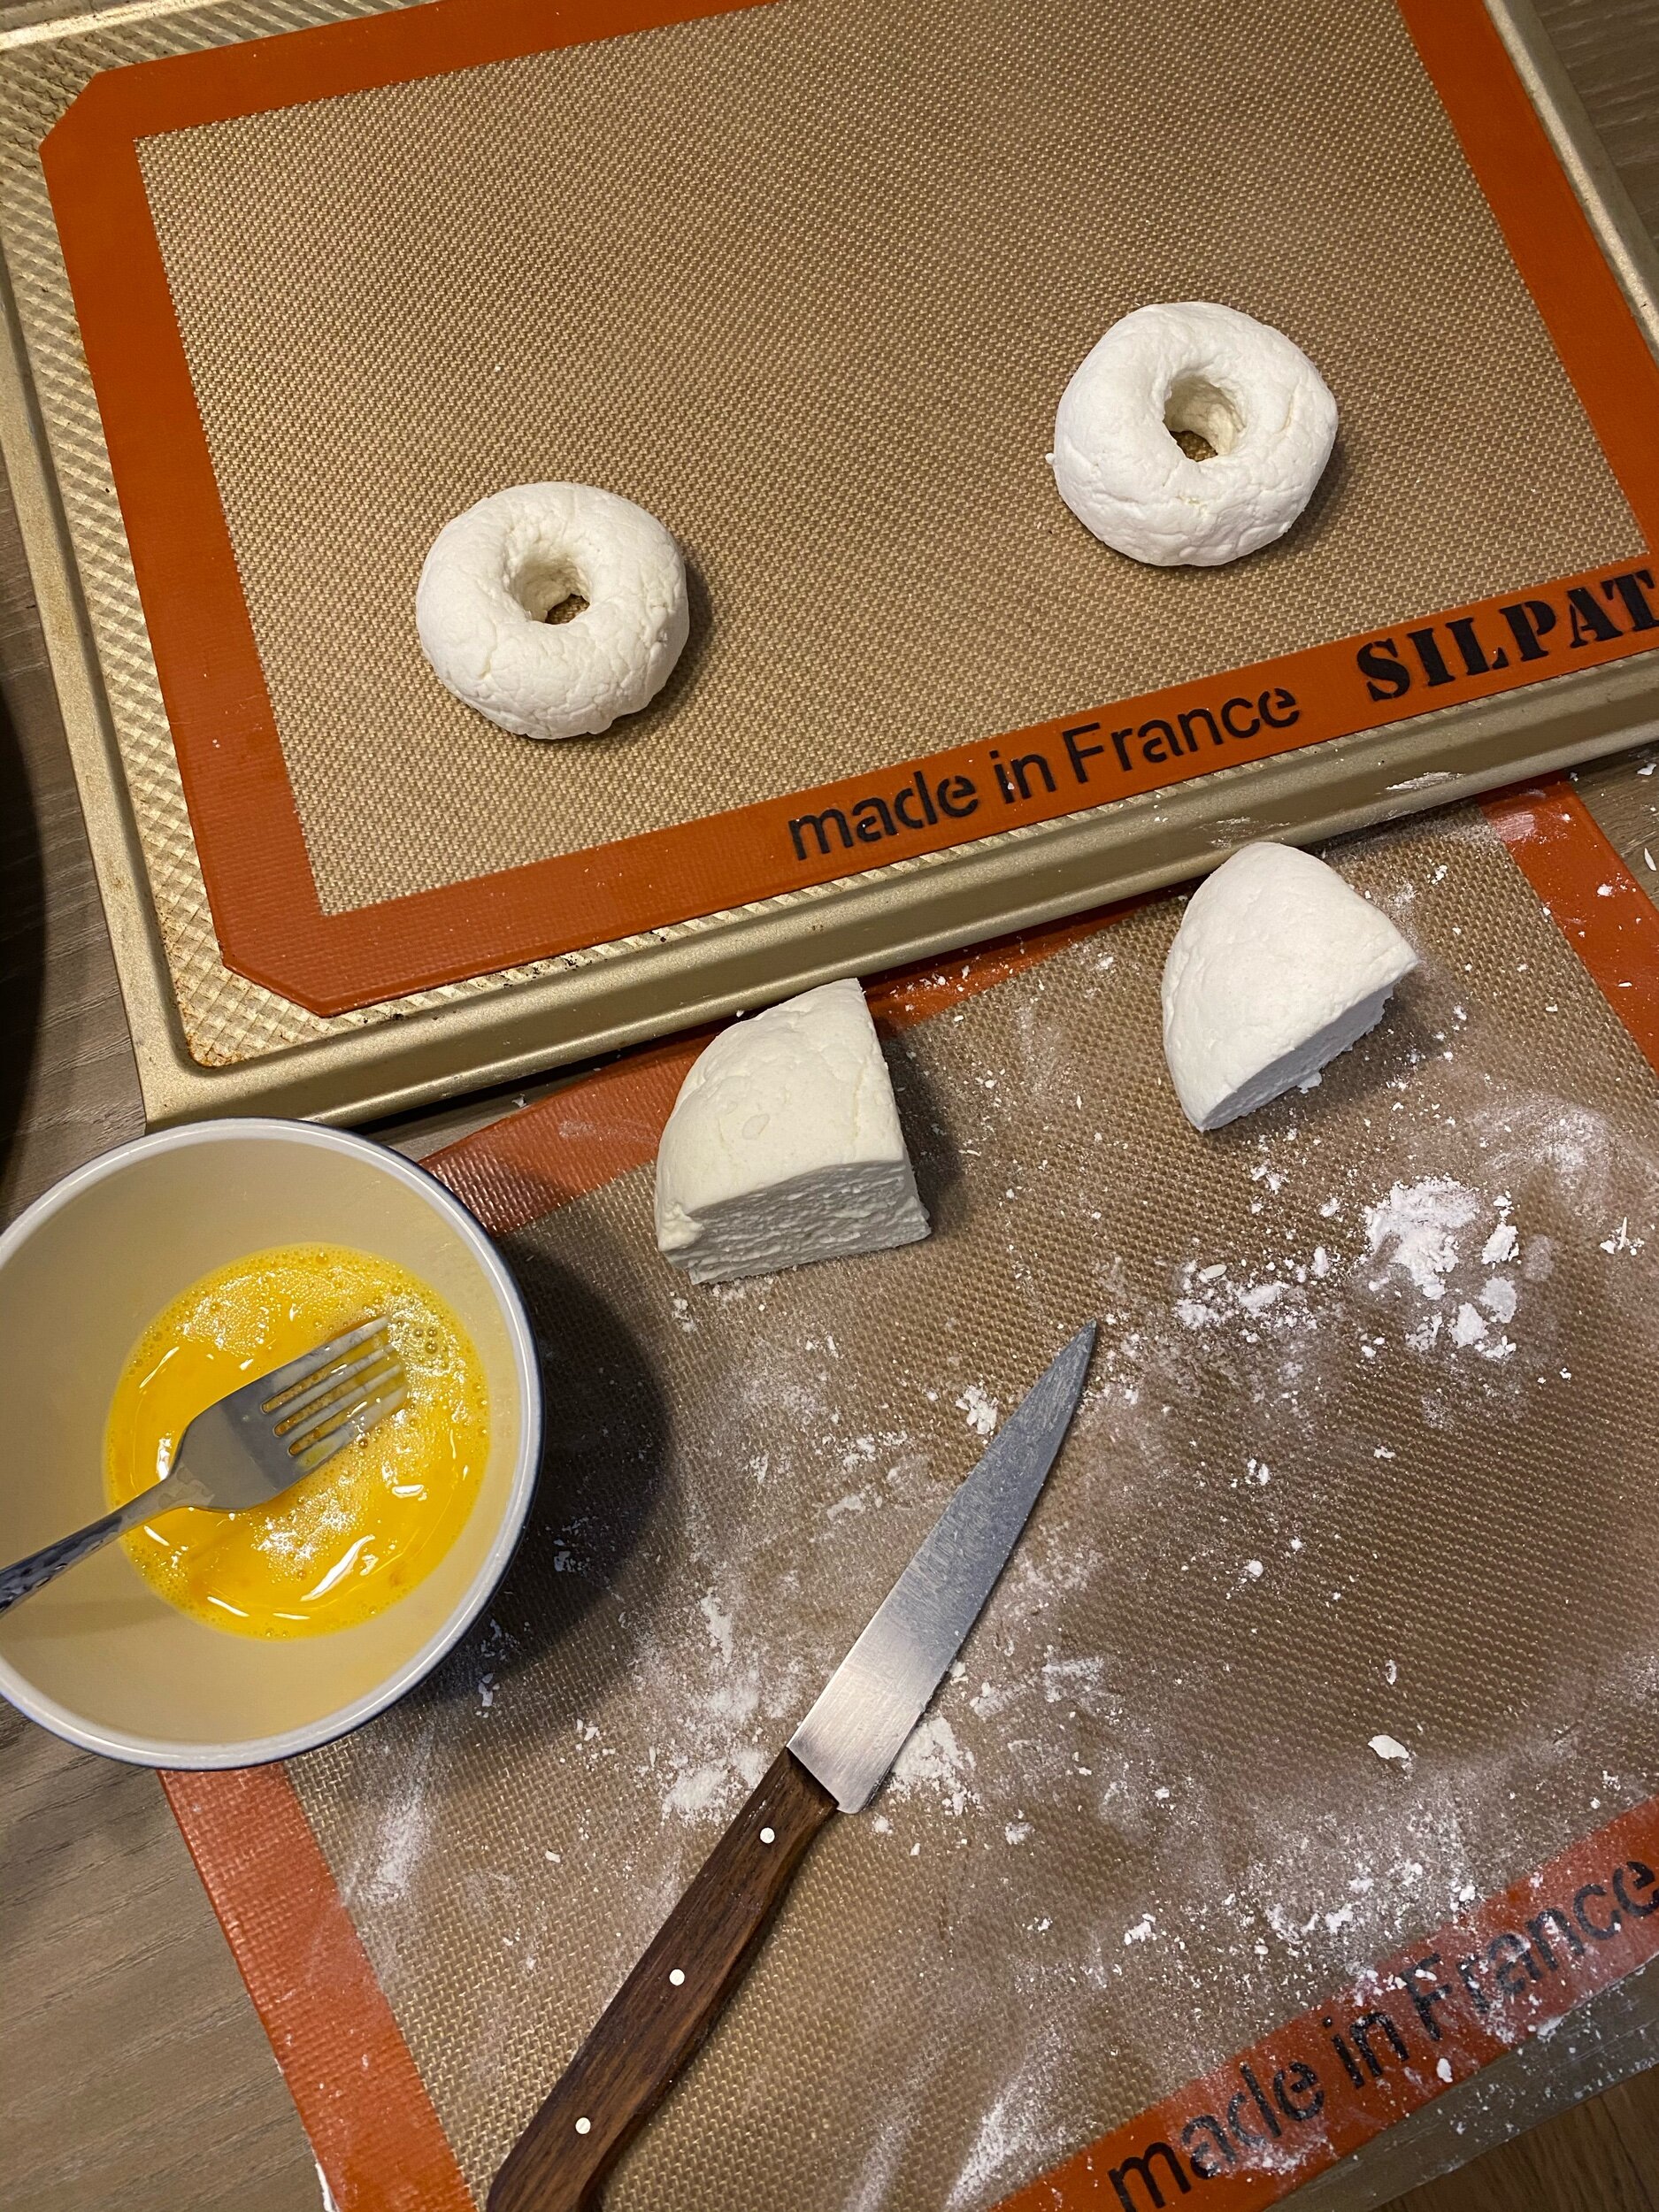
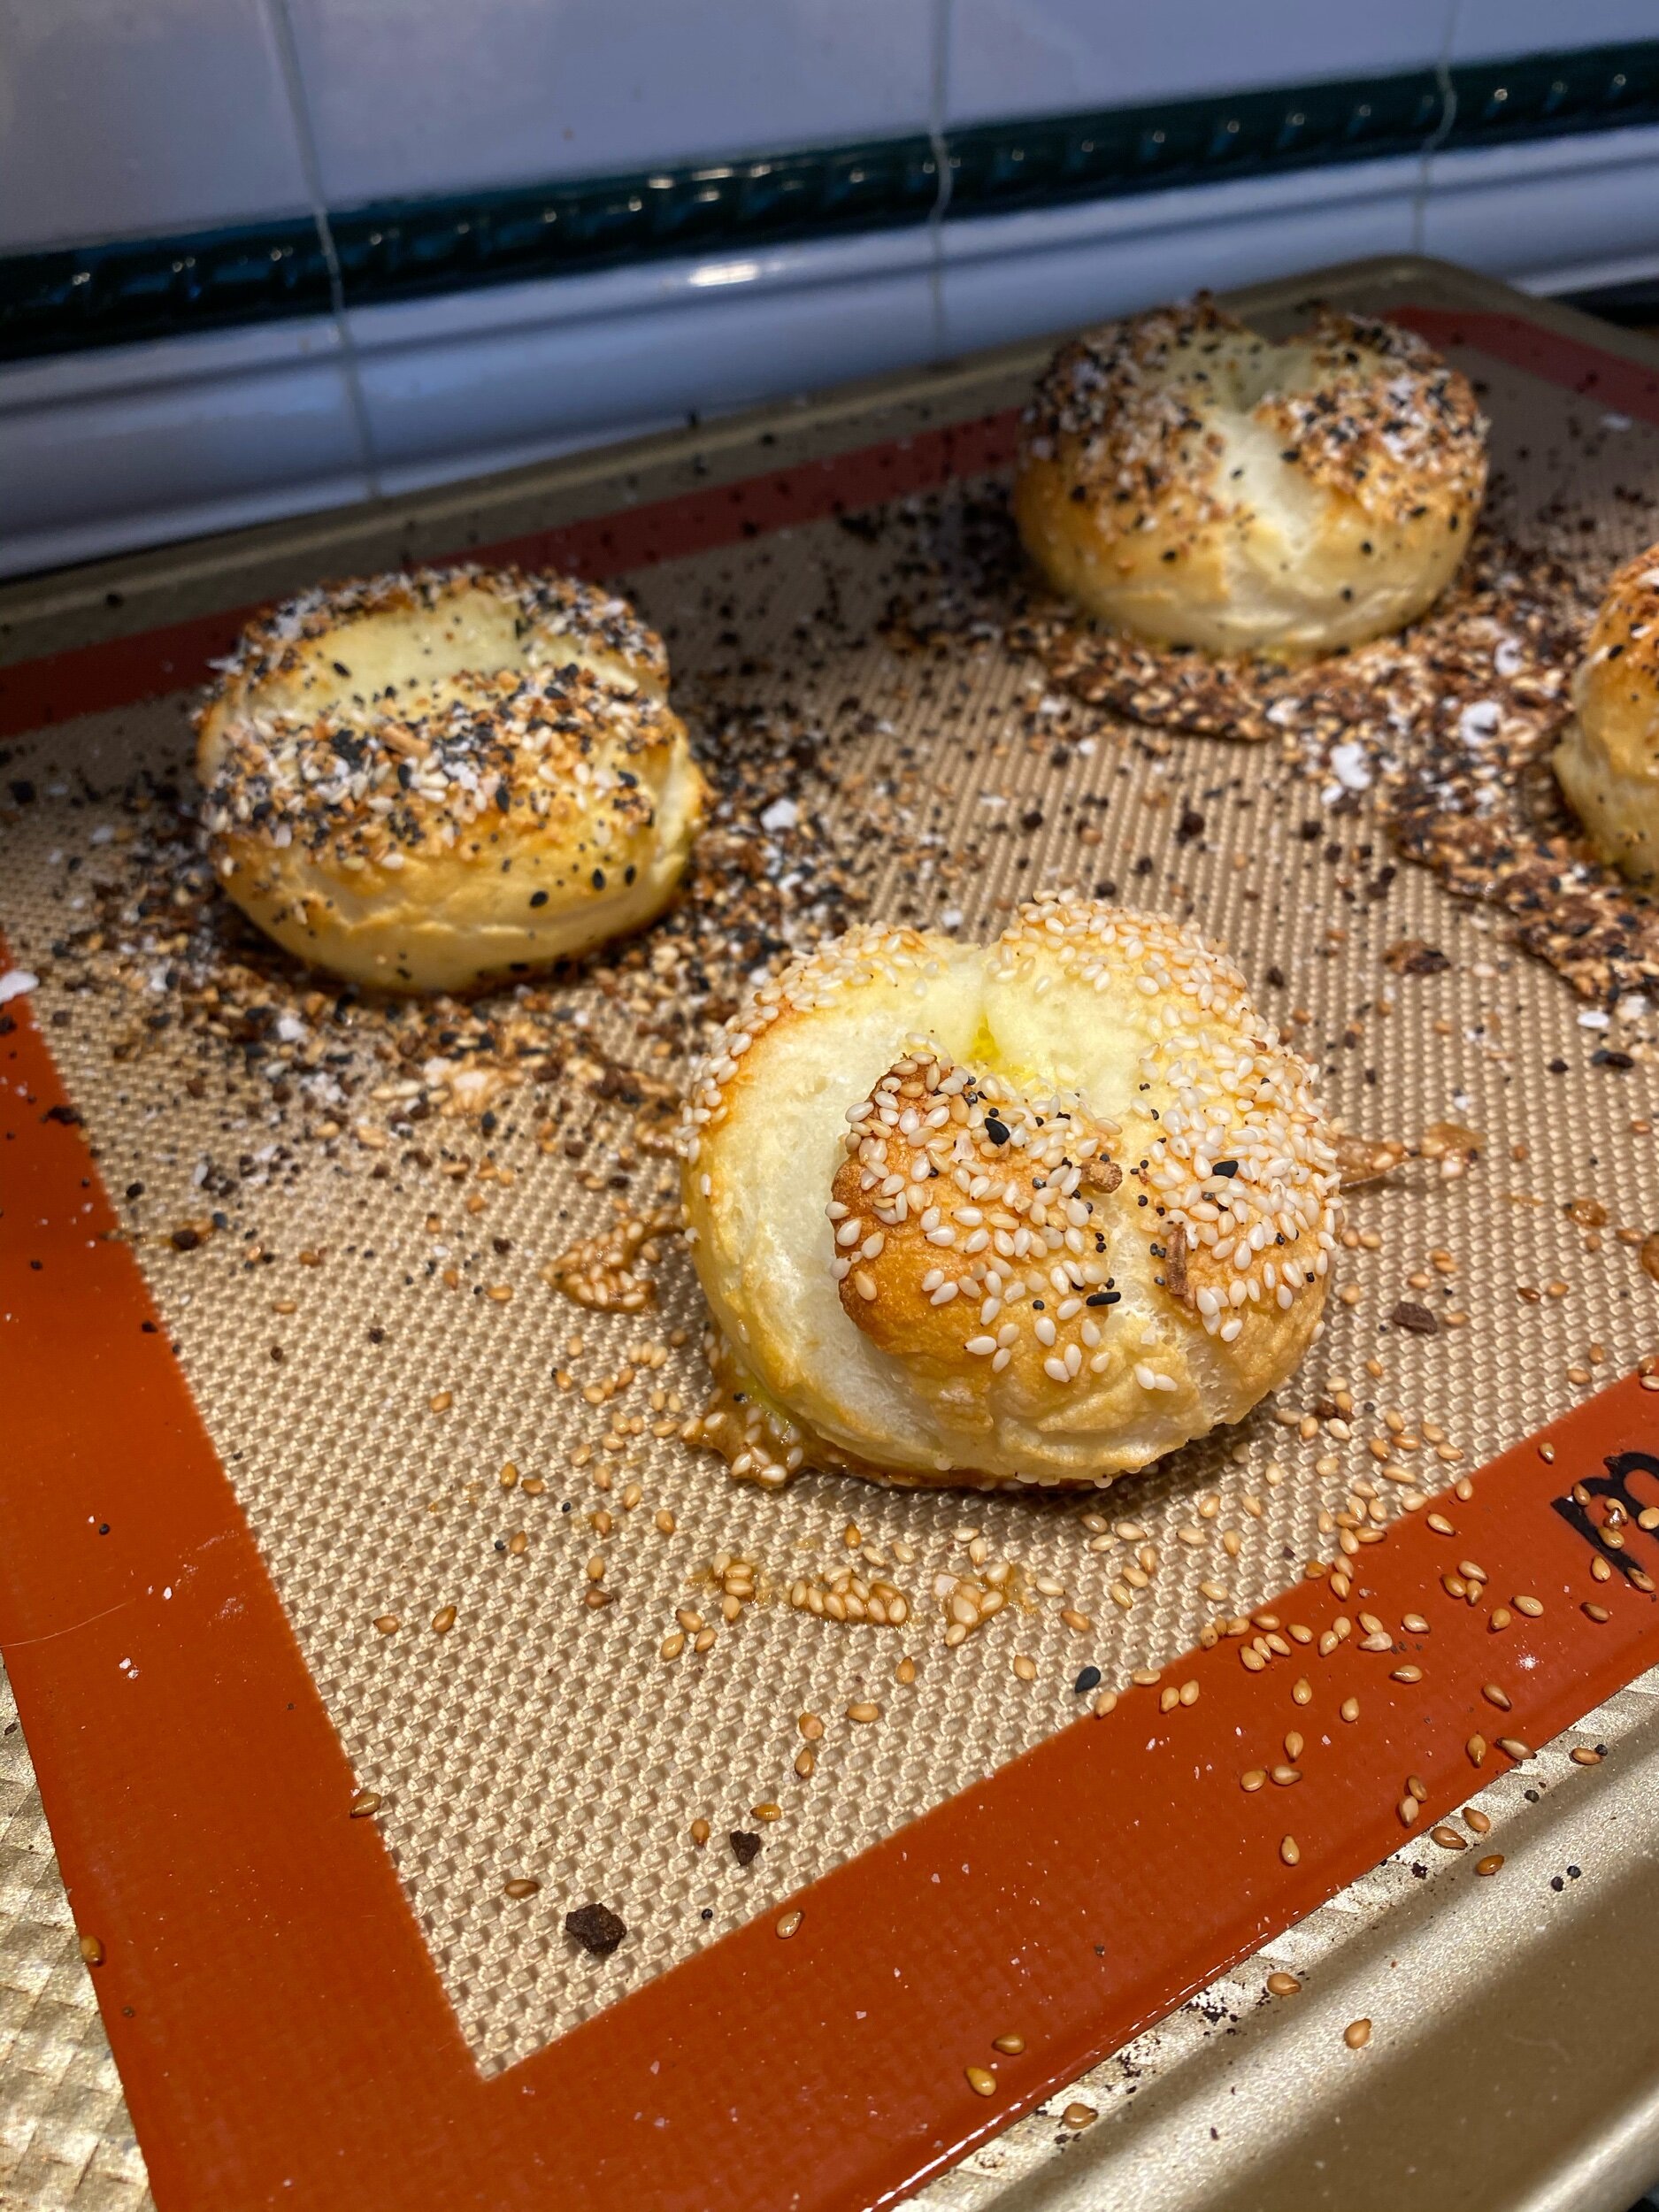
Since the dough will expand and rise in the oven, the hole should look too big and the edges too narrow before it goes in the oven. The funny-looking bagel will become perfect and delicious after the oven works its magic. You know, by cooking the bagels. ;)
Note: photos above do not reflect this method. I realized my error after they came out of the oven.
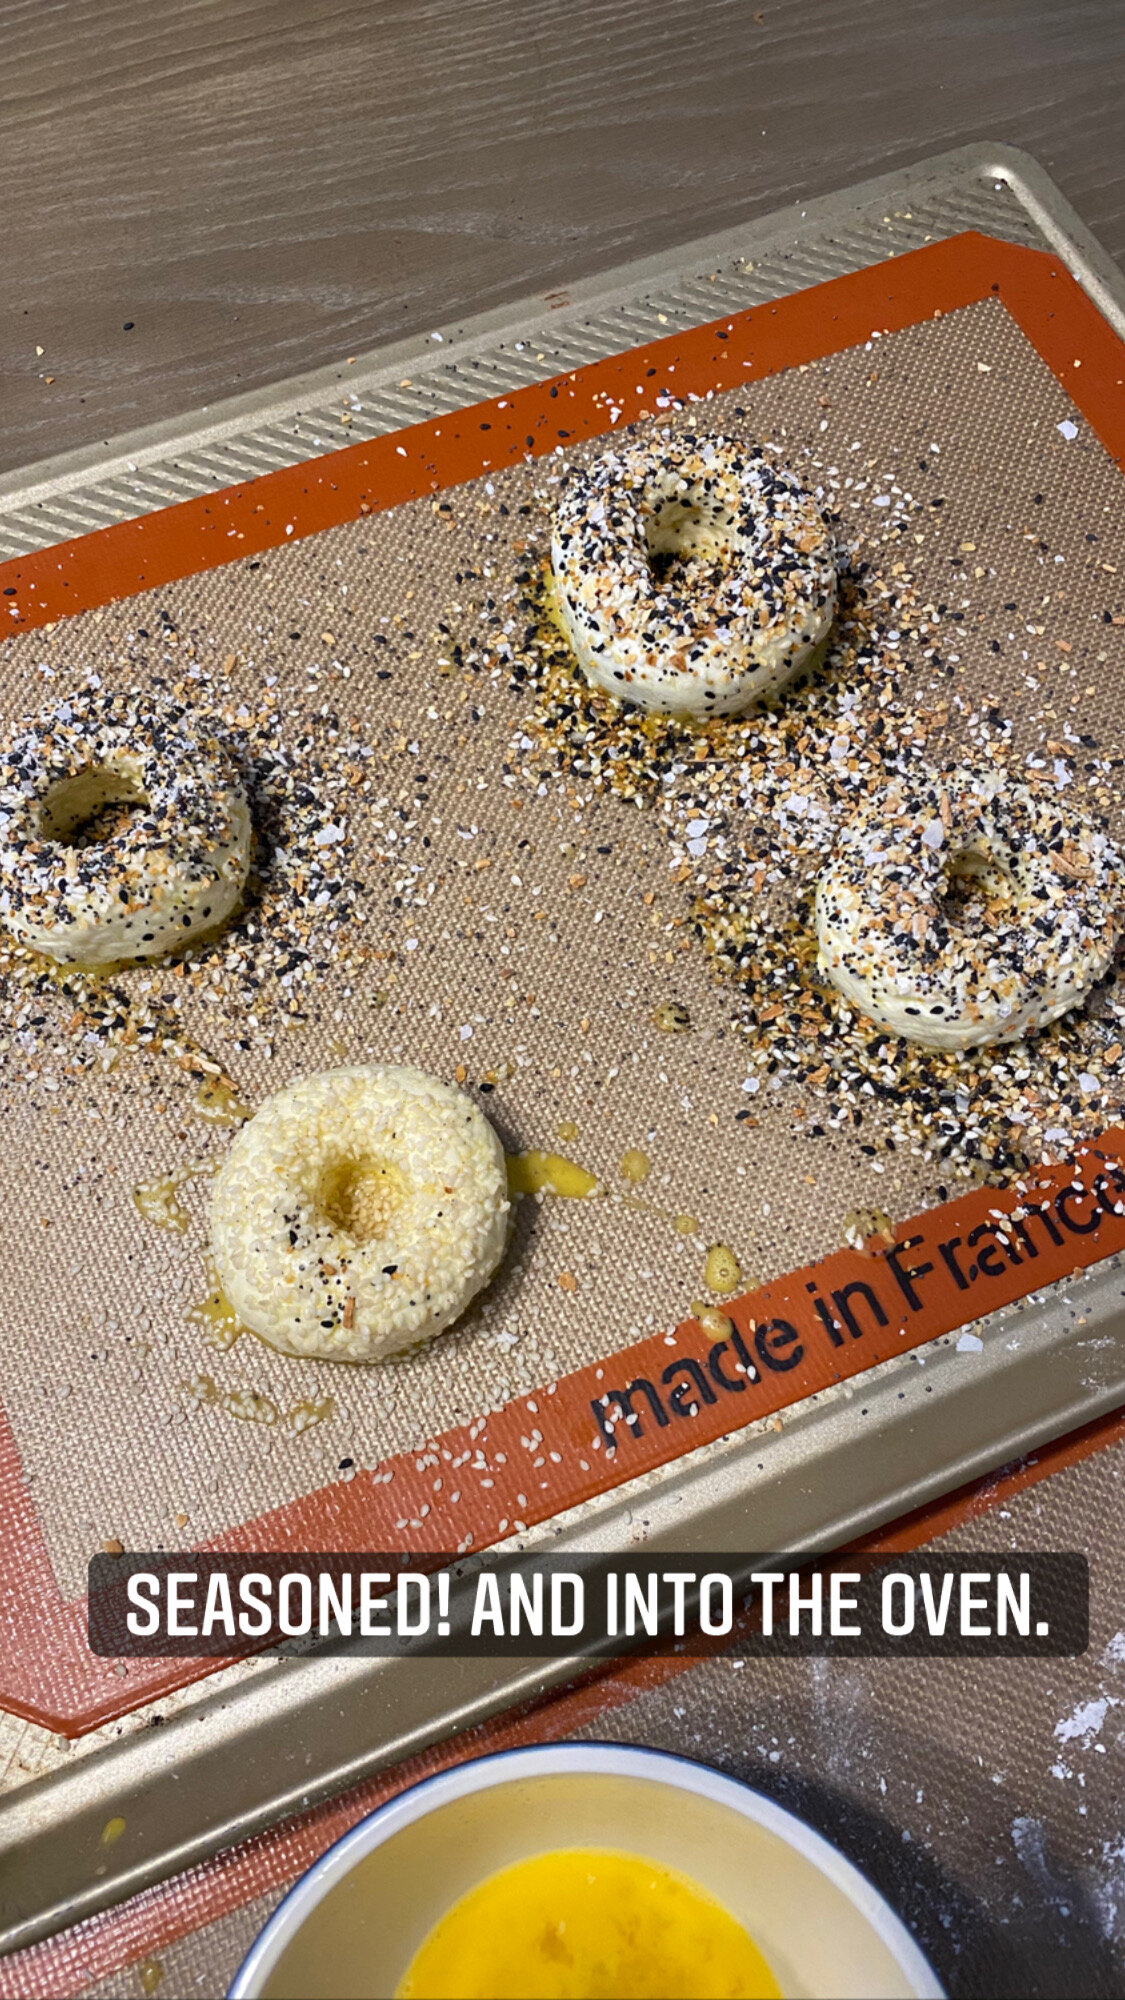
Let the bagels cool slightly before slicing in half and slathering with cream cheese. Conveniently, we had extra bacon from the cake above, so we topped our bagels with homemade scallion cream cheese and crisp bacon. Superb!

FINAL REVIEW
While there are plenty of bagel recipes out in the world, I often turn to these because they are so quick to prepare and don’t require anything fussy. All of a sudden the dough is ready, the bagels are formed, and they’re in the oven. A short time later you’re enjoying hot bagels and it’s such a blissful moment.

Also, since these bagels are made with Greek yogurt, I consider them somewhat healthy. I have no problem splitting the four-bagel batch with Seth. Don’t worry - they are very small bagels. And even if they weren’t….who cares? ;)
Keep this recipe handy for whenever your bagel-cravings surface. I love being able to make gluten free bagels at home. What a thrill! :)

**************
Enjoy!
